Filters


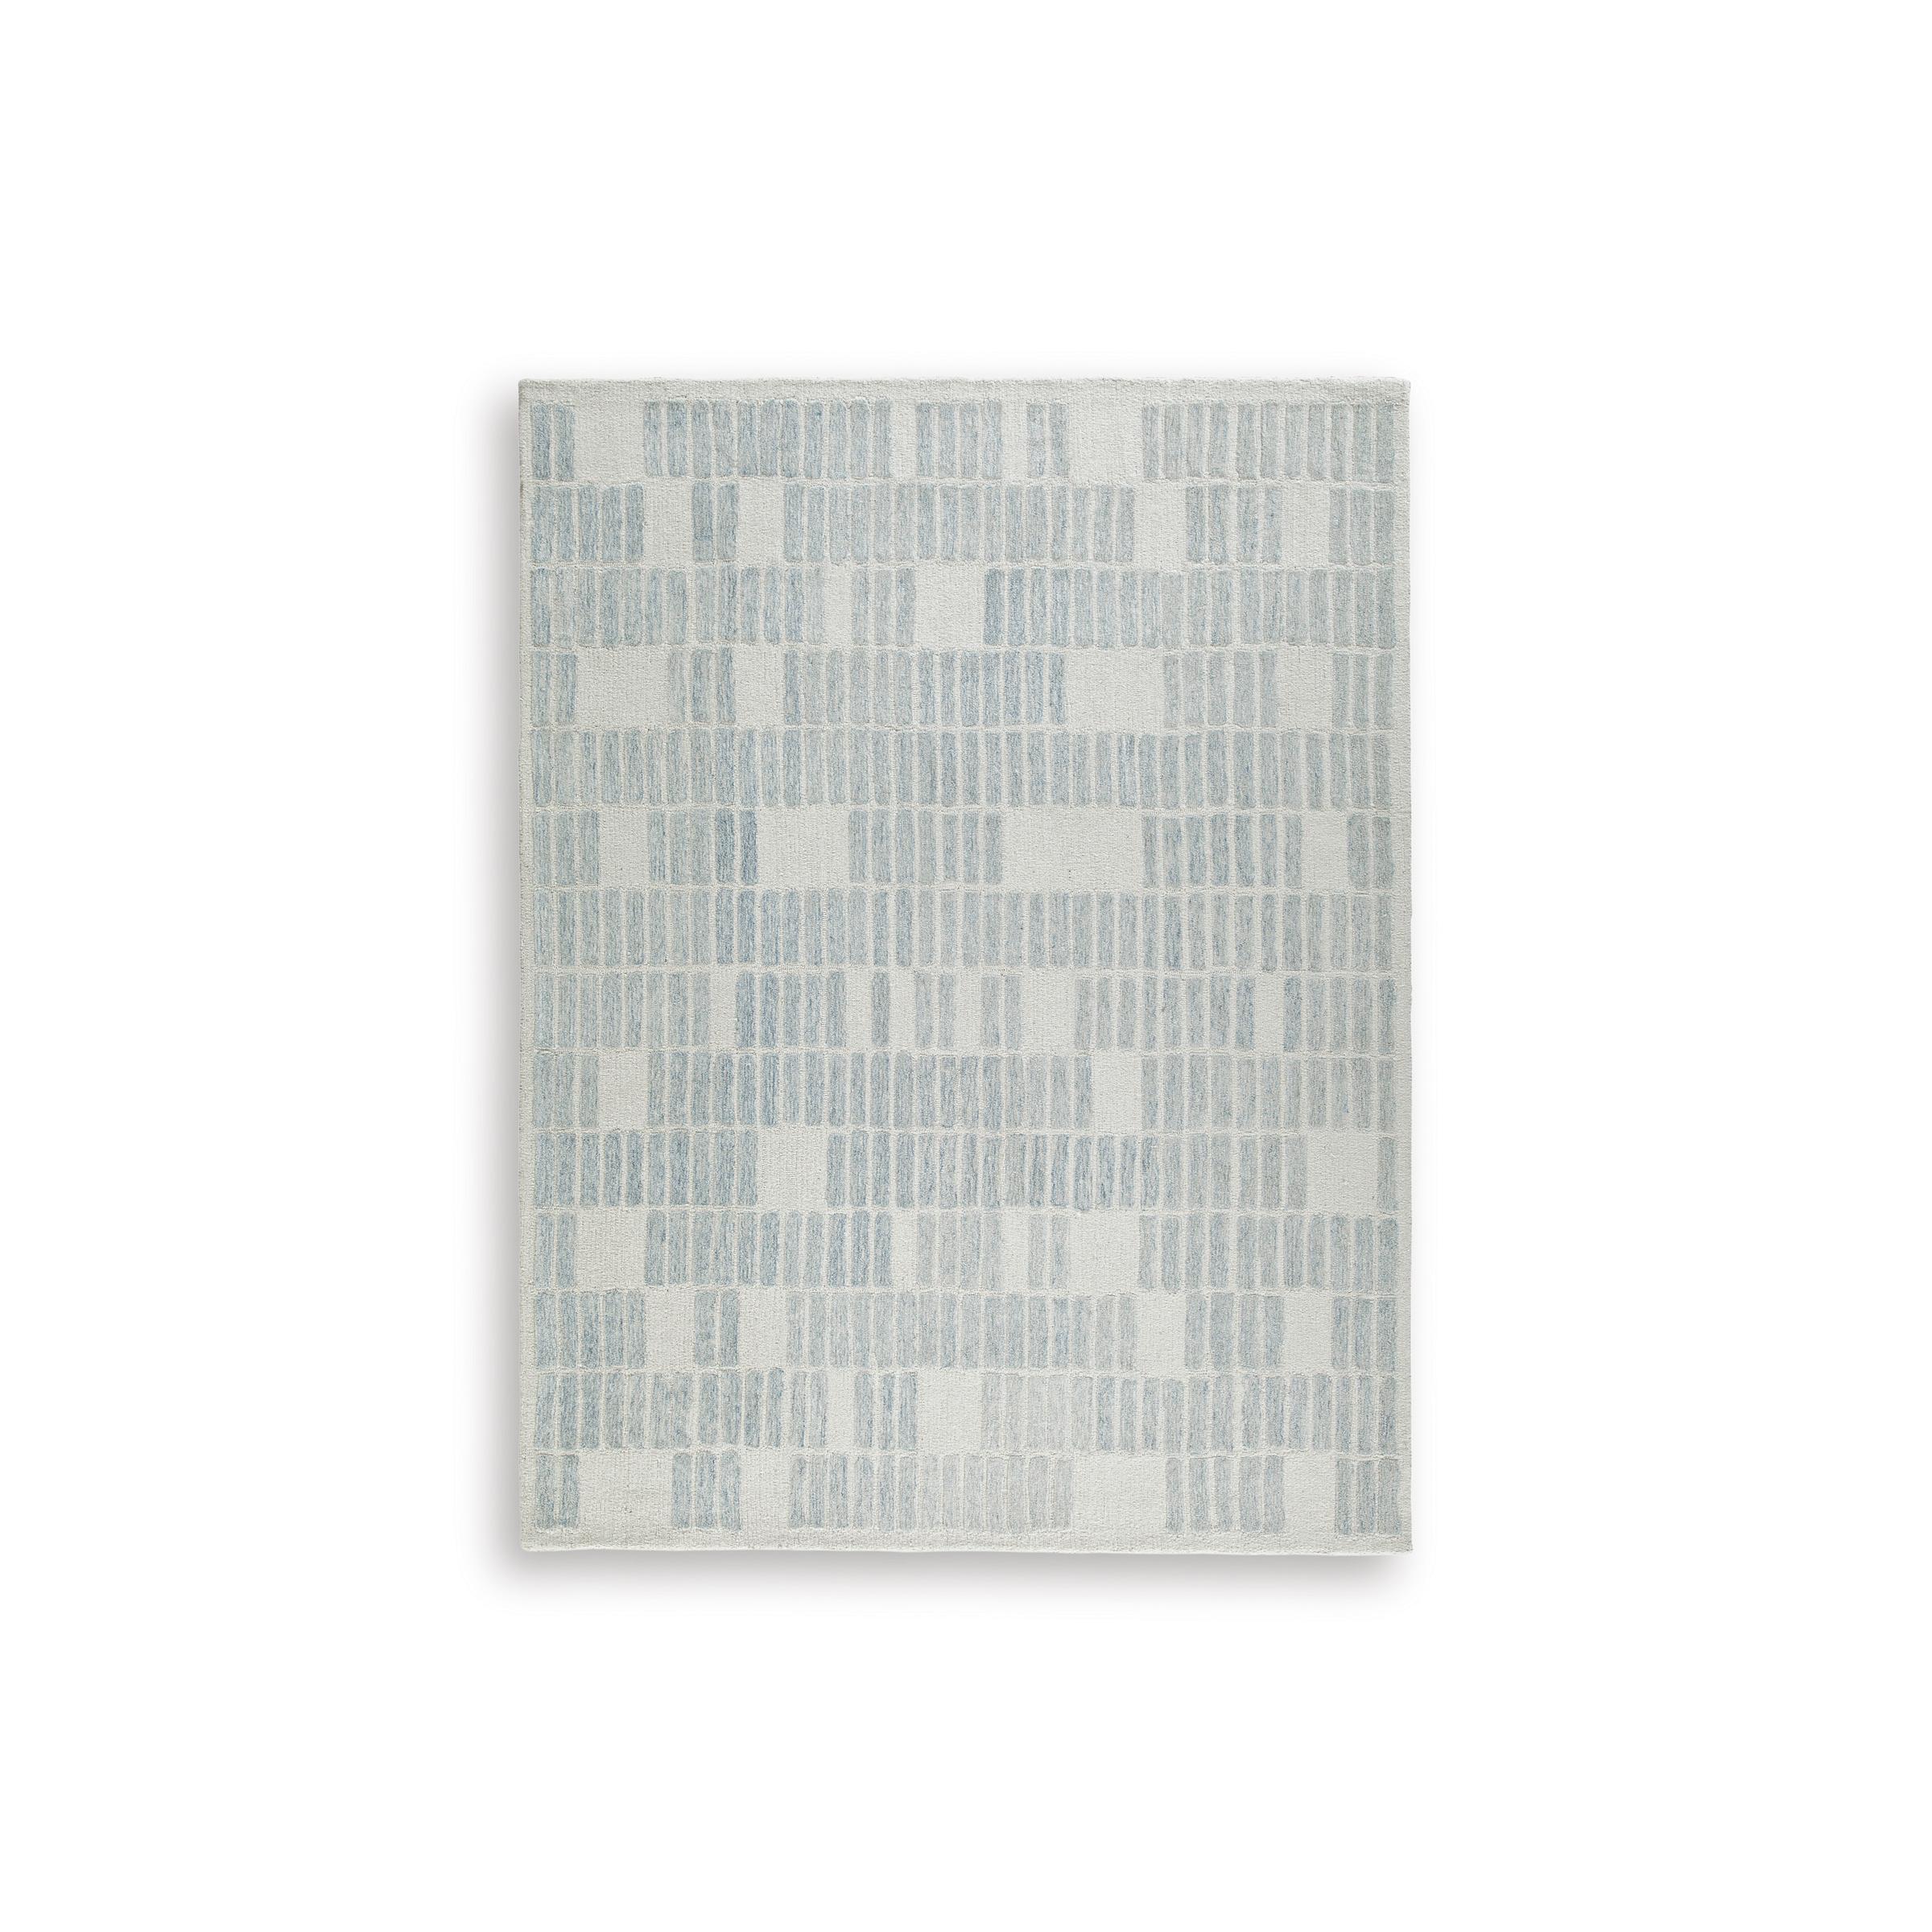
Signature Design by Ashley Avanworths R407792 Washable Medium Rug
Sale price$208.80
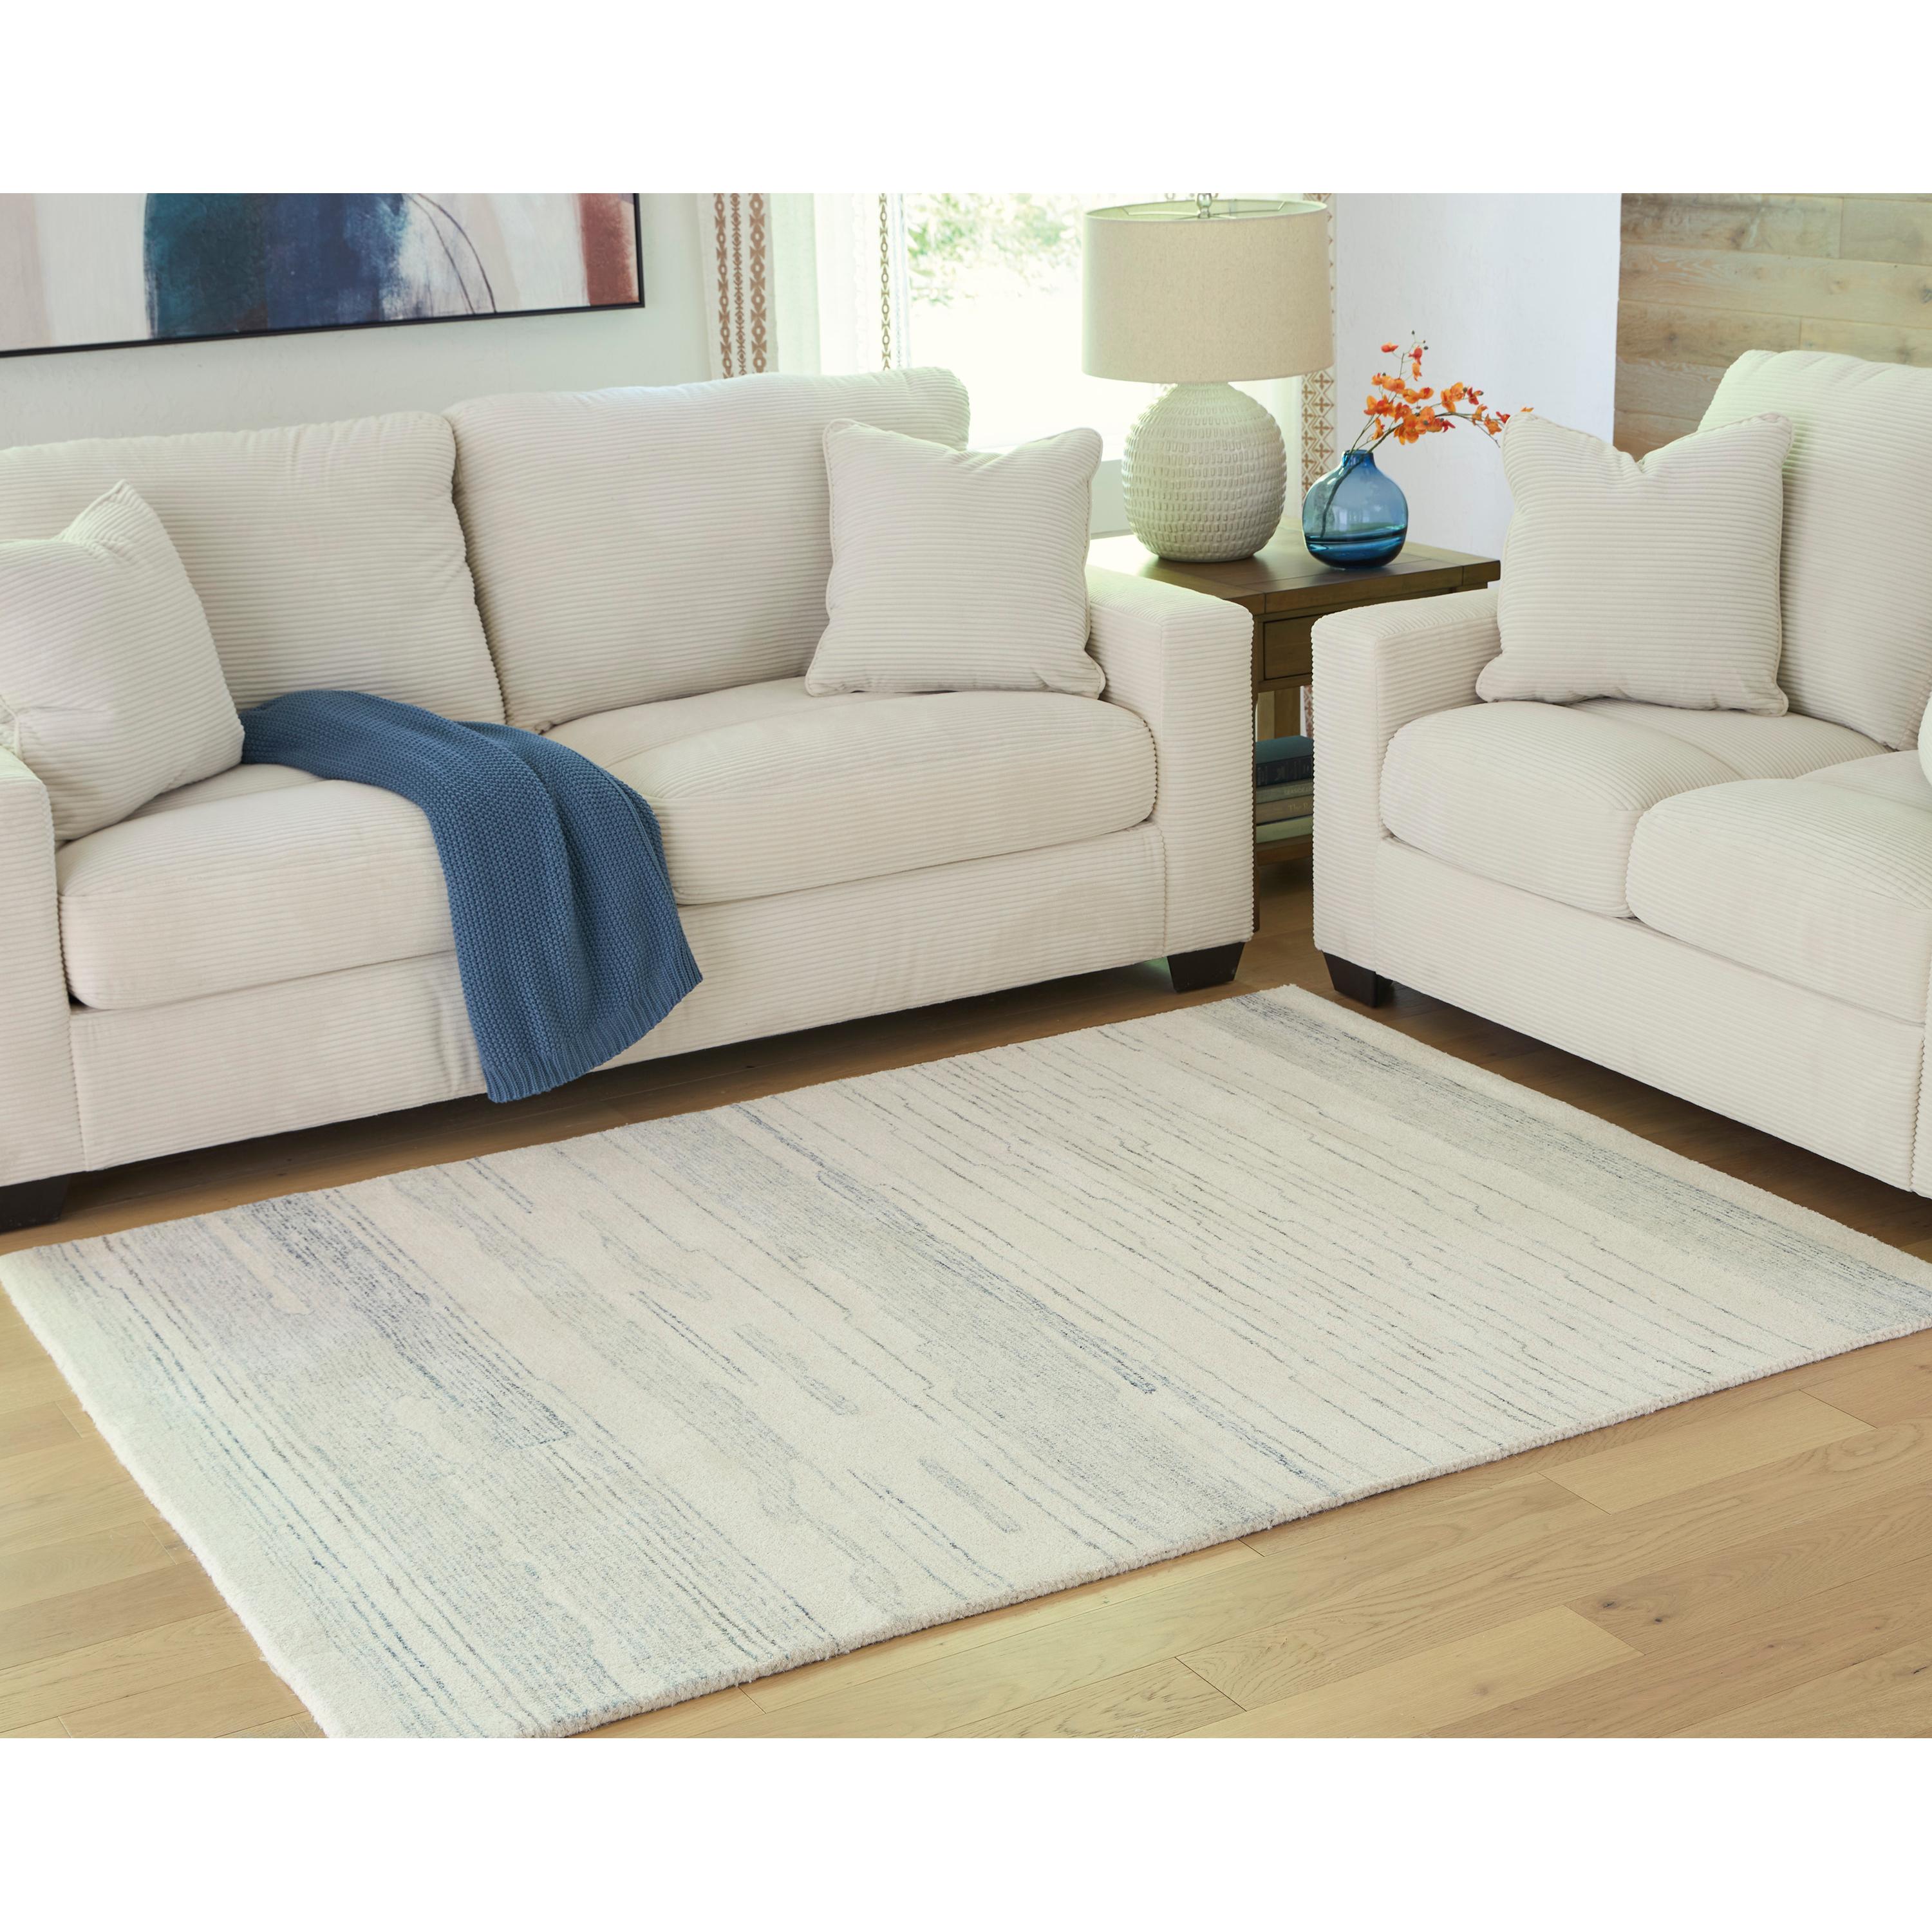
Signature Design by Ashley Dylanton R407811 Large Rug
Sale price$843.66


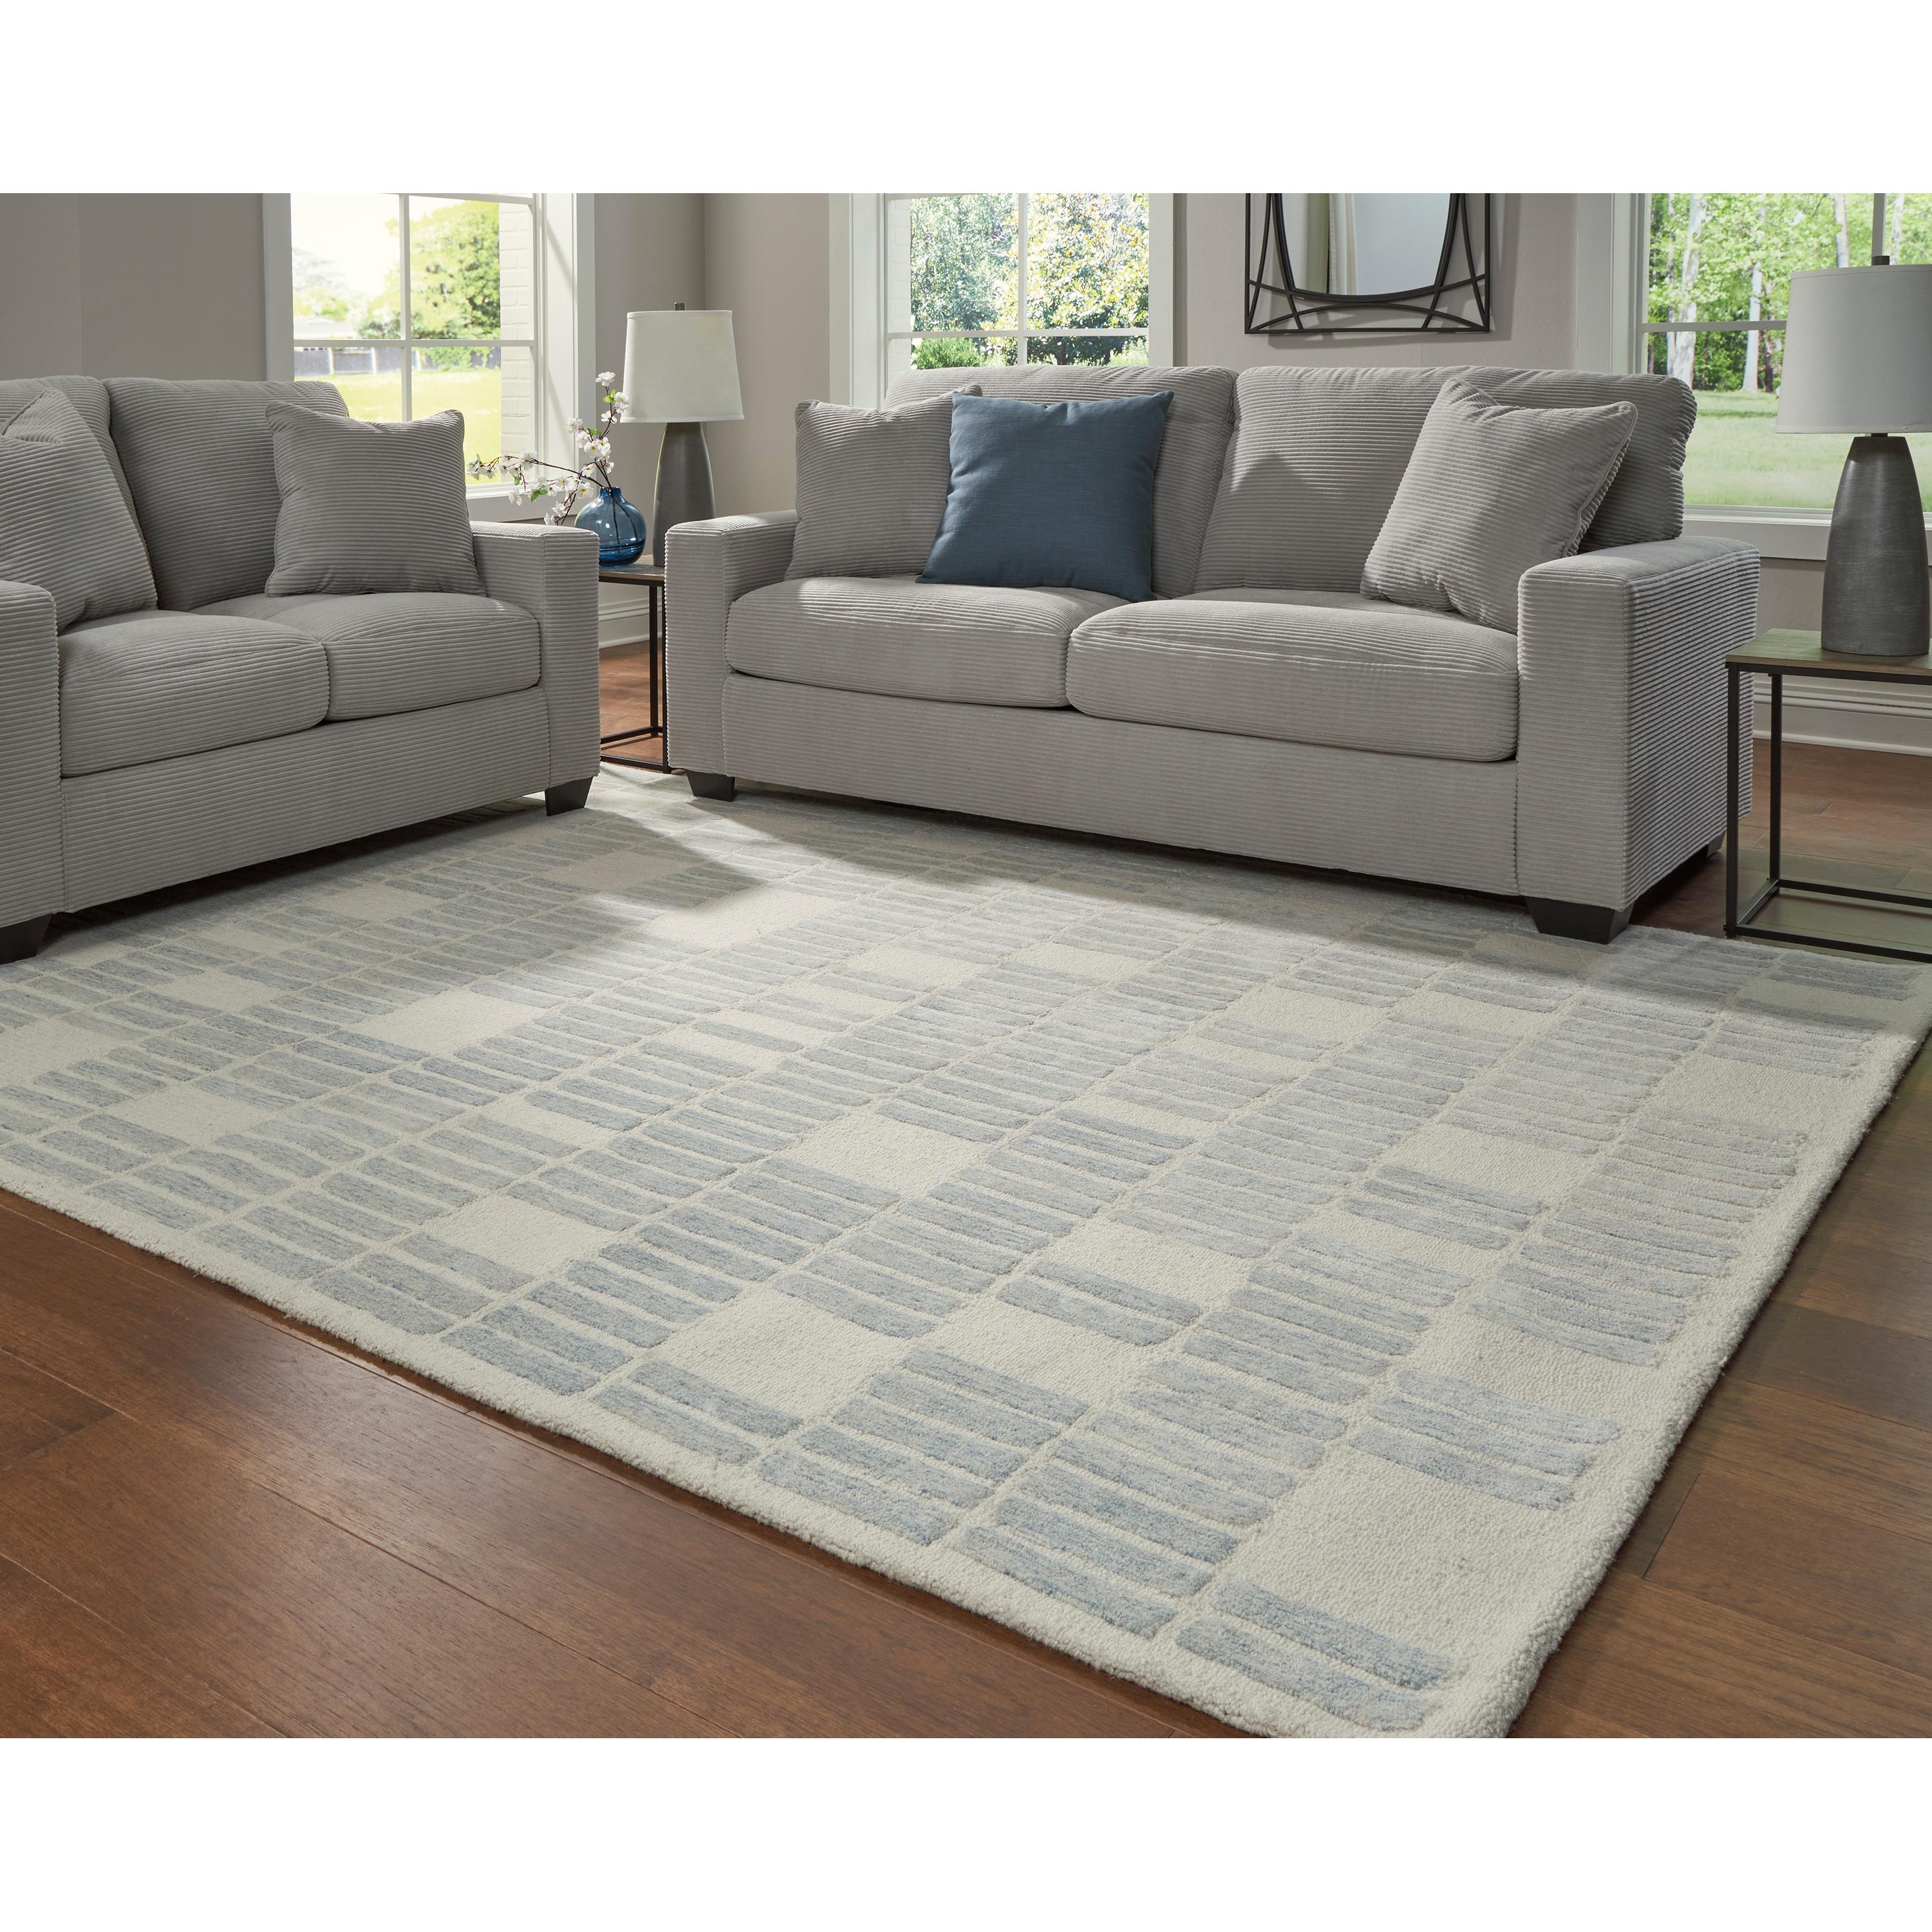
Signature Design by Ashley Avanworths R407791 Washable Large Rug
Sale price$411.66


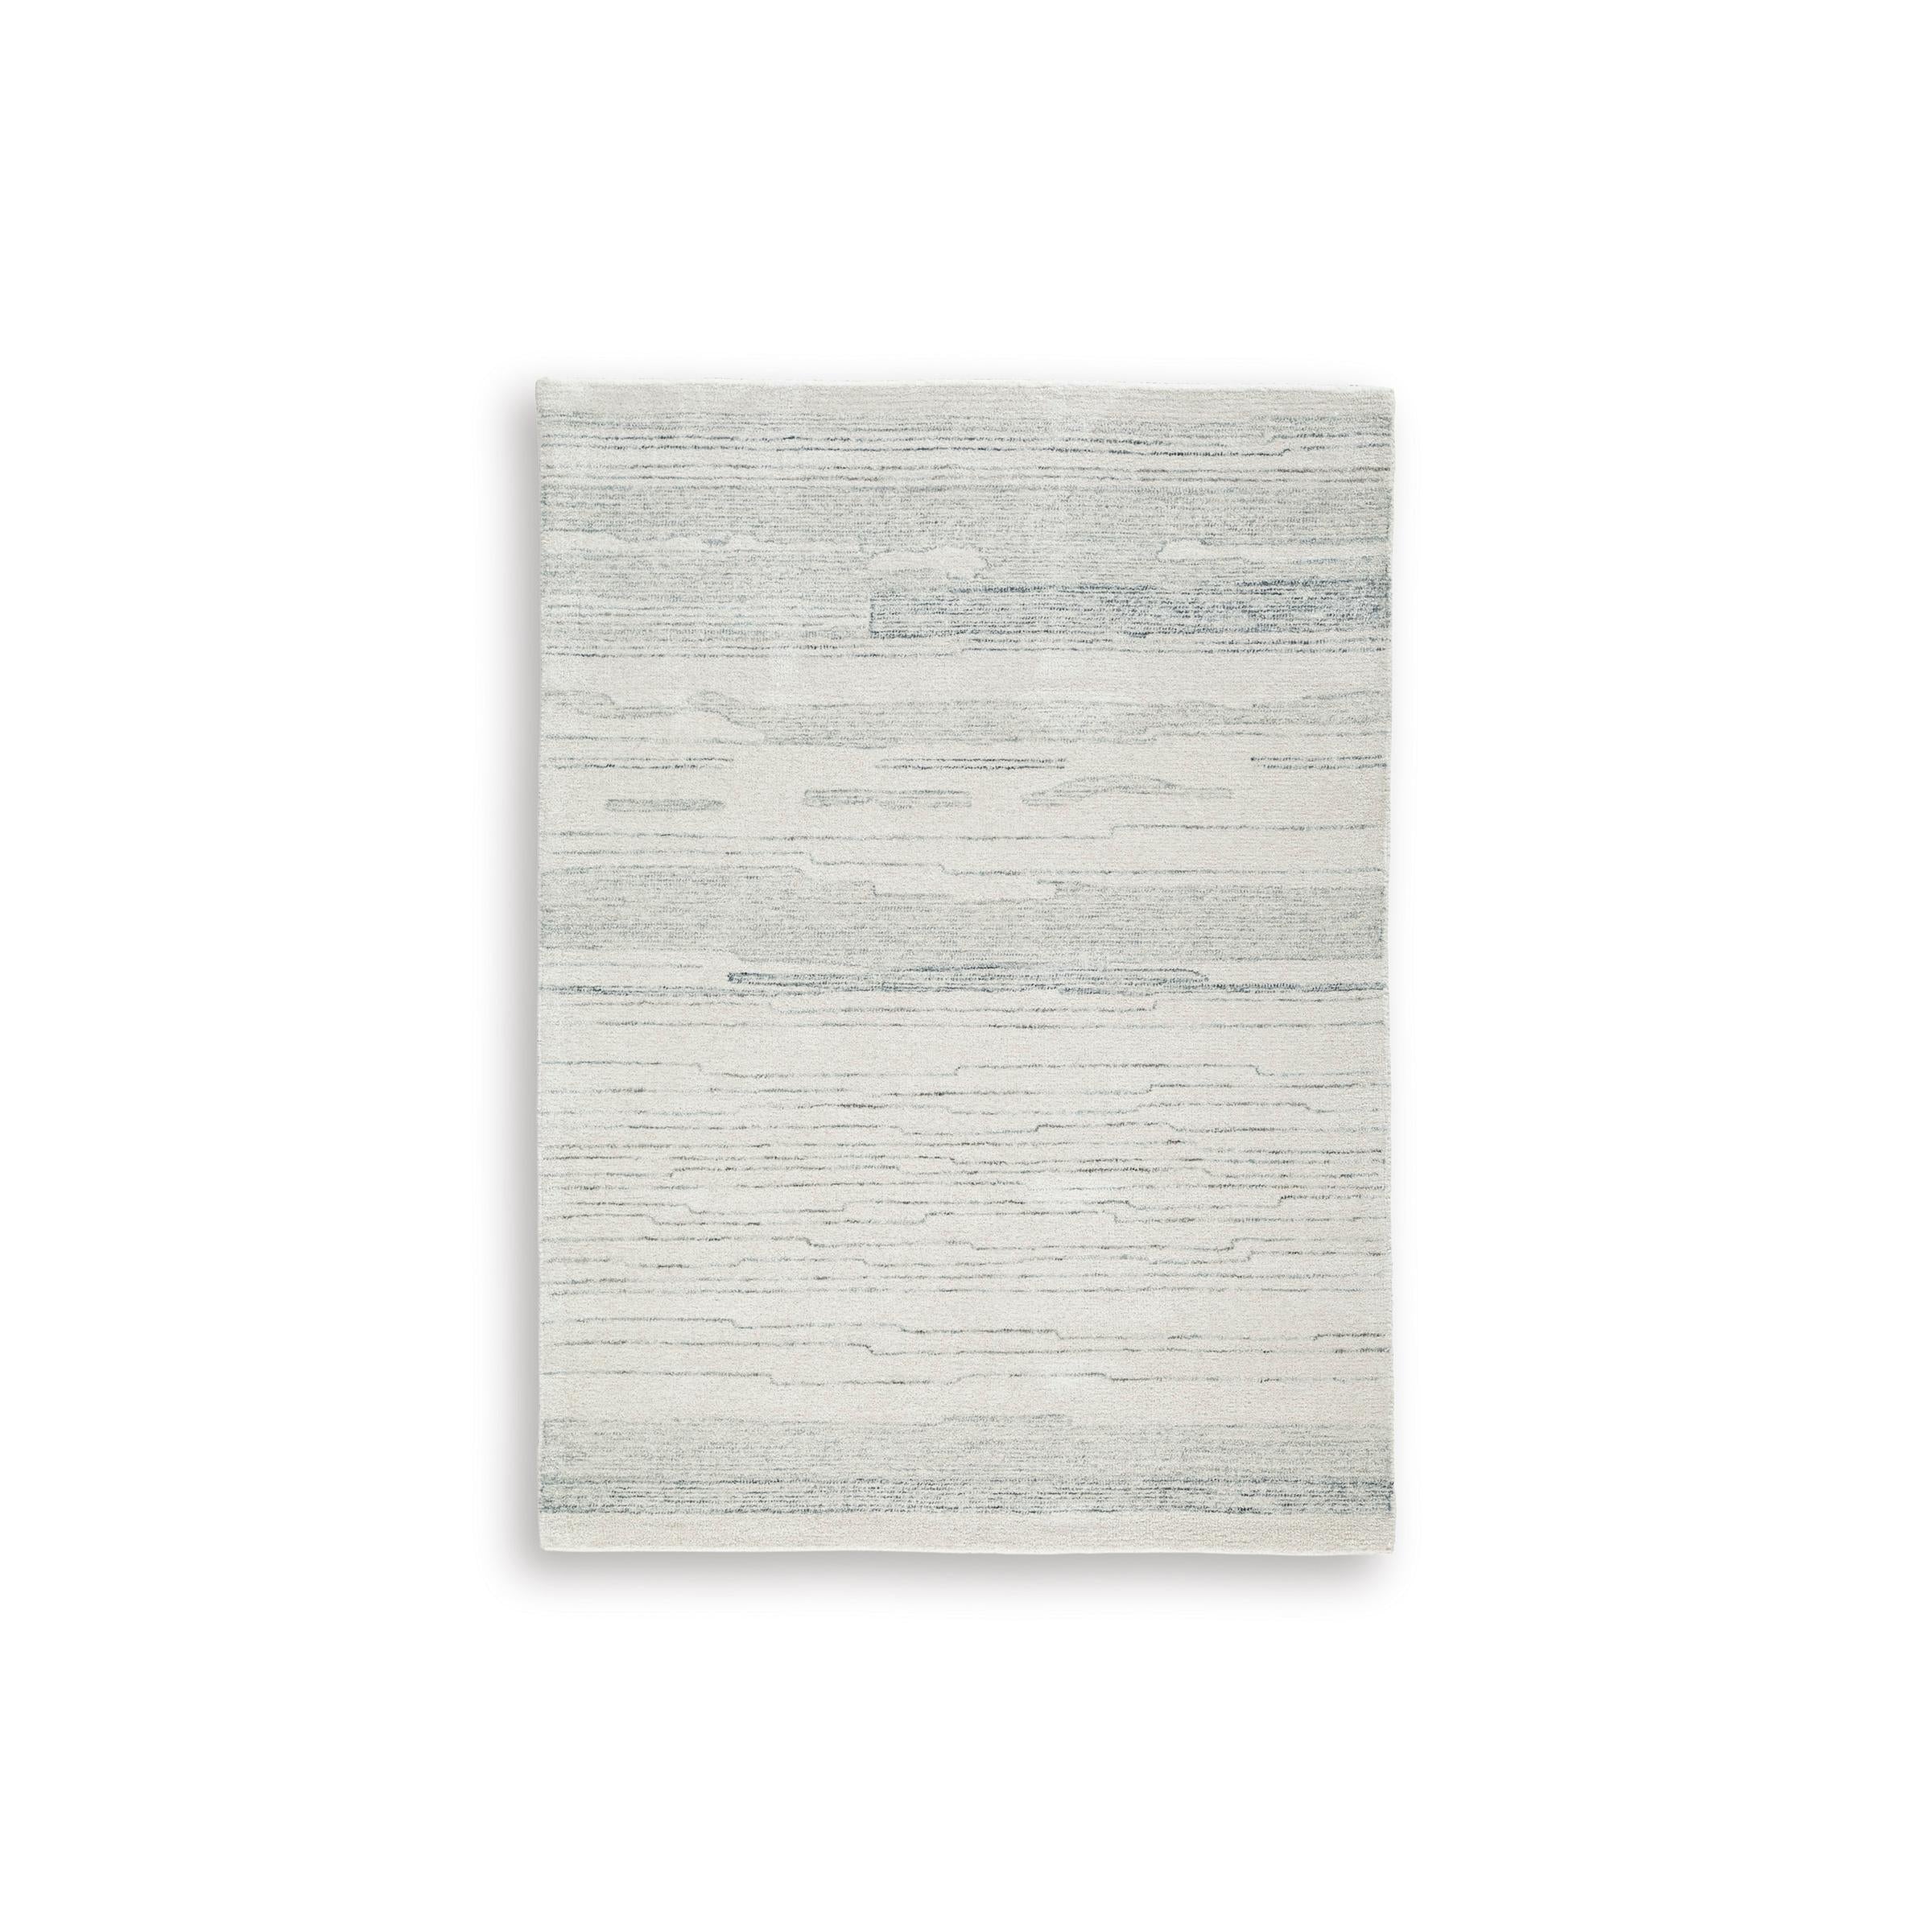
Signature Design by Ashley Dylanton R407812 Medium Rug
Sale price$406.80


Signature Design by Ashley Genemost R407841 Large Rug
Sale price$879.66


Signature Design by Ashley Azelhurst R407851 Large Rug
Sale price$897.66
Signature Design by Ashley Genemost R407842 Medium Rug
Sale price$406.80


Signature Design by Ashley Azelhurst R407852 Medium Rug
Sale price$424.80


Signature Design by Ashley Deenbury R407862 Medium Rug
Sale price$460.80


Signature Design by Ashley Deenbury R407861 Large Rug
Sale price$933.66


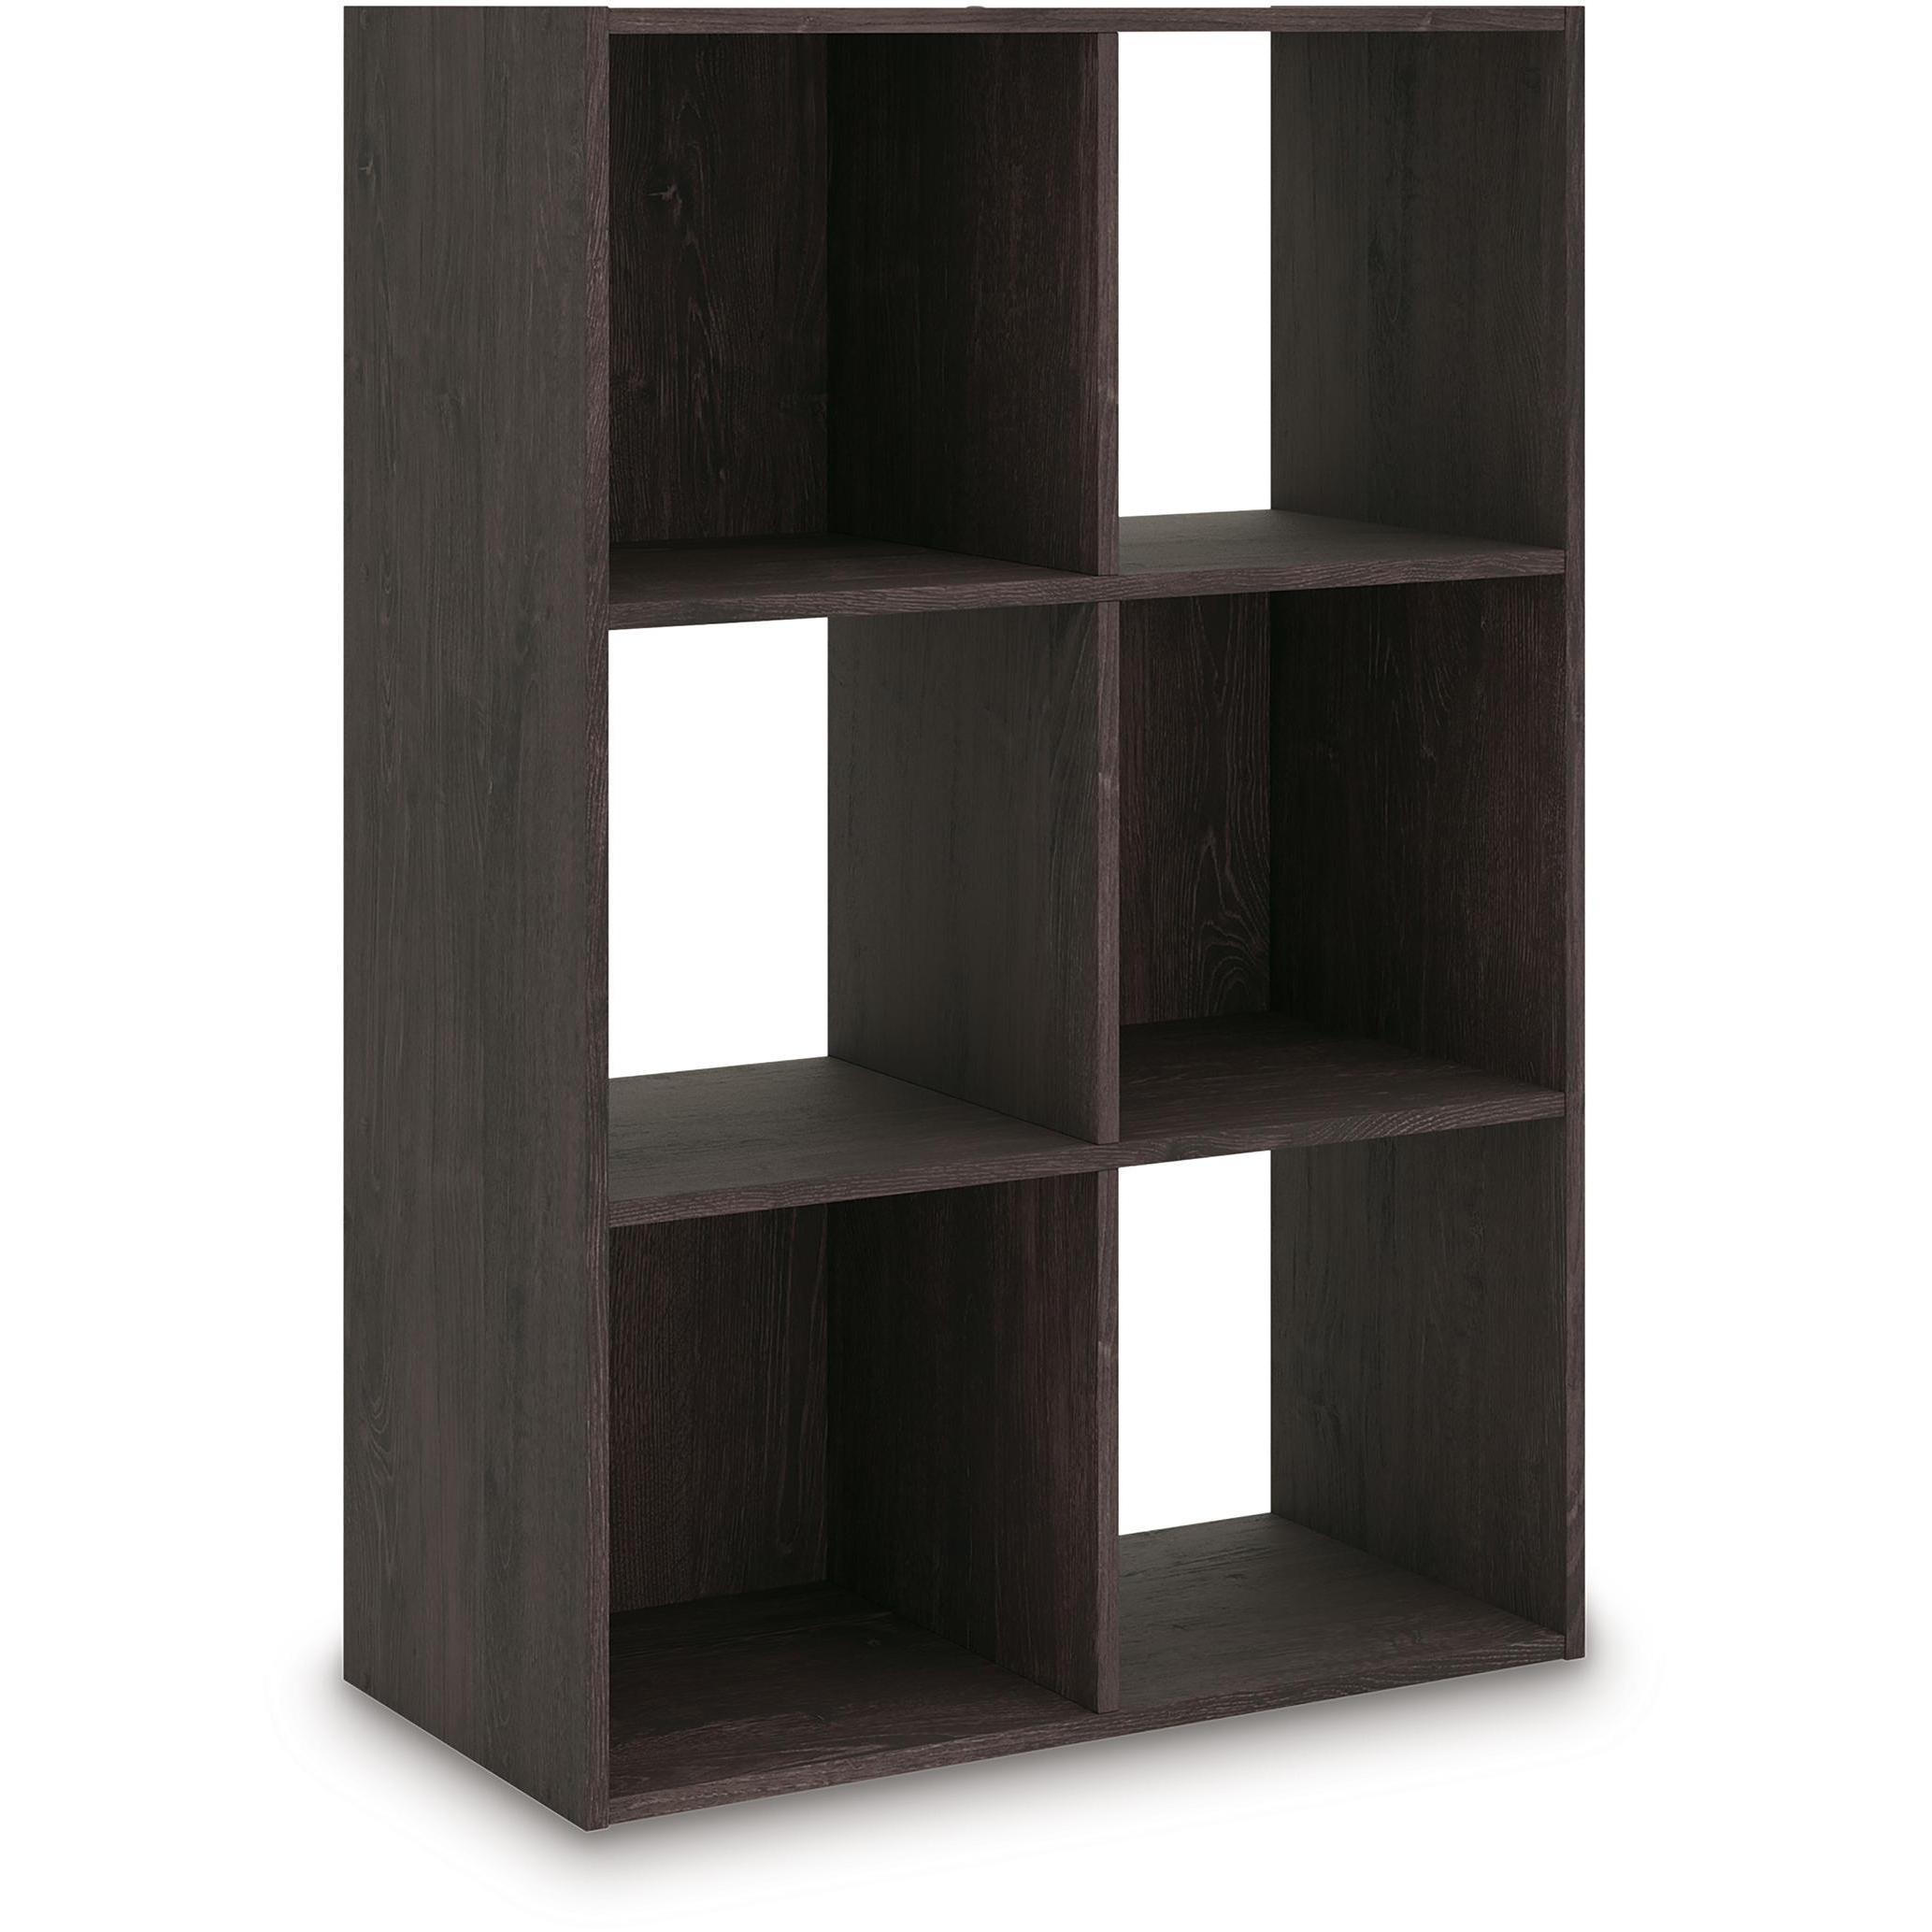
Signature Design by Ashley Glosmount EA1055-3X2 Six Cube Organizer
Sale price$111.78


Signature Design by Ashley Glosmount EA1055-3X3 Nine Cube Organizer
Sale price$151.38


Signature Design by Ashley Glosmount EA1055-2X2 Four Cube Organizer
Sale price$82.98


Signature Design by Ashley Shallifer EA1104-2X2 Four Cube Organizer
Sale price$82.98


Signature Design by Ashley Shallifer EA1104-3X2 Six Cube Organizer
Sale price$111.78


Signature Design by Ashley Shallifer EA1104-3X3 Nine Cube Organizer
Sale price$151.38


Signature Design by Ashley Glosmount EA1055-4X2 Eight Cube Organizer
Sale price$129.78


Signature Design by Ashley Shallifer EA1104-4X2 Eight Cube Organizer
Sale price$129.78


Signature Design by Ashley Piperton EA5514-2X2 Four Cube Organizer
Sale price$82.98

Signature Design by Ashley Piperton EA5514-3X2 Six Cube Organizer
Sale price$111.78


Signature Design by Ashley Piperton EA5514-3X3 Nine Cube Organizer
Sale price$151.38


Signature Design by Ashley Piperton EA5514-4X2 Eight Cube Organizer
Sale price$129.78


Signature Design by Ashley Brockbert A1001130 Pillow
Sale price$187.20


Signature Design by Ashley Brockbert A1001131 Pillow
Sale price$187.20


Signature Design by Ashley Brockbert A1001132 Pillow
Sale price$187.20


Signature Design by Ashley Macsen A1001135 Pillow
Sale price$187.20


Signature Design by Ashley Macsen A1001136 Pillow
Sale price$187.20


Signature Design by Ashley Jaxkins A1001140 Pillow
Sale price$205.20


Signature Design by Ashley Jaxkins A1001139 Pillow
Sale price$205.20


Signature Design by Ashley Danvale A1001141 Pillow
Sale price$169.20


Signature Design by Ashley Danvale A1001143 Pillow
Sale price$169.20


Signature Design by Ashley Danvale A1001142 Pillow
Sale price$169.20


Signature Design by Ashley Viveka A1001146 Pillow
Sale price$223.20


Signature Design by Ashley Altmontner A1001149 Pillow
Sale price$187.20


Signature Design by Ashley Wimings A1001167 Pillow
Sale price$277.20


Signature Design by Ashley Hallam A1001155 Pillow
Sale price$205.20


Signature Design by Ashley Chaddon A1001179 Throw
Sale price$230.40


Signature Design by Ashley Anawood A1001178 Throw
Sale price$158.40


Signature Design by Ashley Beninworth A2000878 Vase
Sale price$117.00
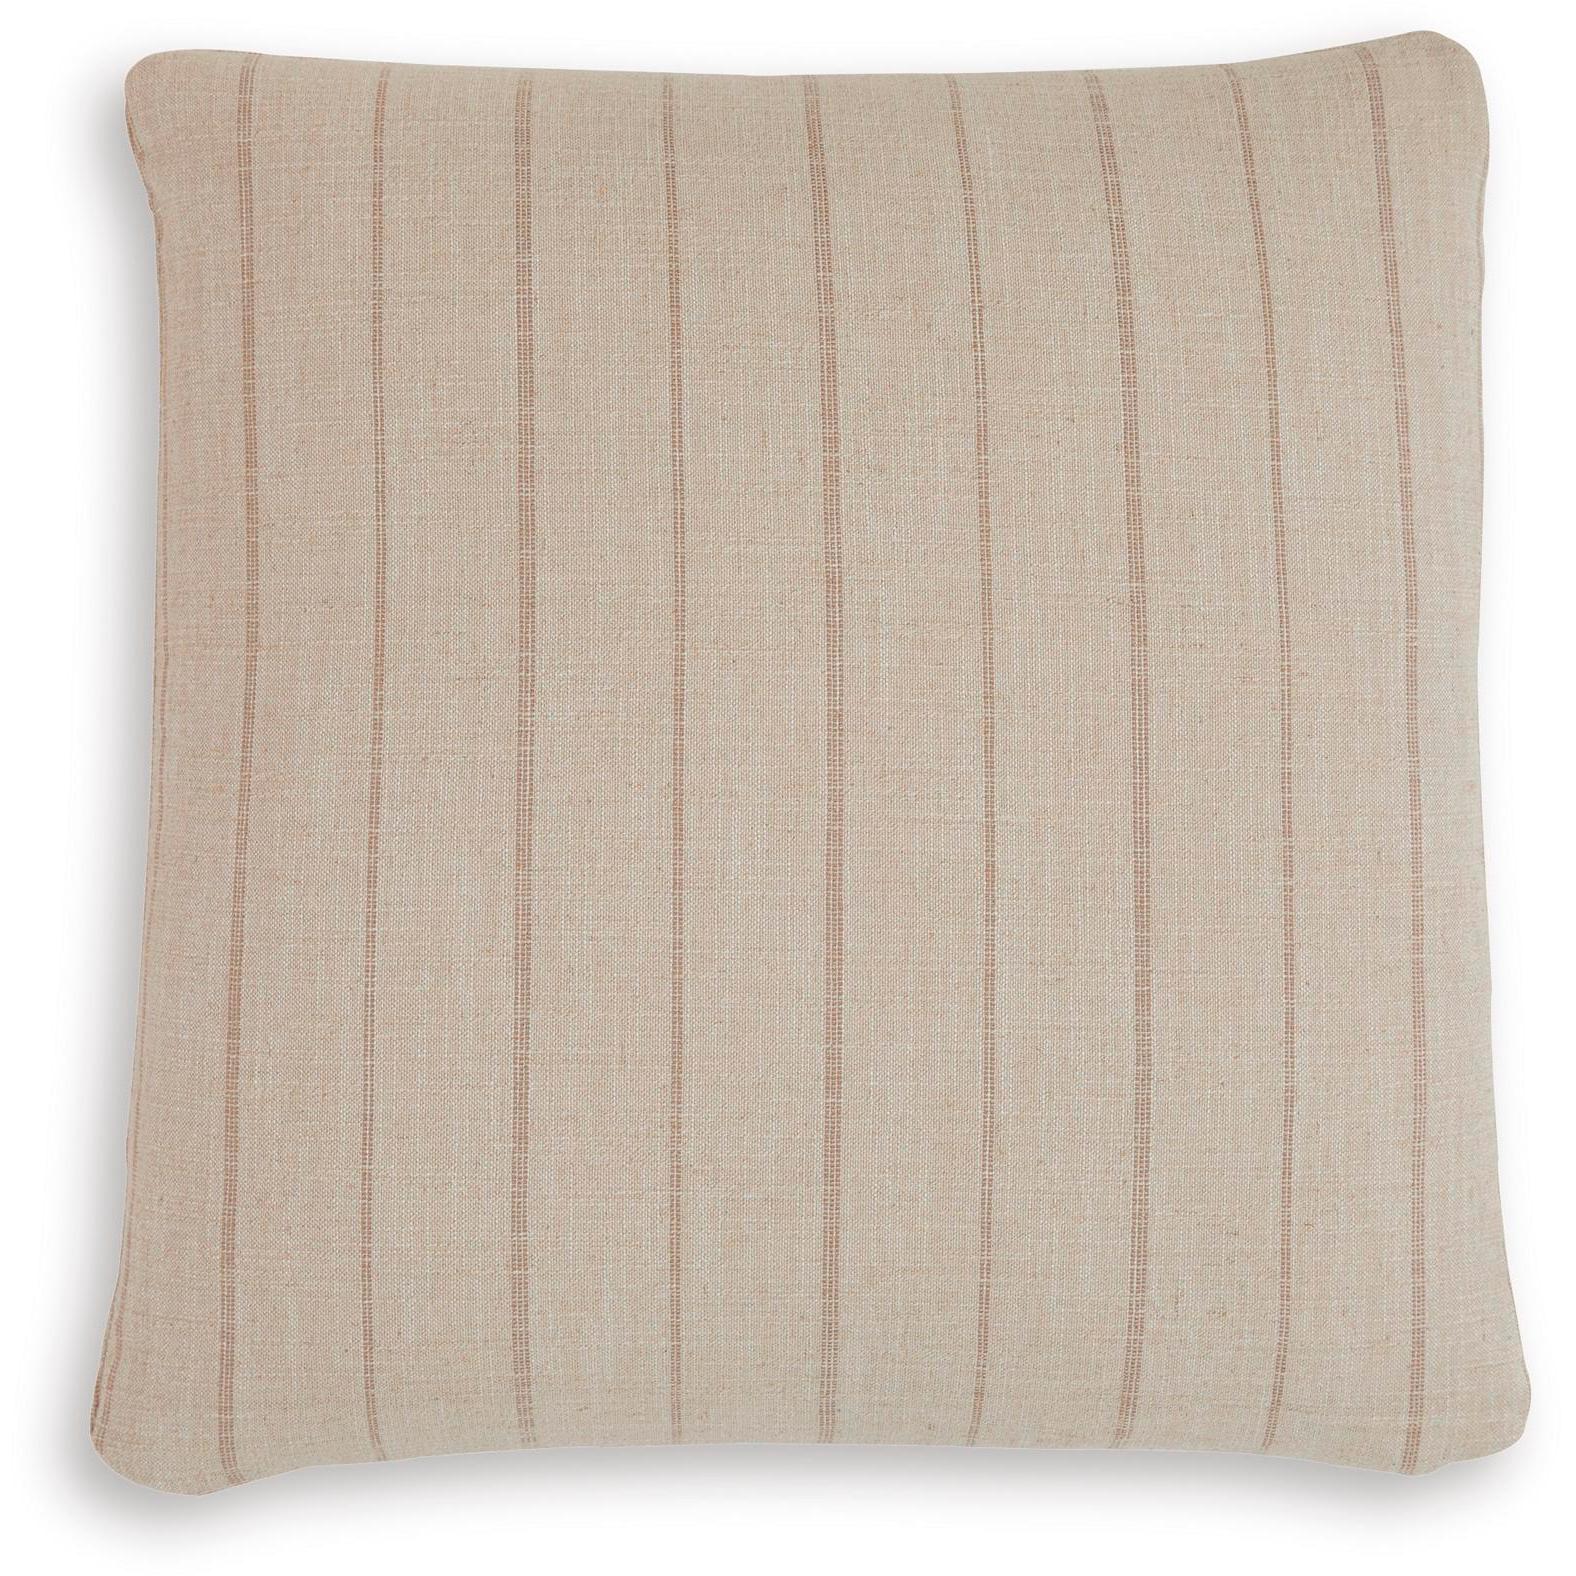

Signature Design by Ashley Valwick A1001180 Pillow
Sale price$187.20

Signature Design by Ashley Beninworth A2000879 Vase
Sale price$138.60


Signature Design by Ashley Justy A2000881 Vase
Sale price$181.80


Signature Design by Ashley Justy A2000882 Vase
Sale price$217.80


Signature Design by Ashley Justy A2000883 Bowl
Sale price$163.80


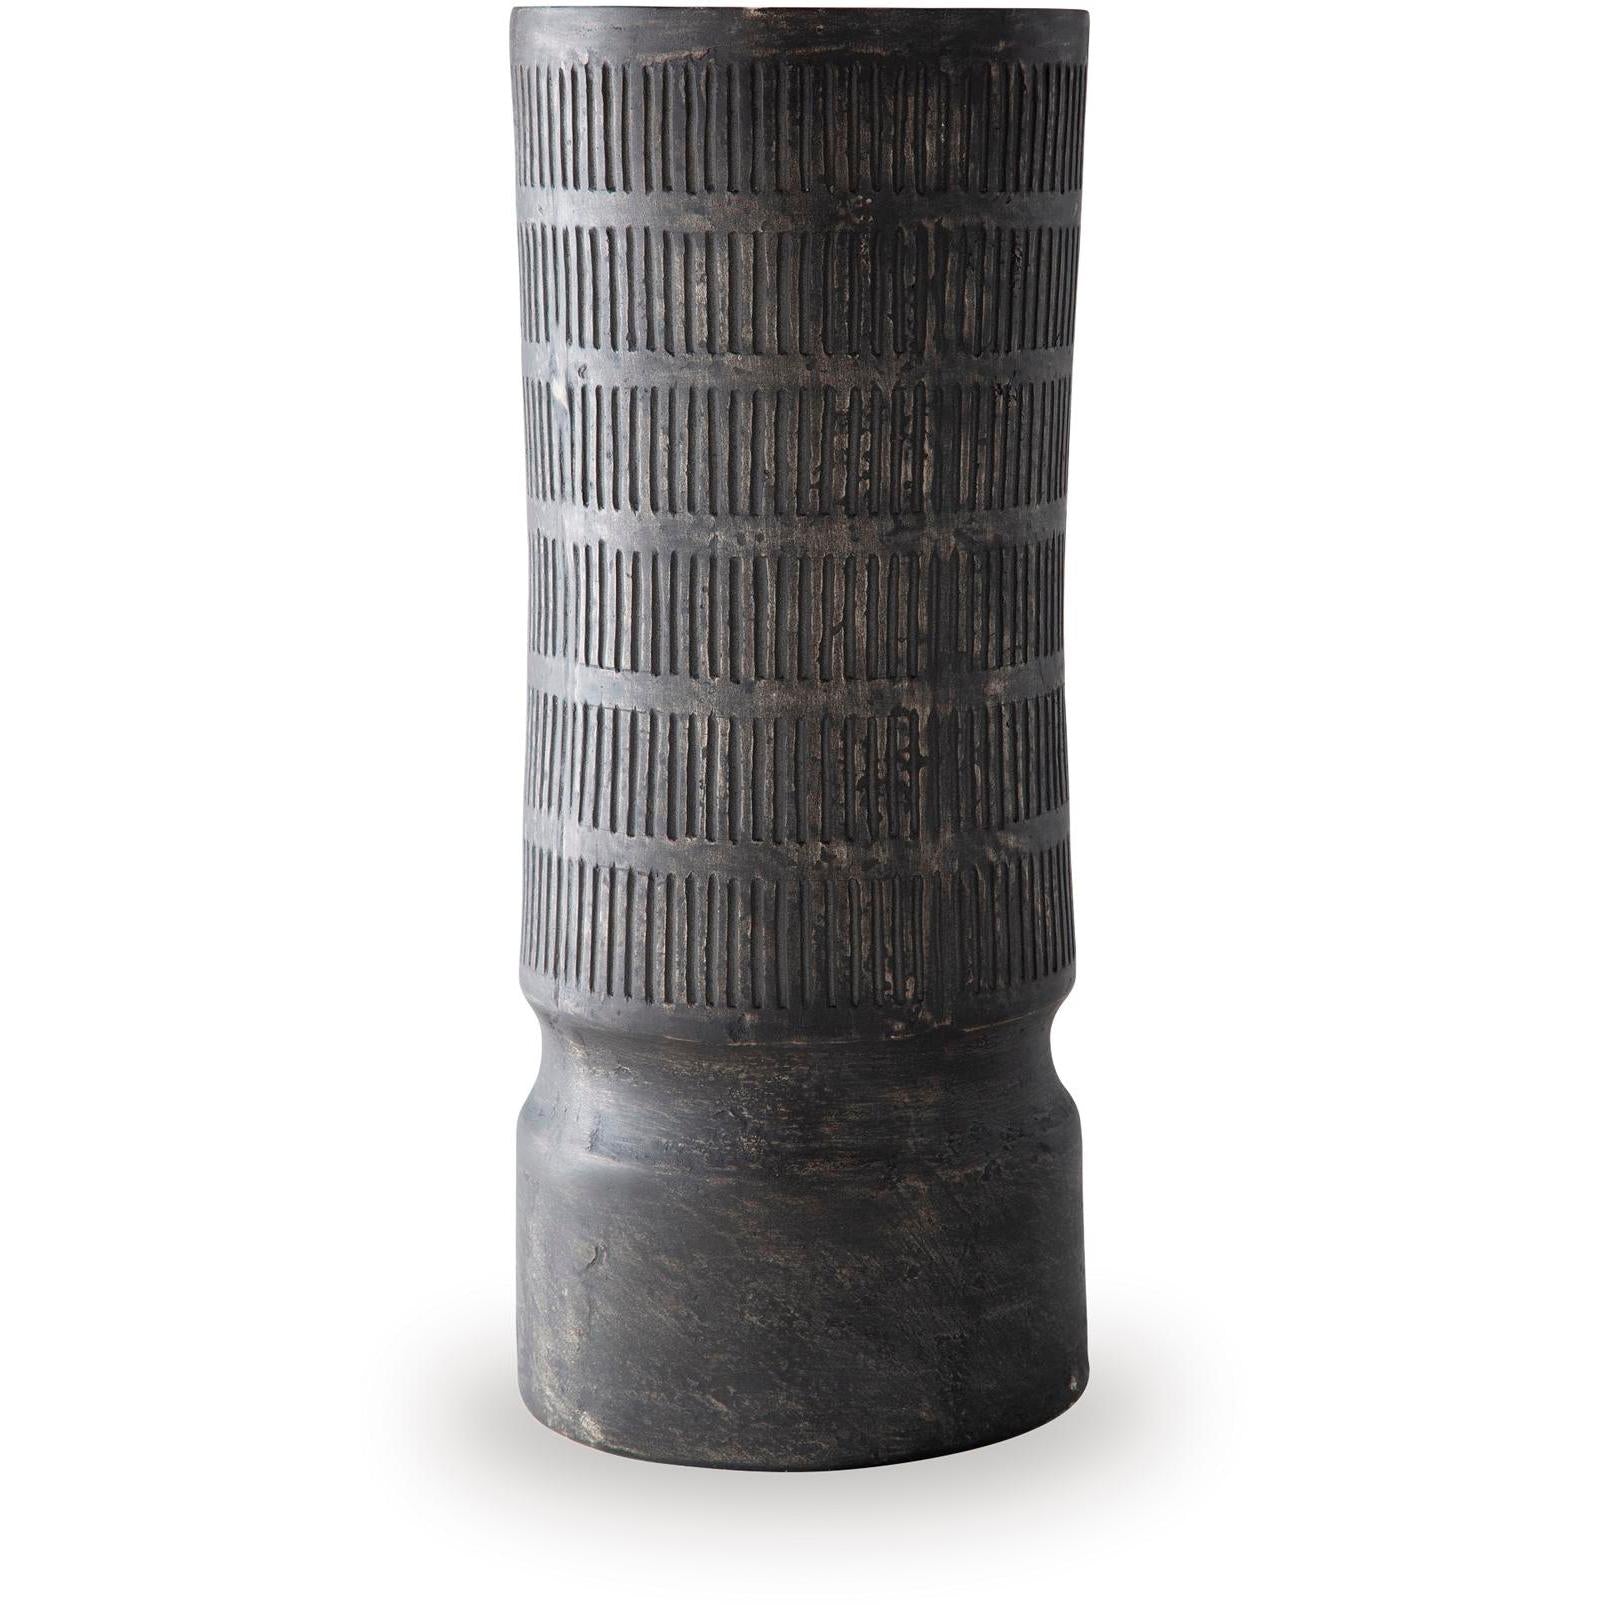
Signature Design by Ashley Fedorleigh A2000893 Vase
Sale price$163.80


Signature Design by Ashley Fedorleigh A2000894 Vase
Sale price$163.80


Signature Design by Ashley Aidman A2000895 Bowl
Sale price$199.80


Signature Design by Ashley Clayburg A2000896 Bowl
Sale price$235.80