Filters
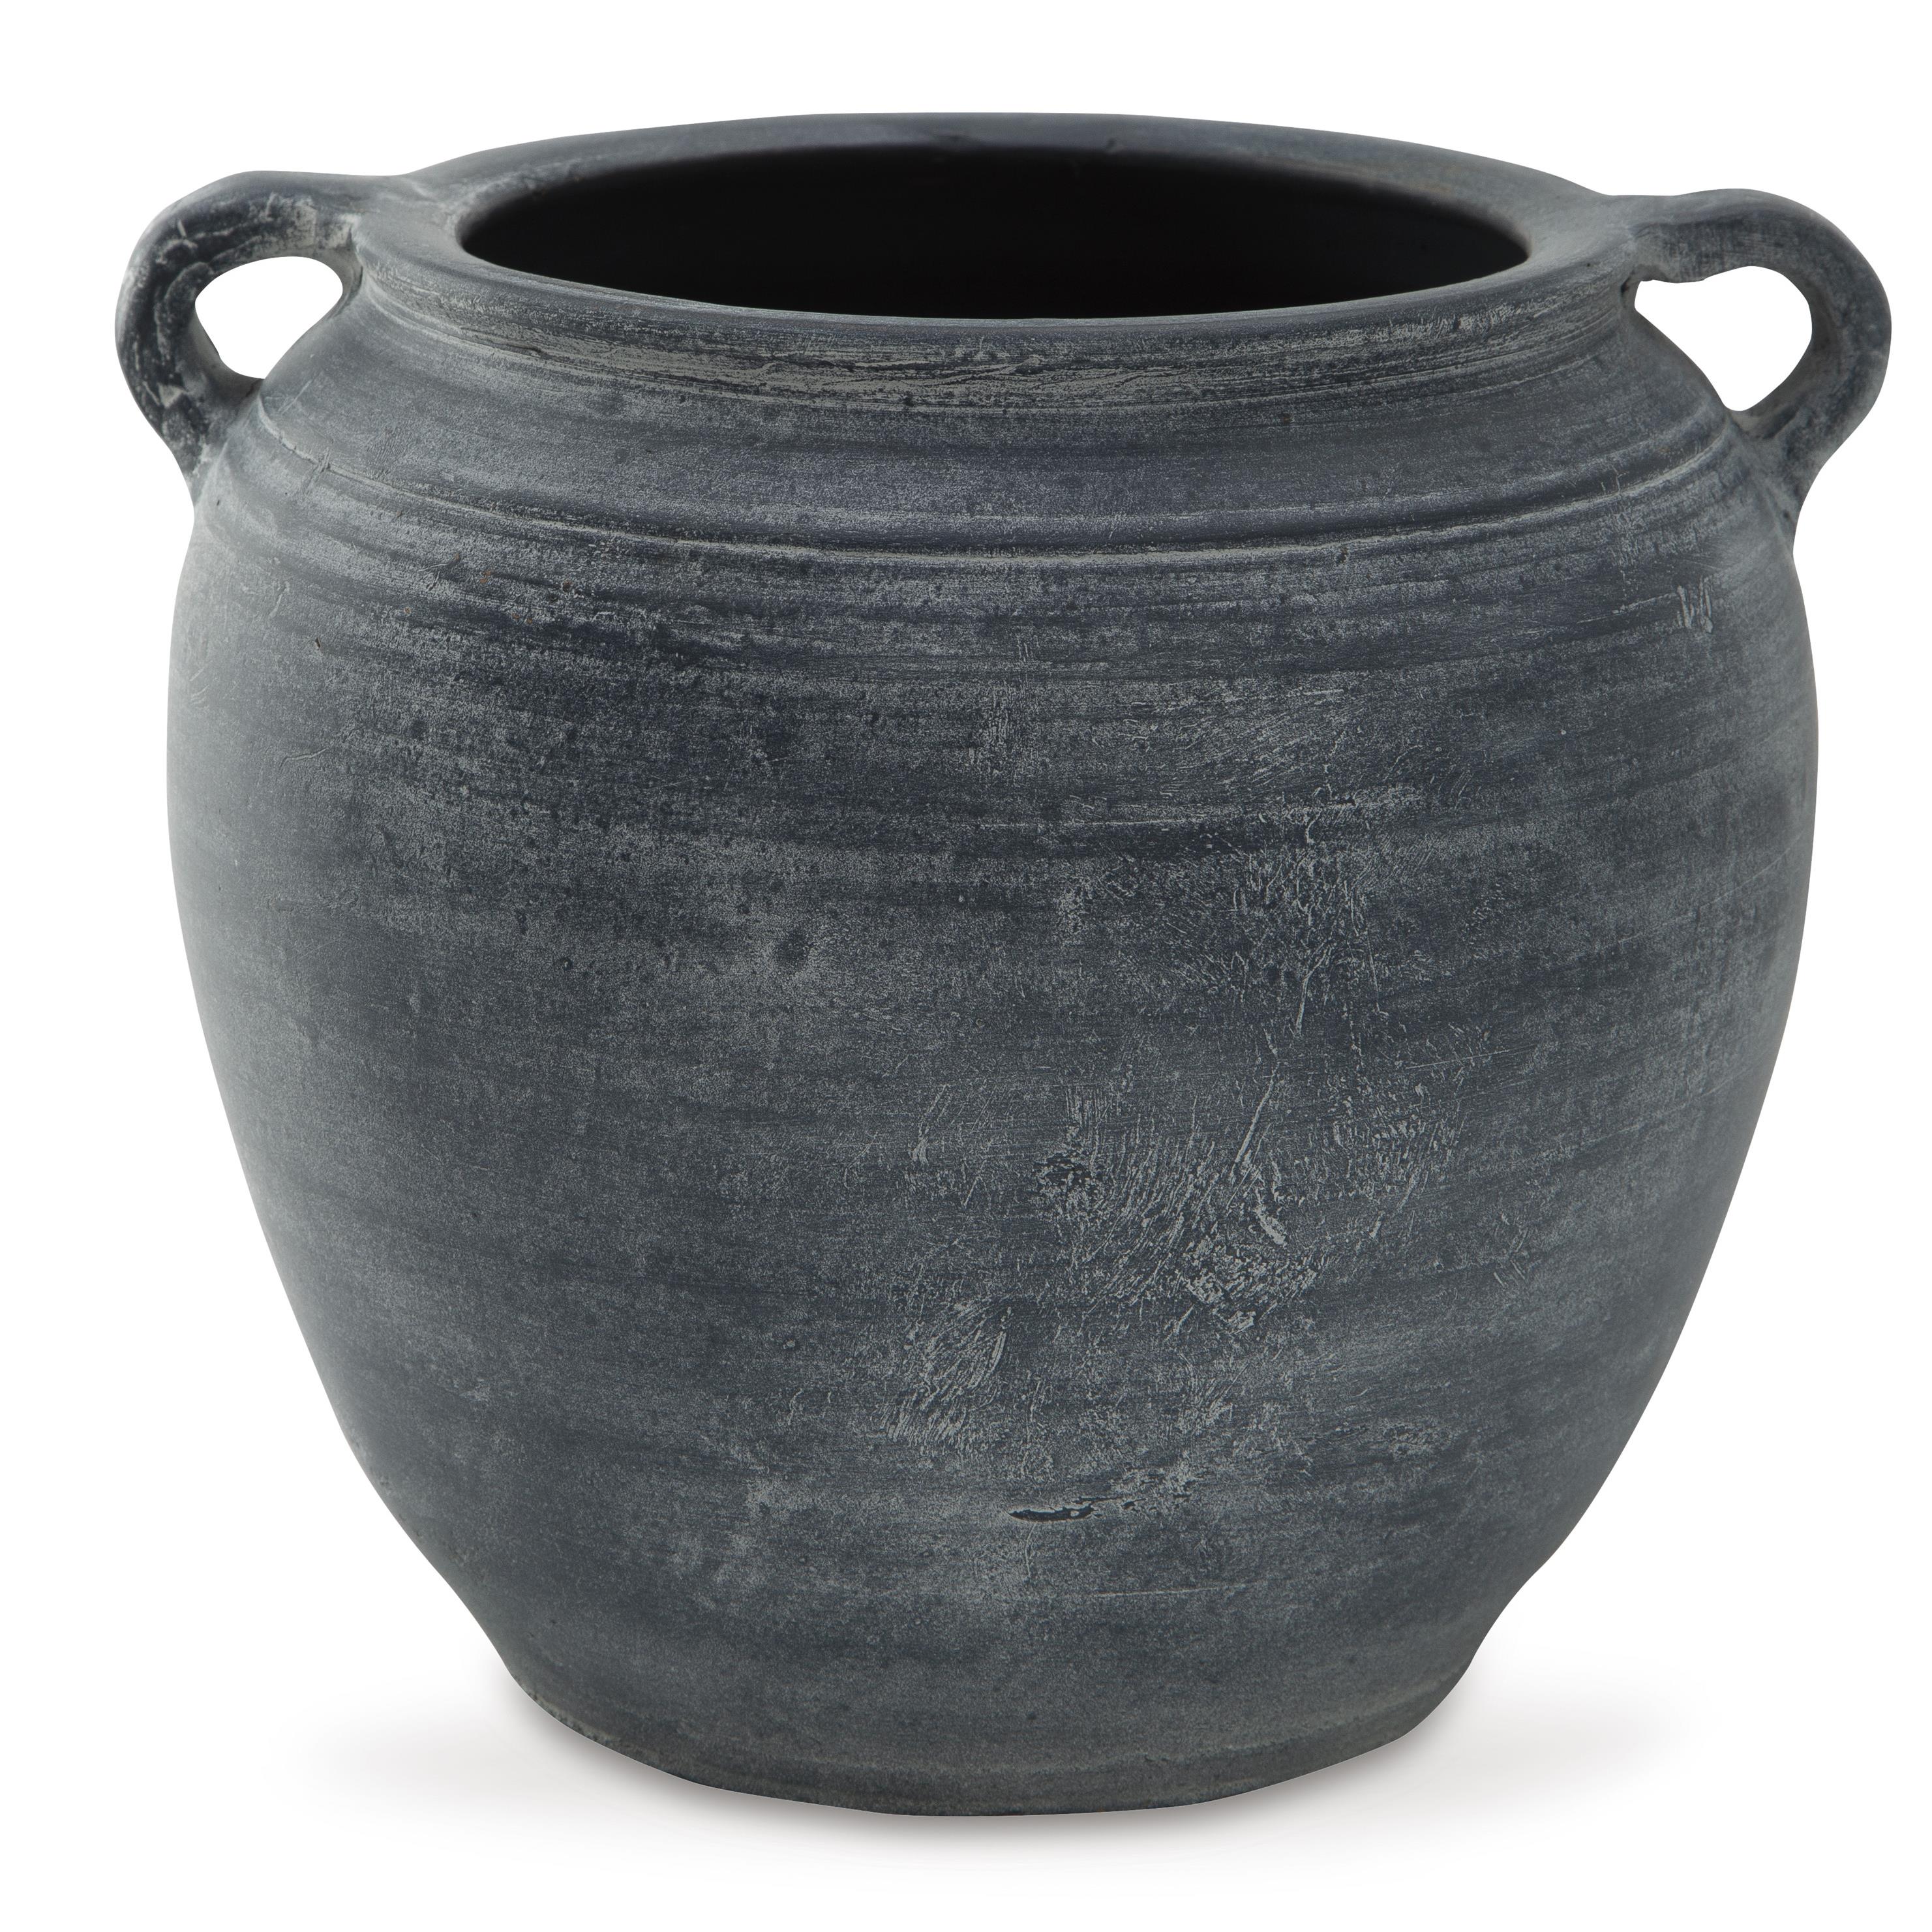

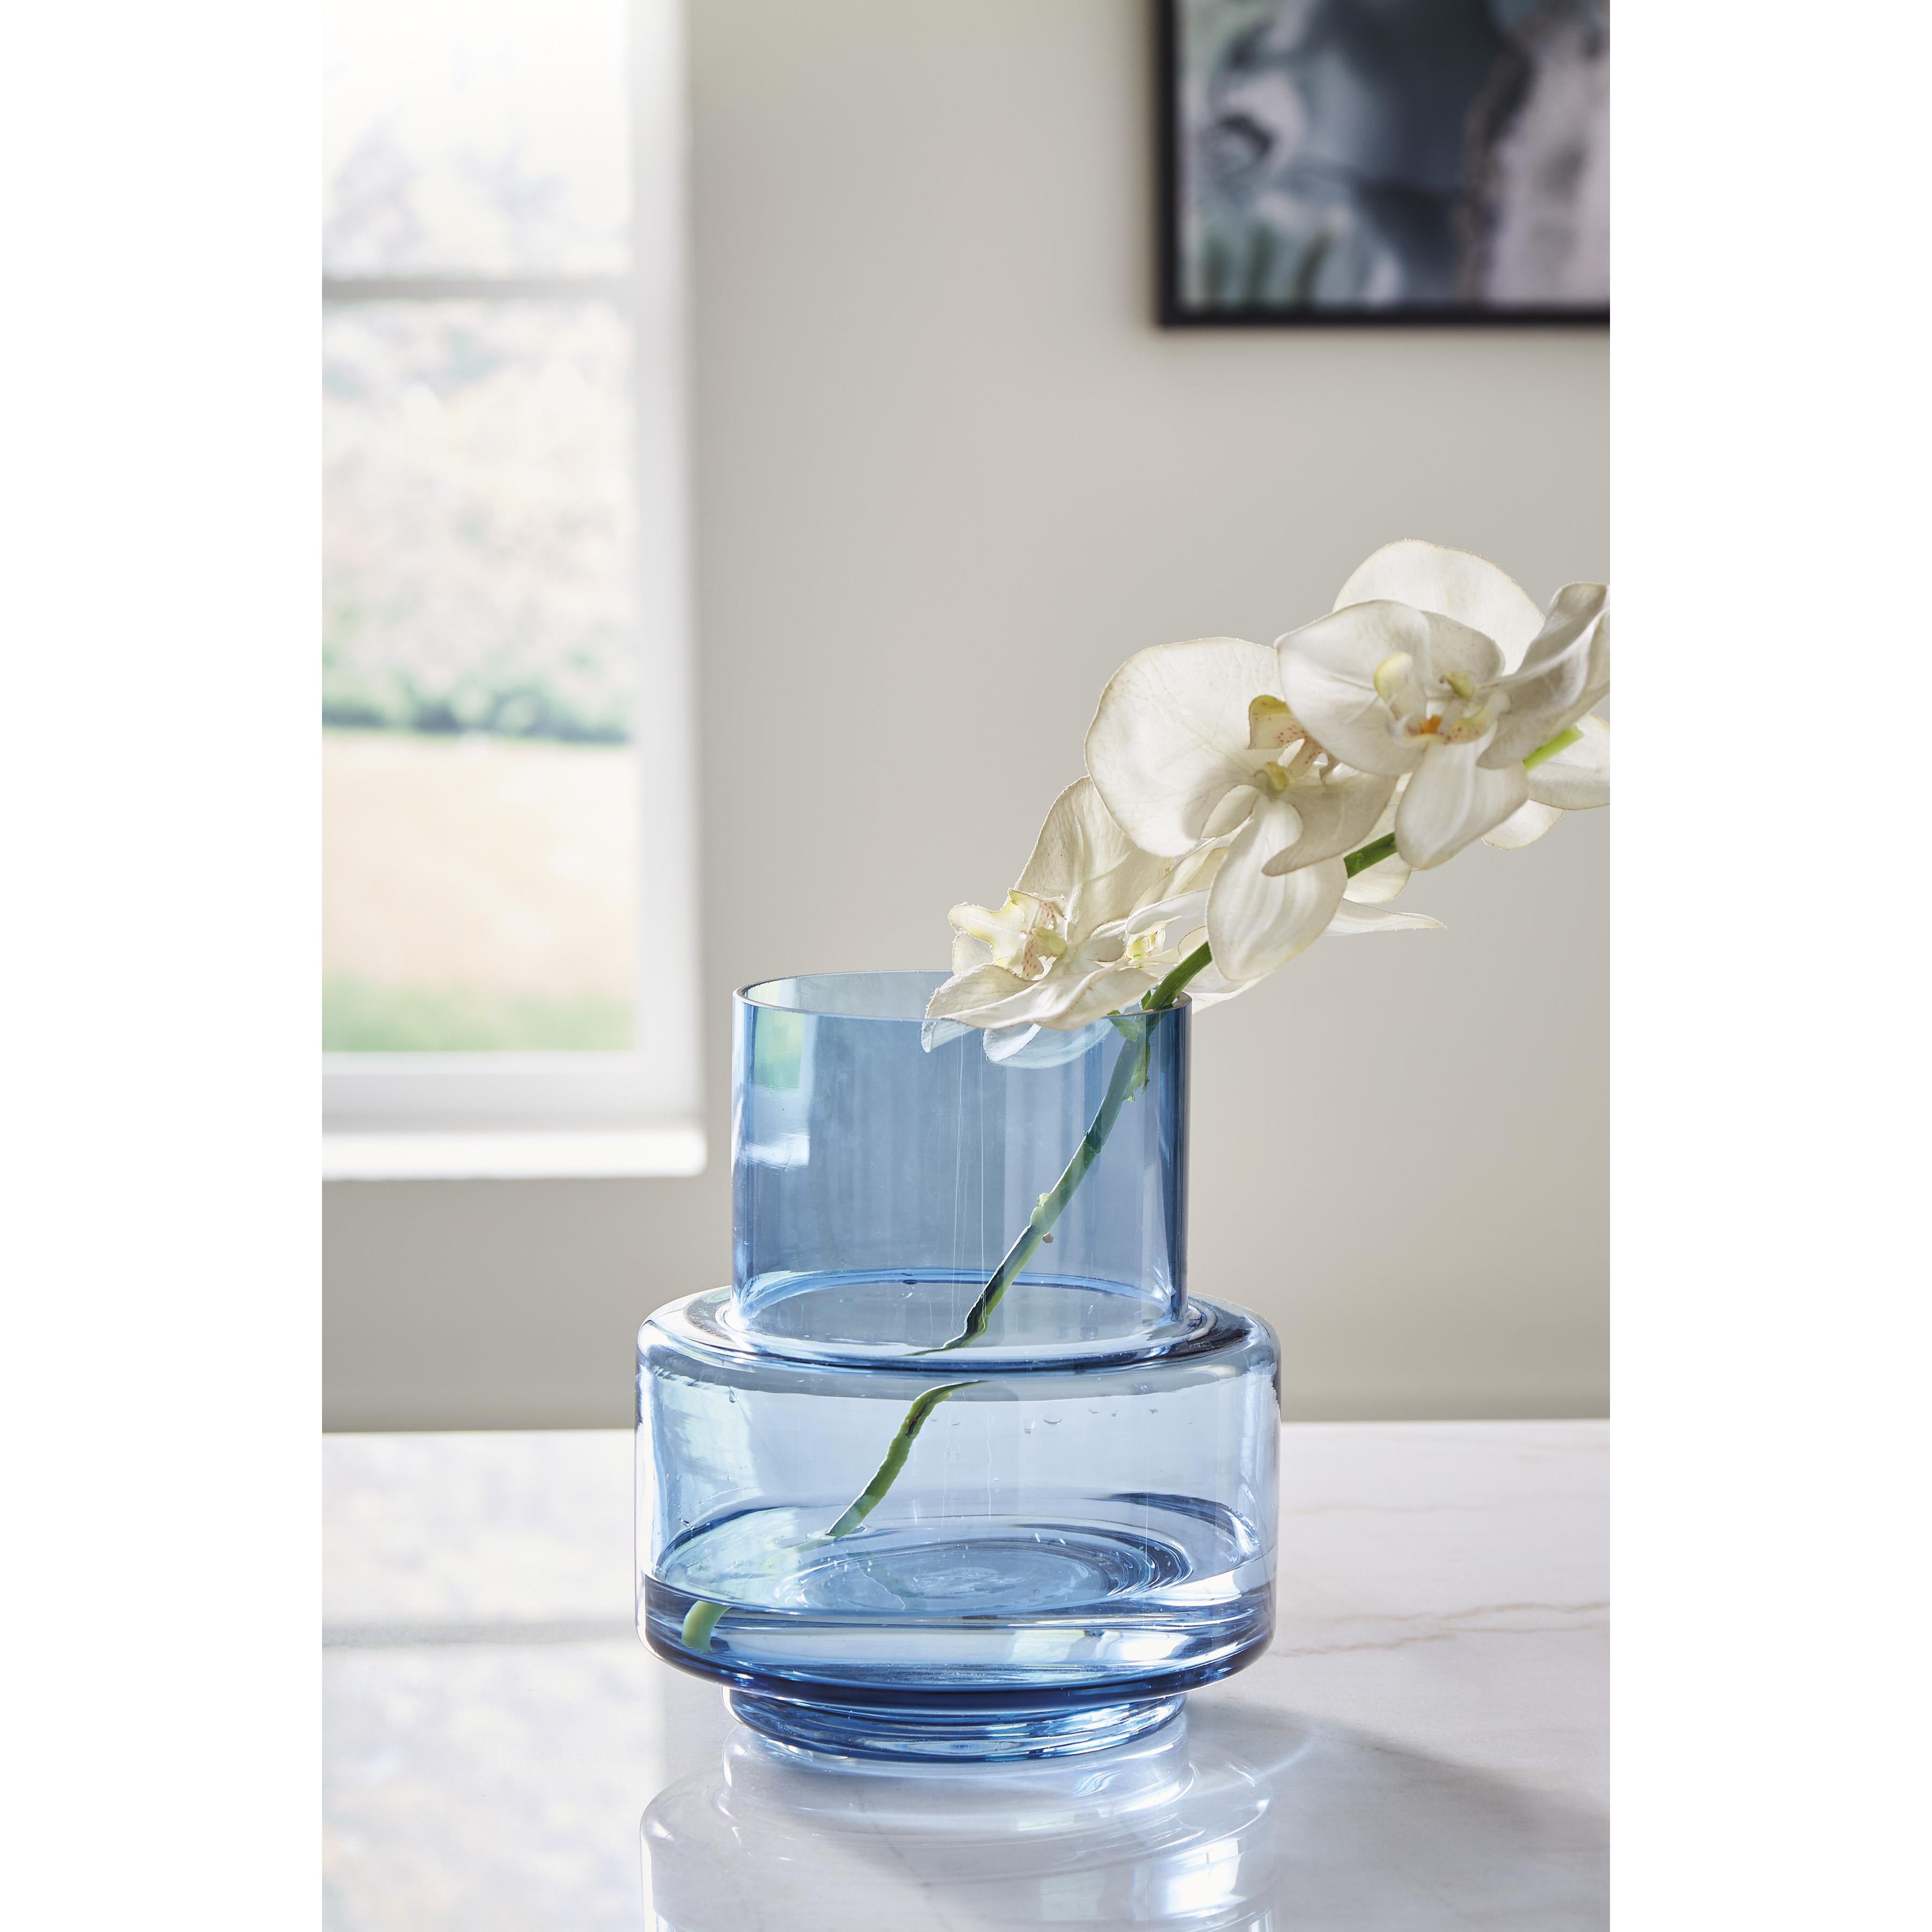
Signature Design by Ashley Meadie A2000628 Vase
Sale price$81.00


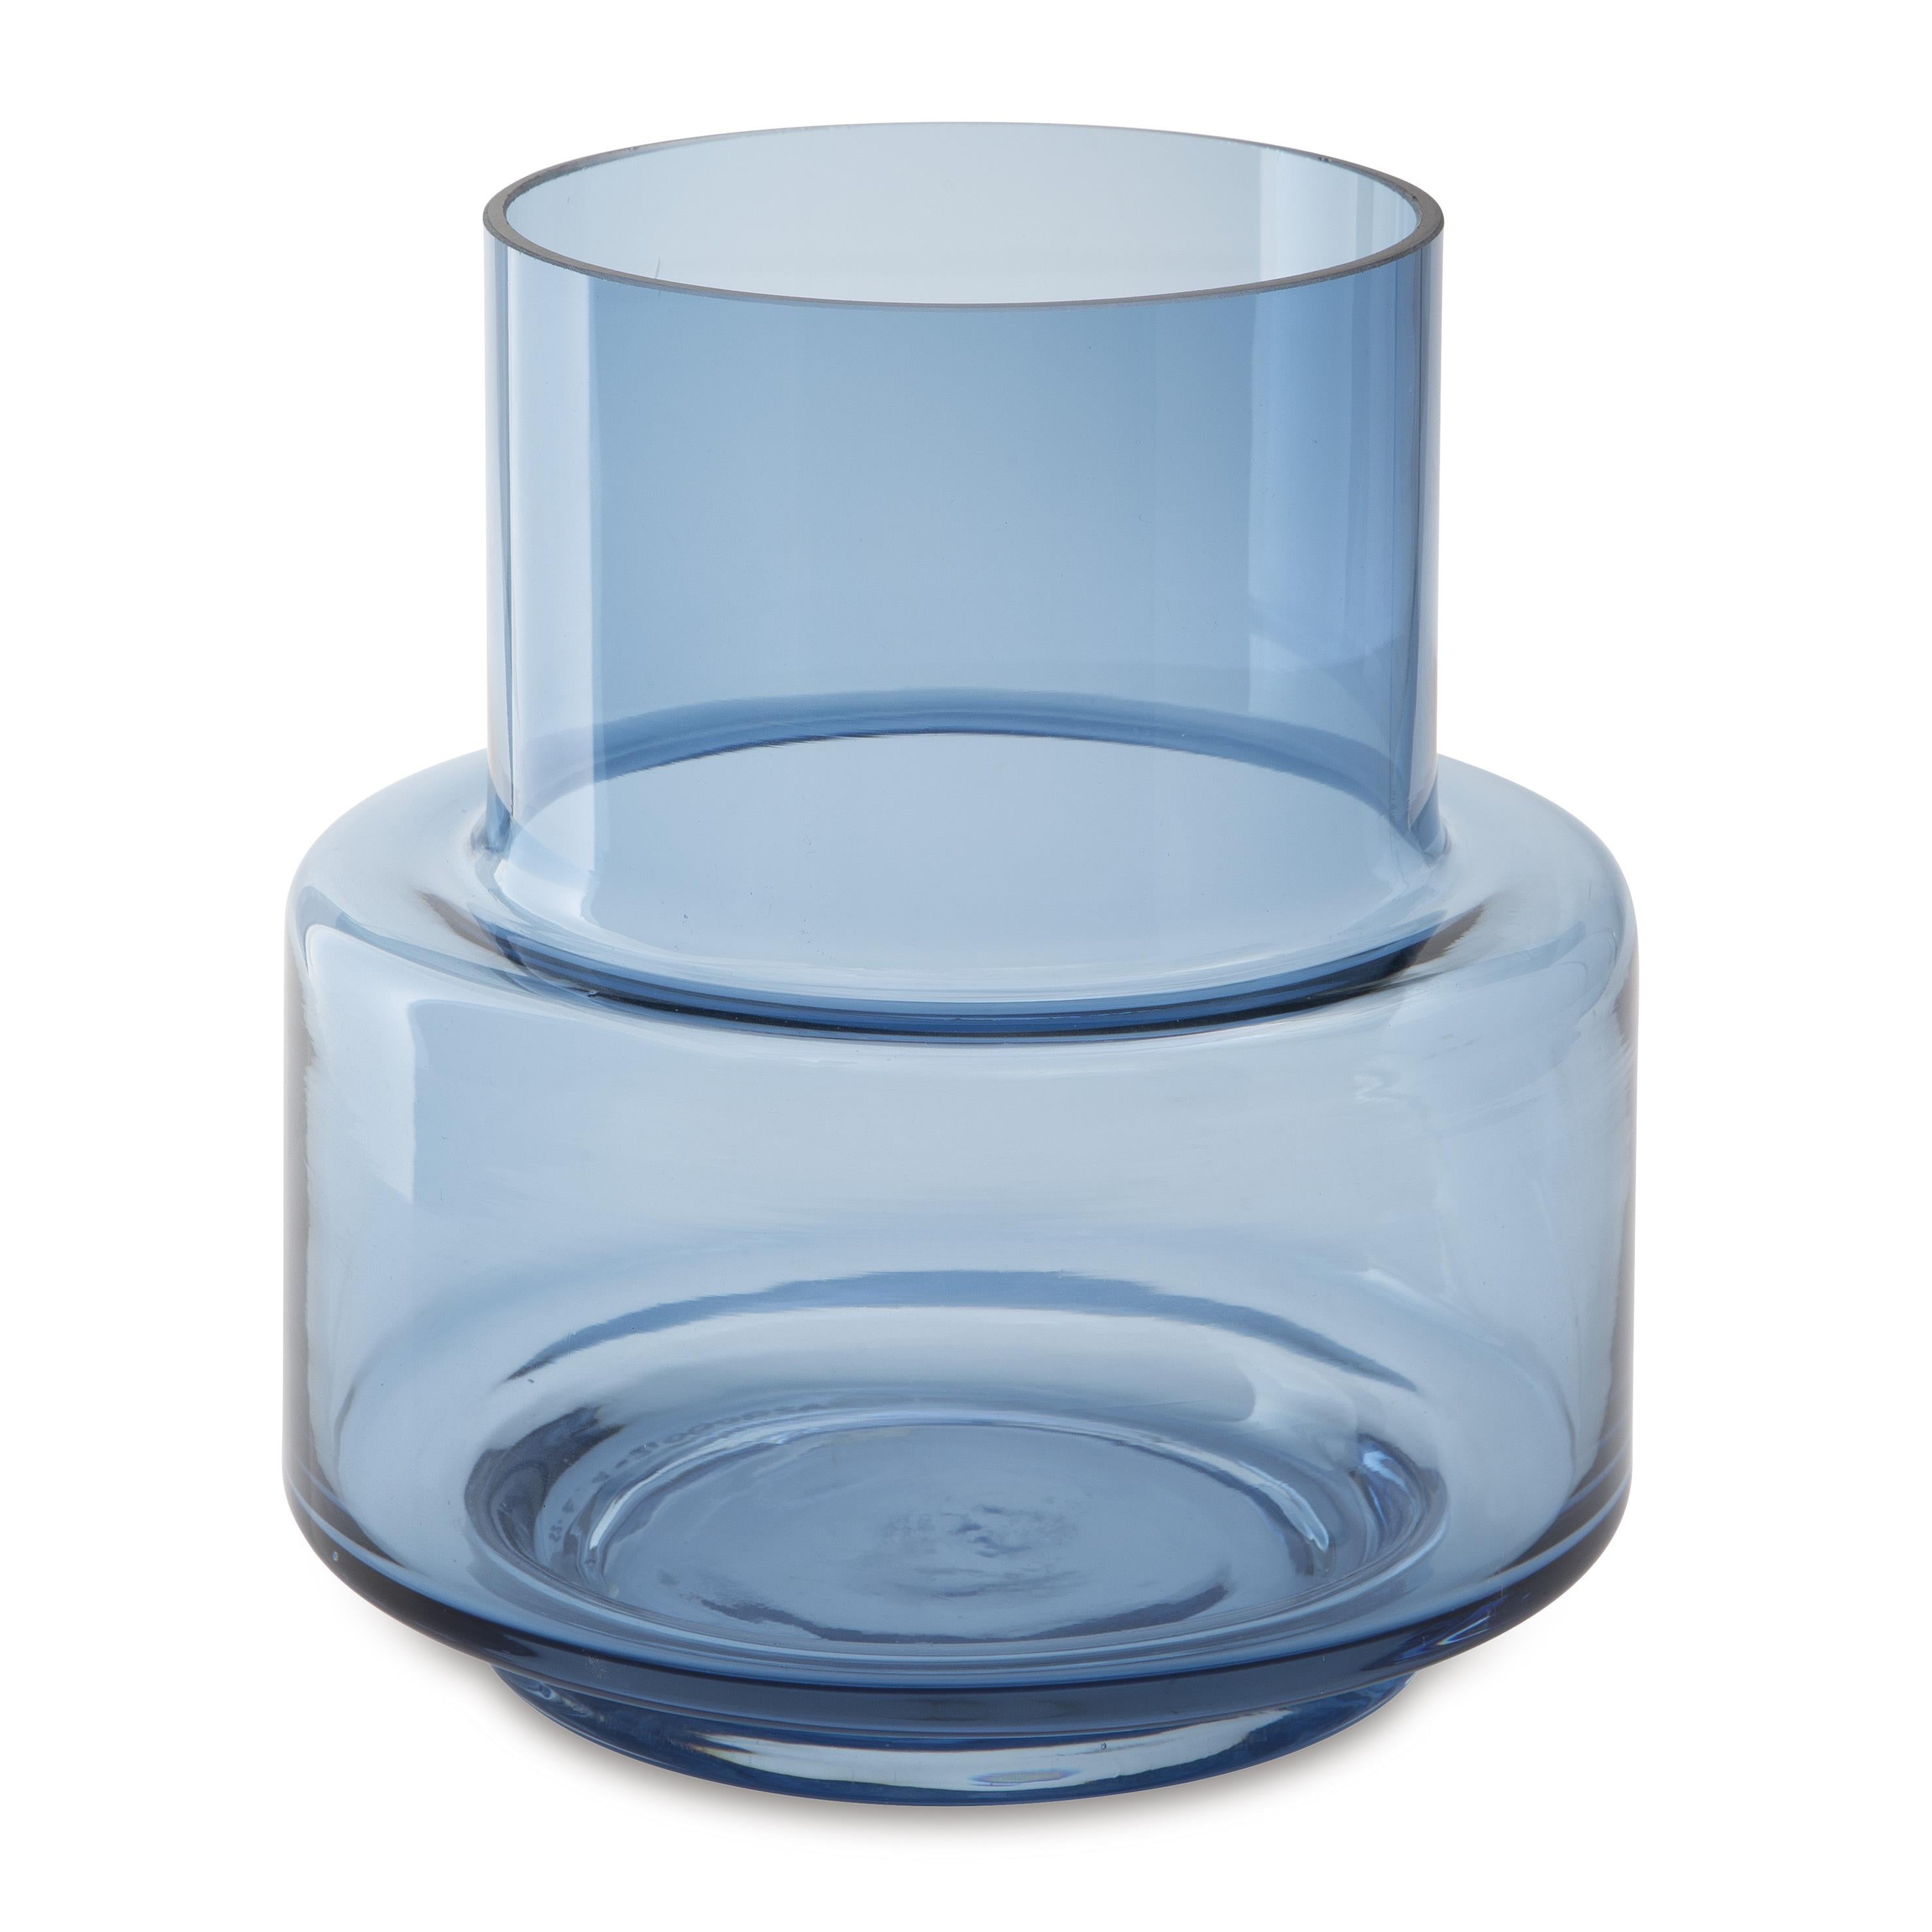
Signature Design by Ashley Meadie A2000629 Vase
Sale price$102.60


Signature Design by Ashley Jolina A2000617 Box Set
Sale price$131.40
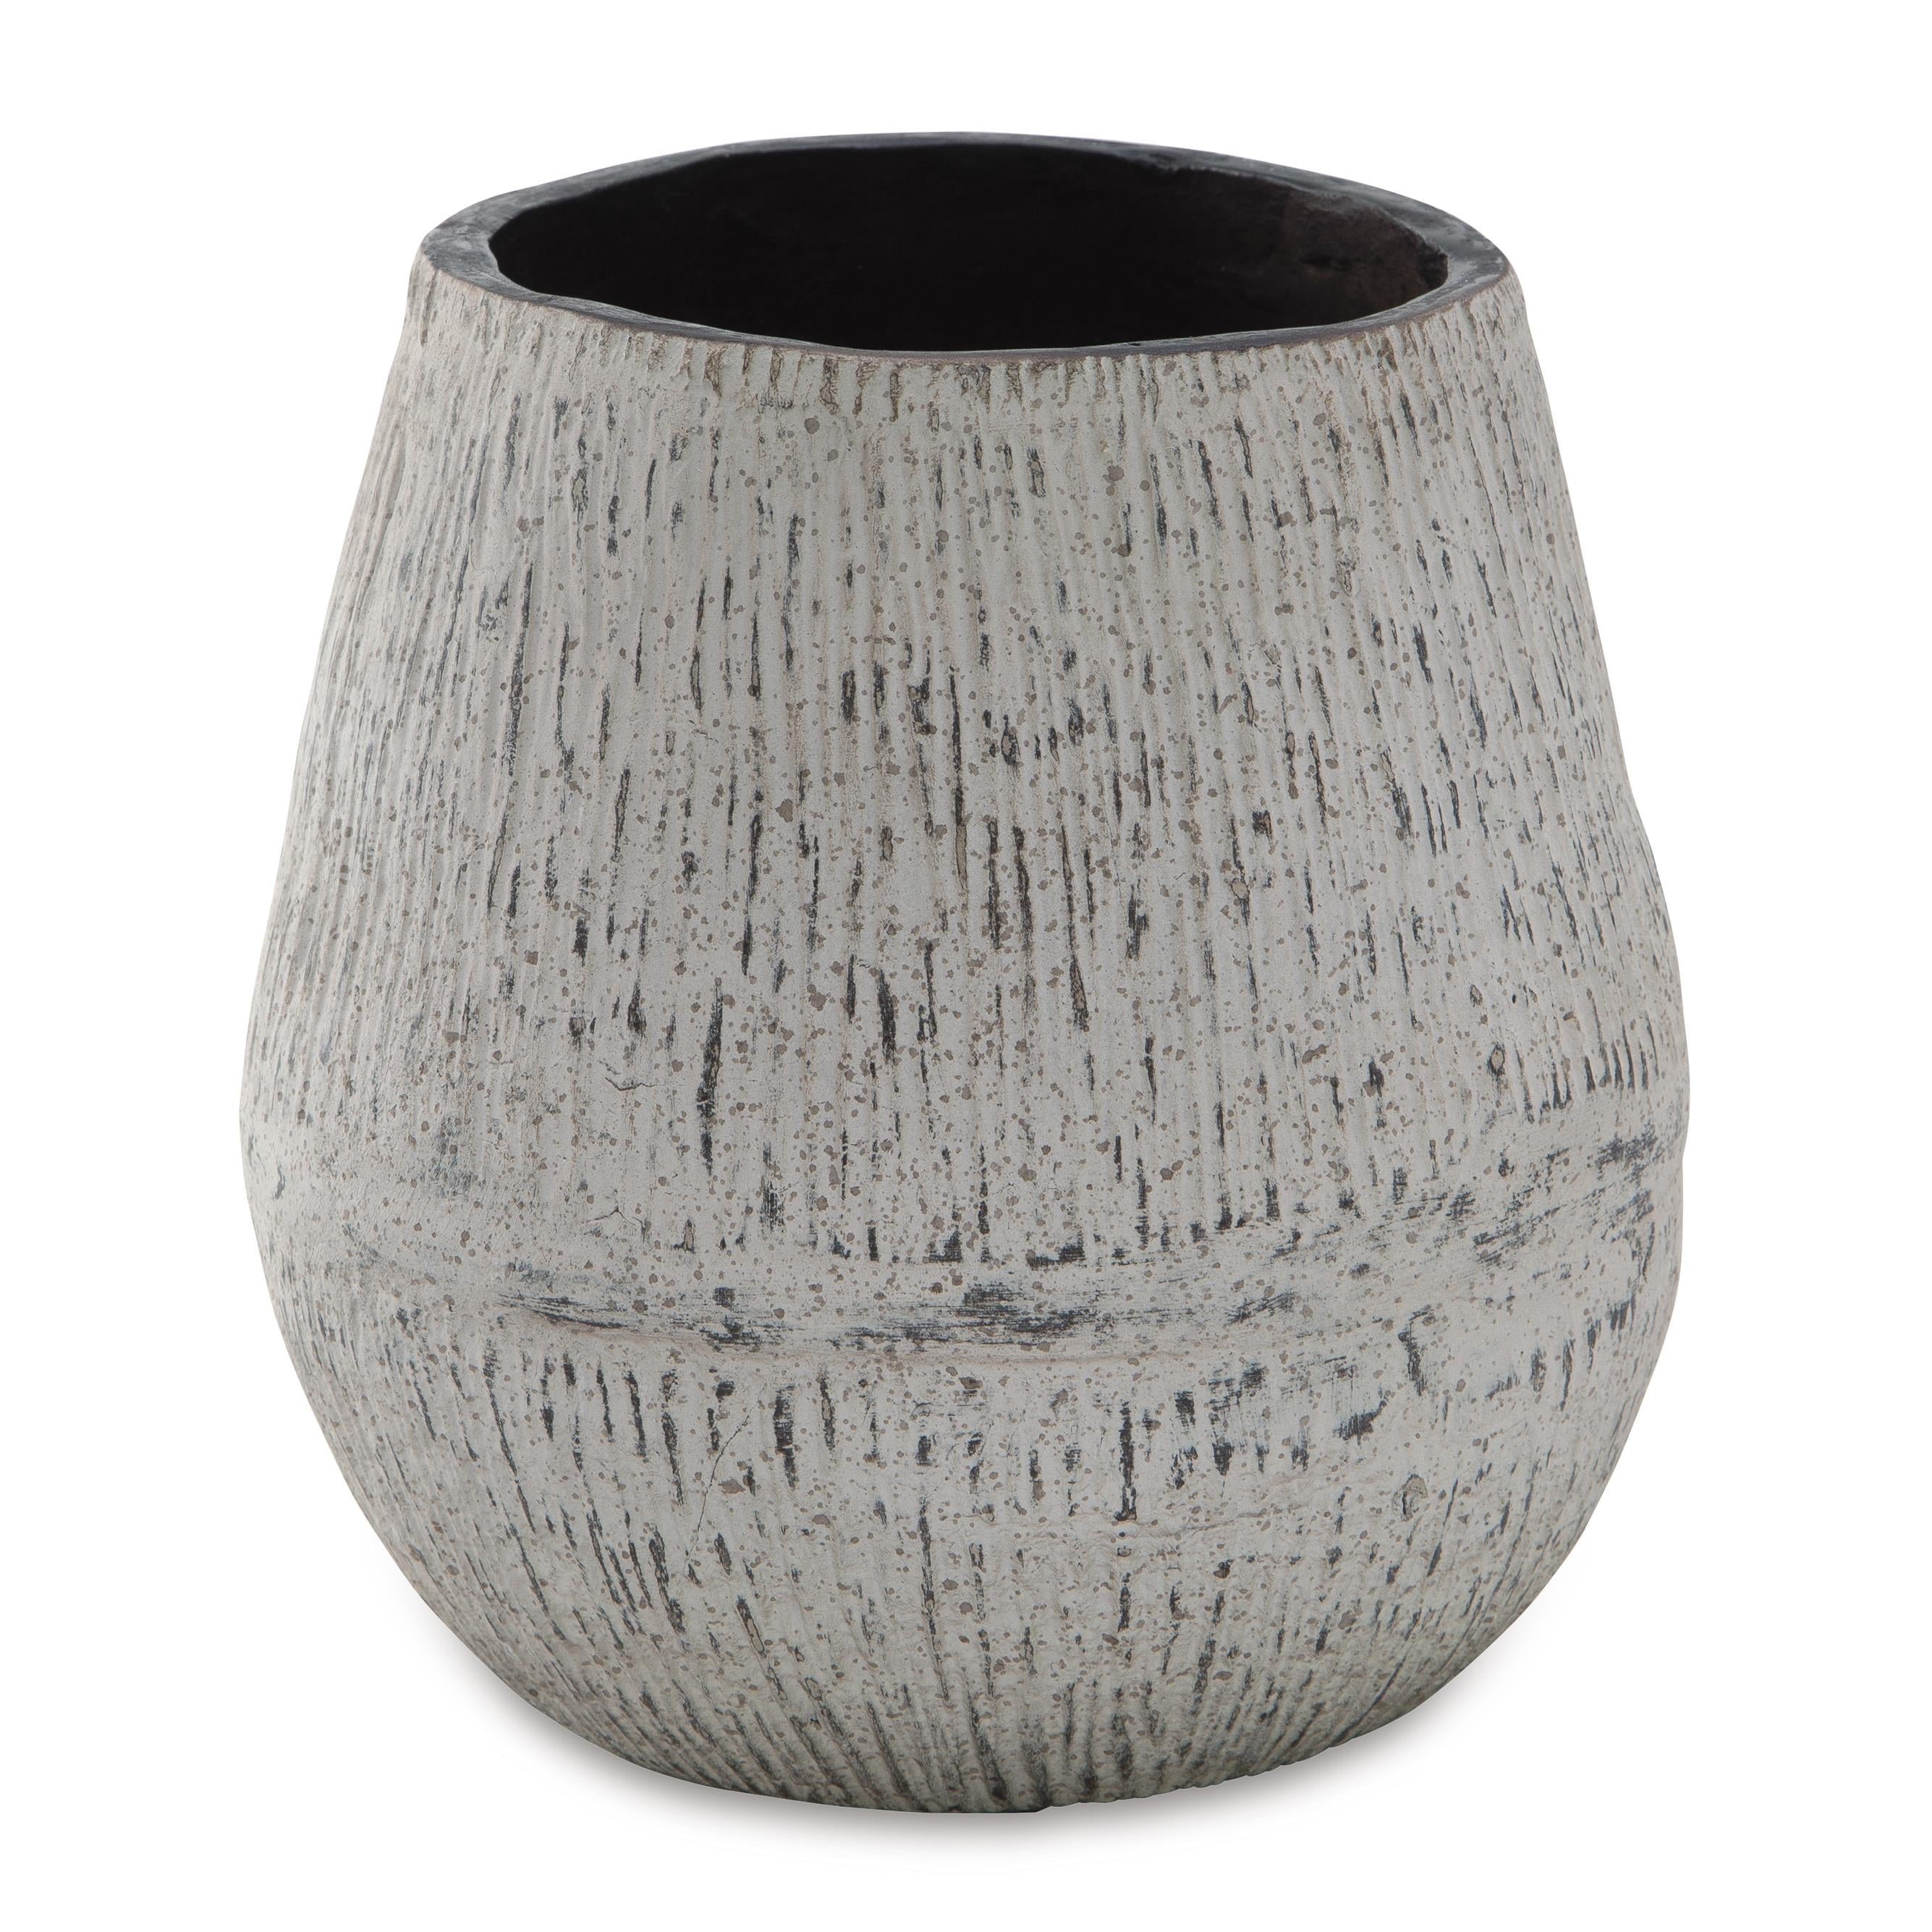

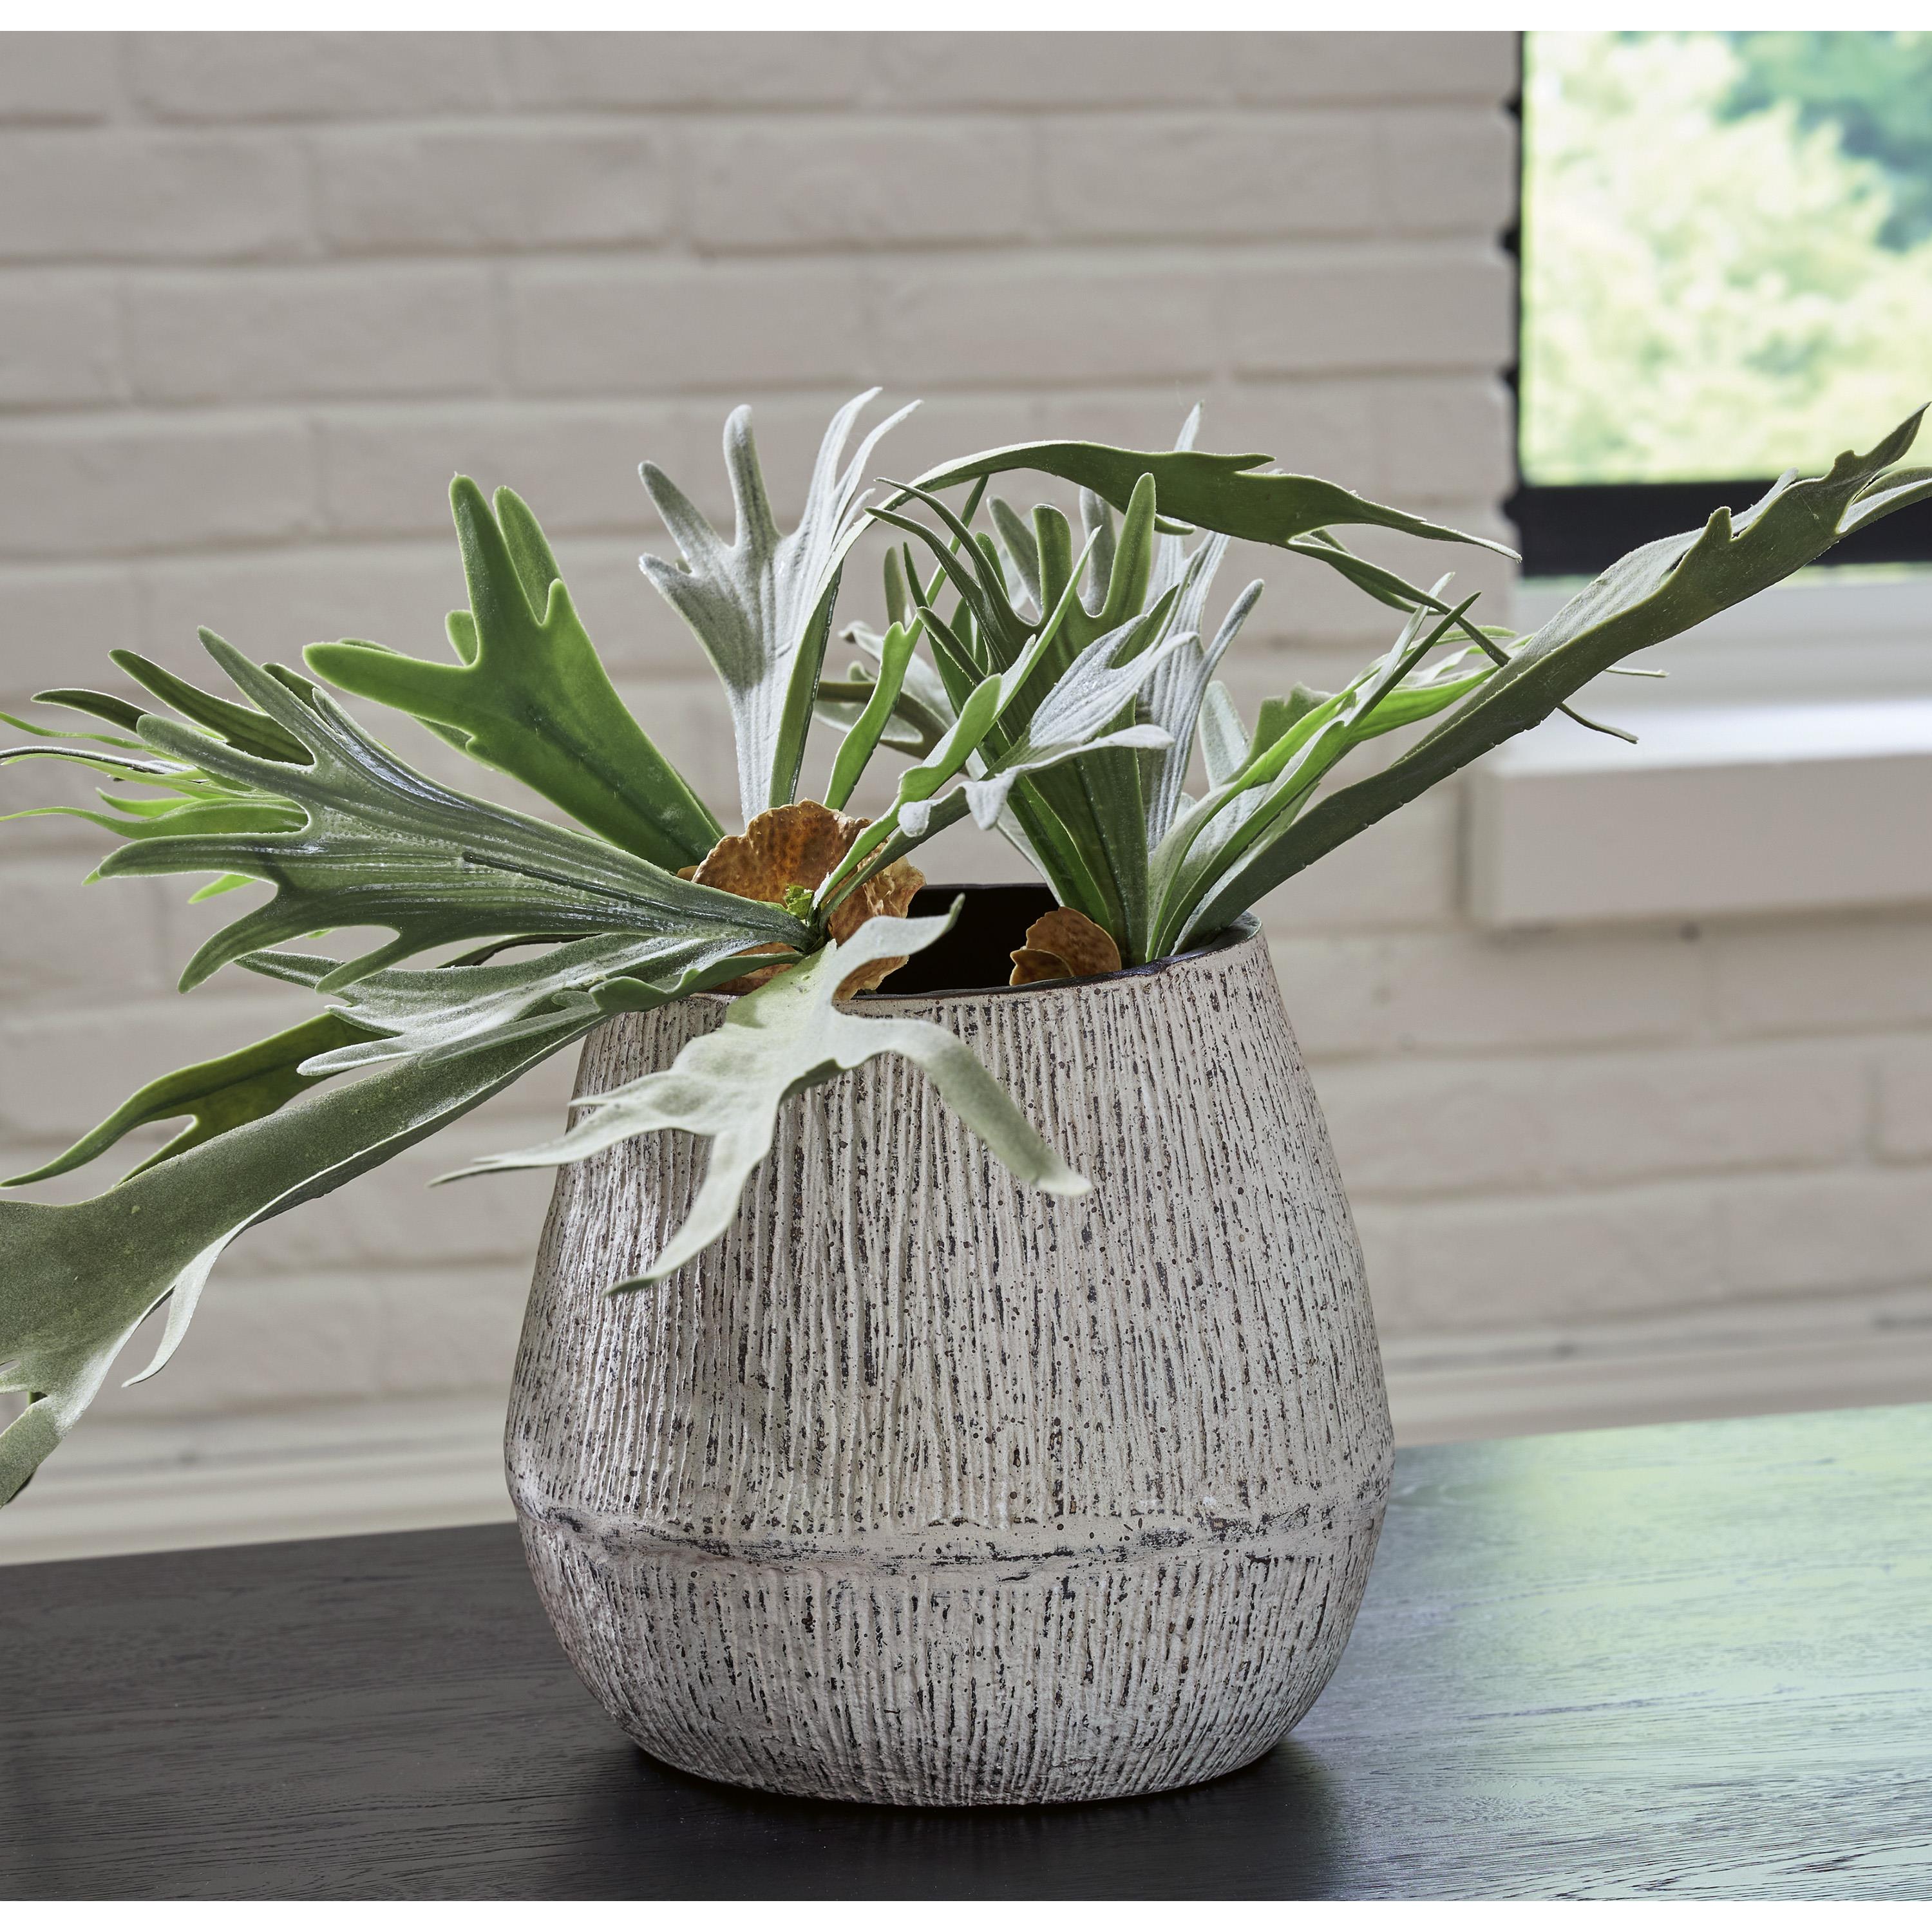
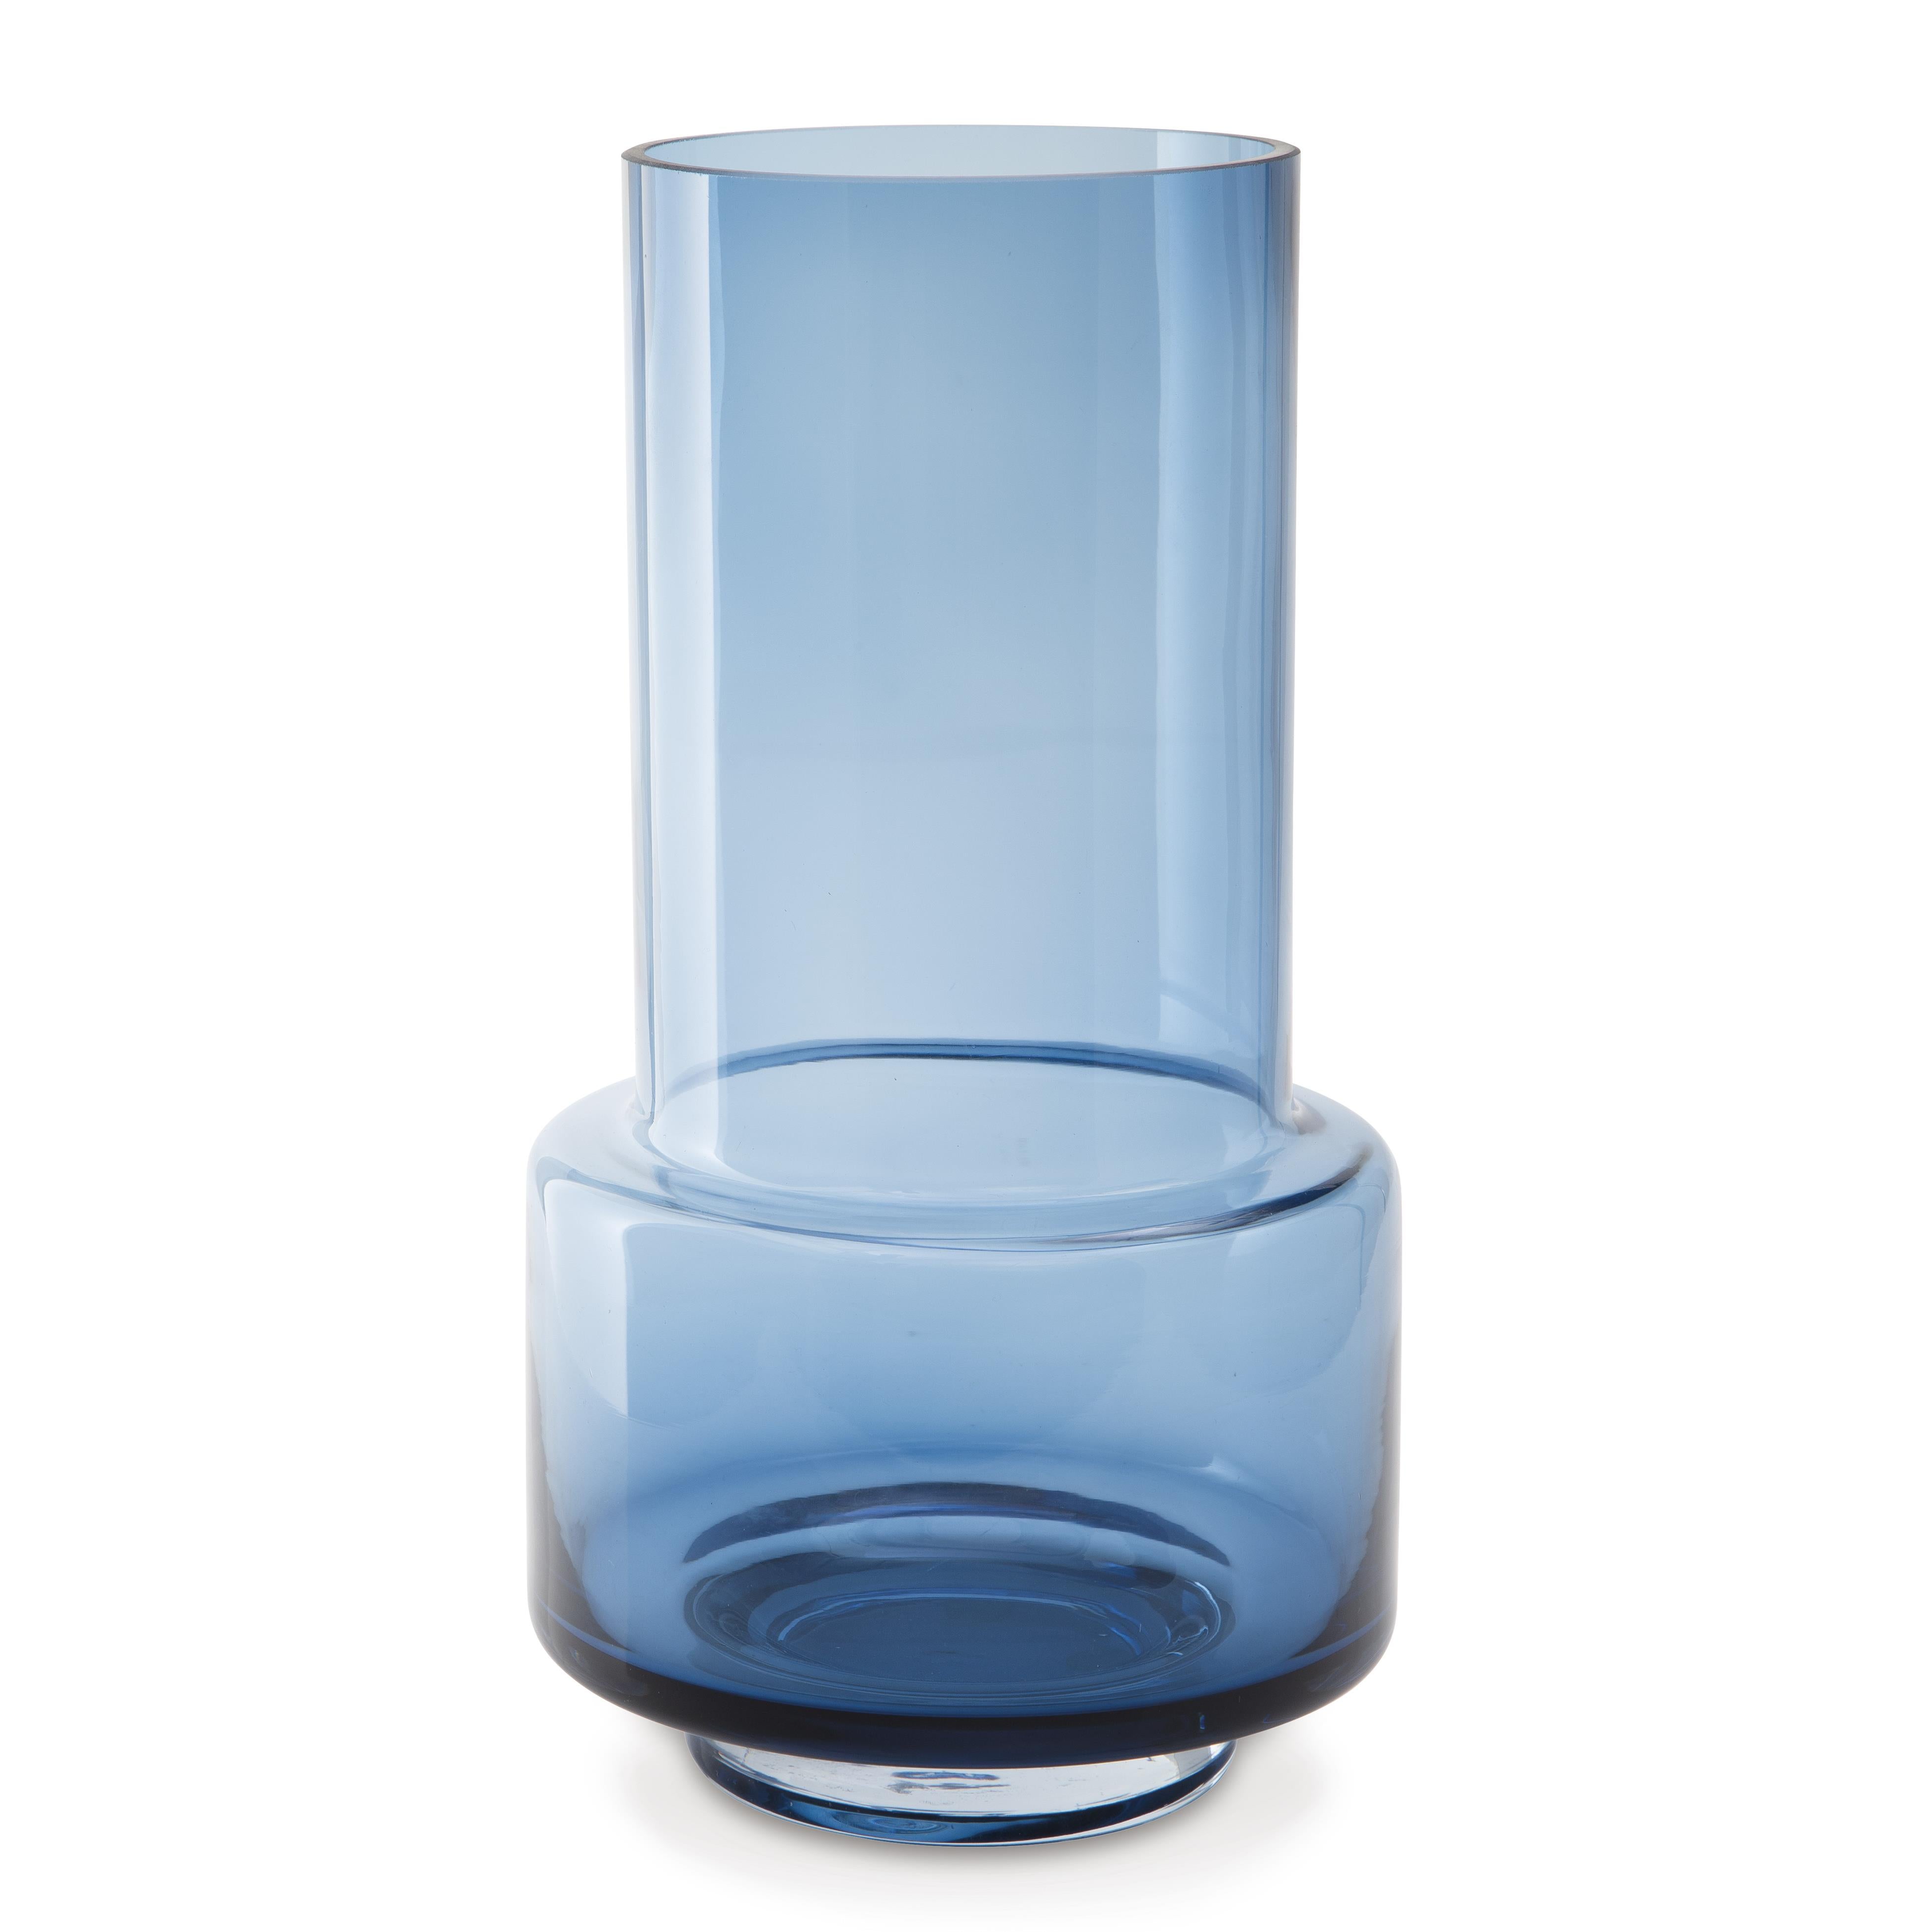
Signature Design by Ashley Claymount A2000635 Vase
Sale price$66.60

Signature Design by Ashley Claymount A2000636 Vase
Sale price$81.00
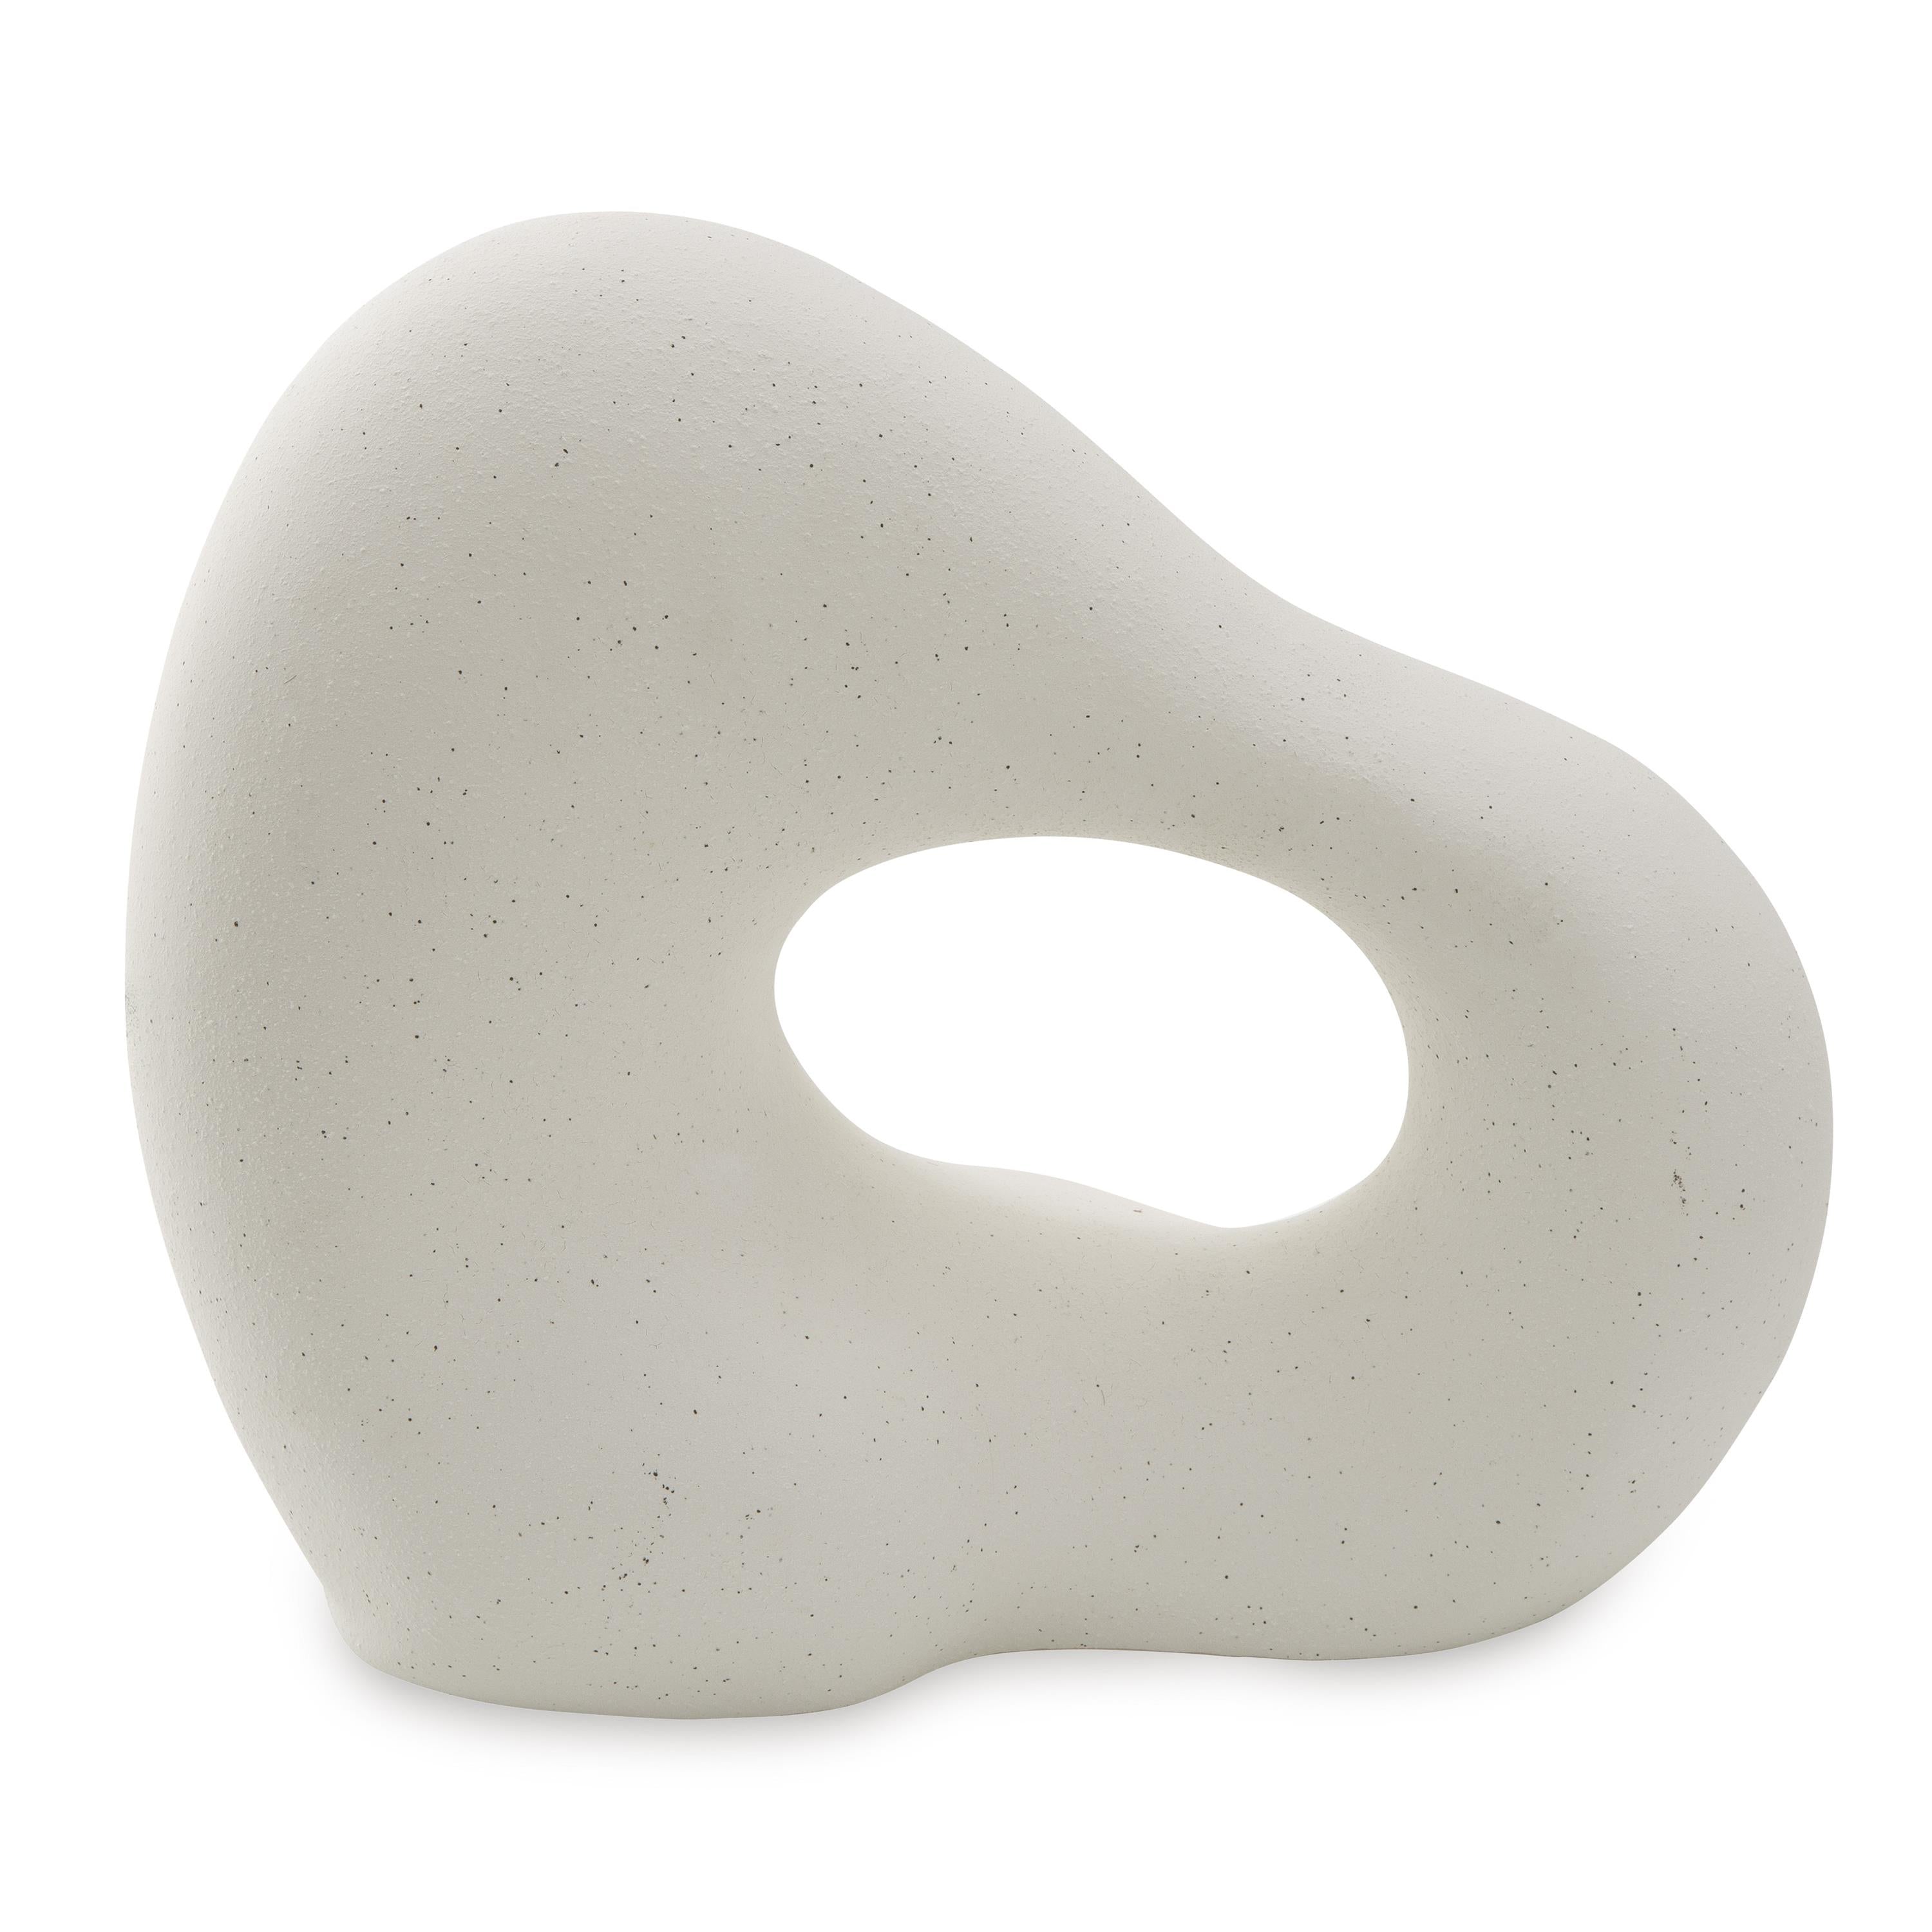
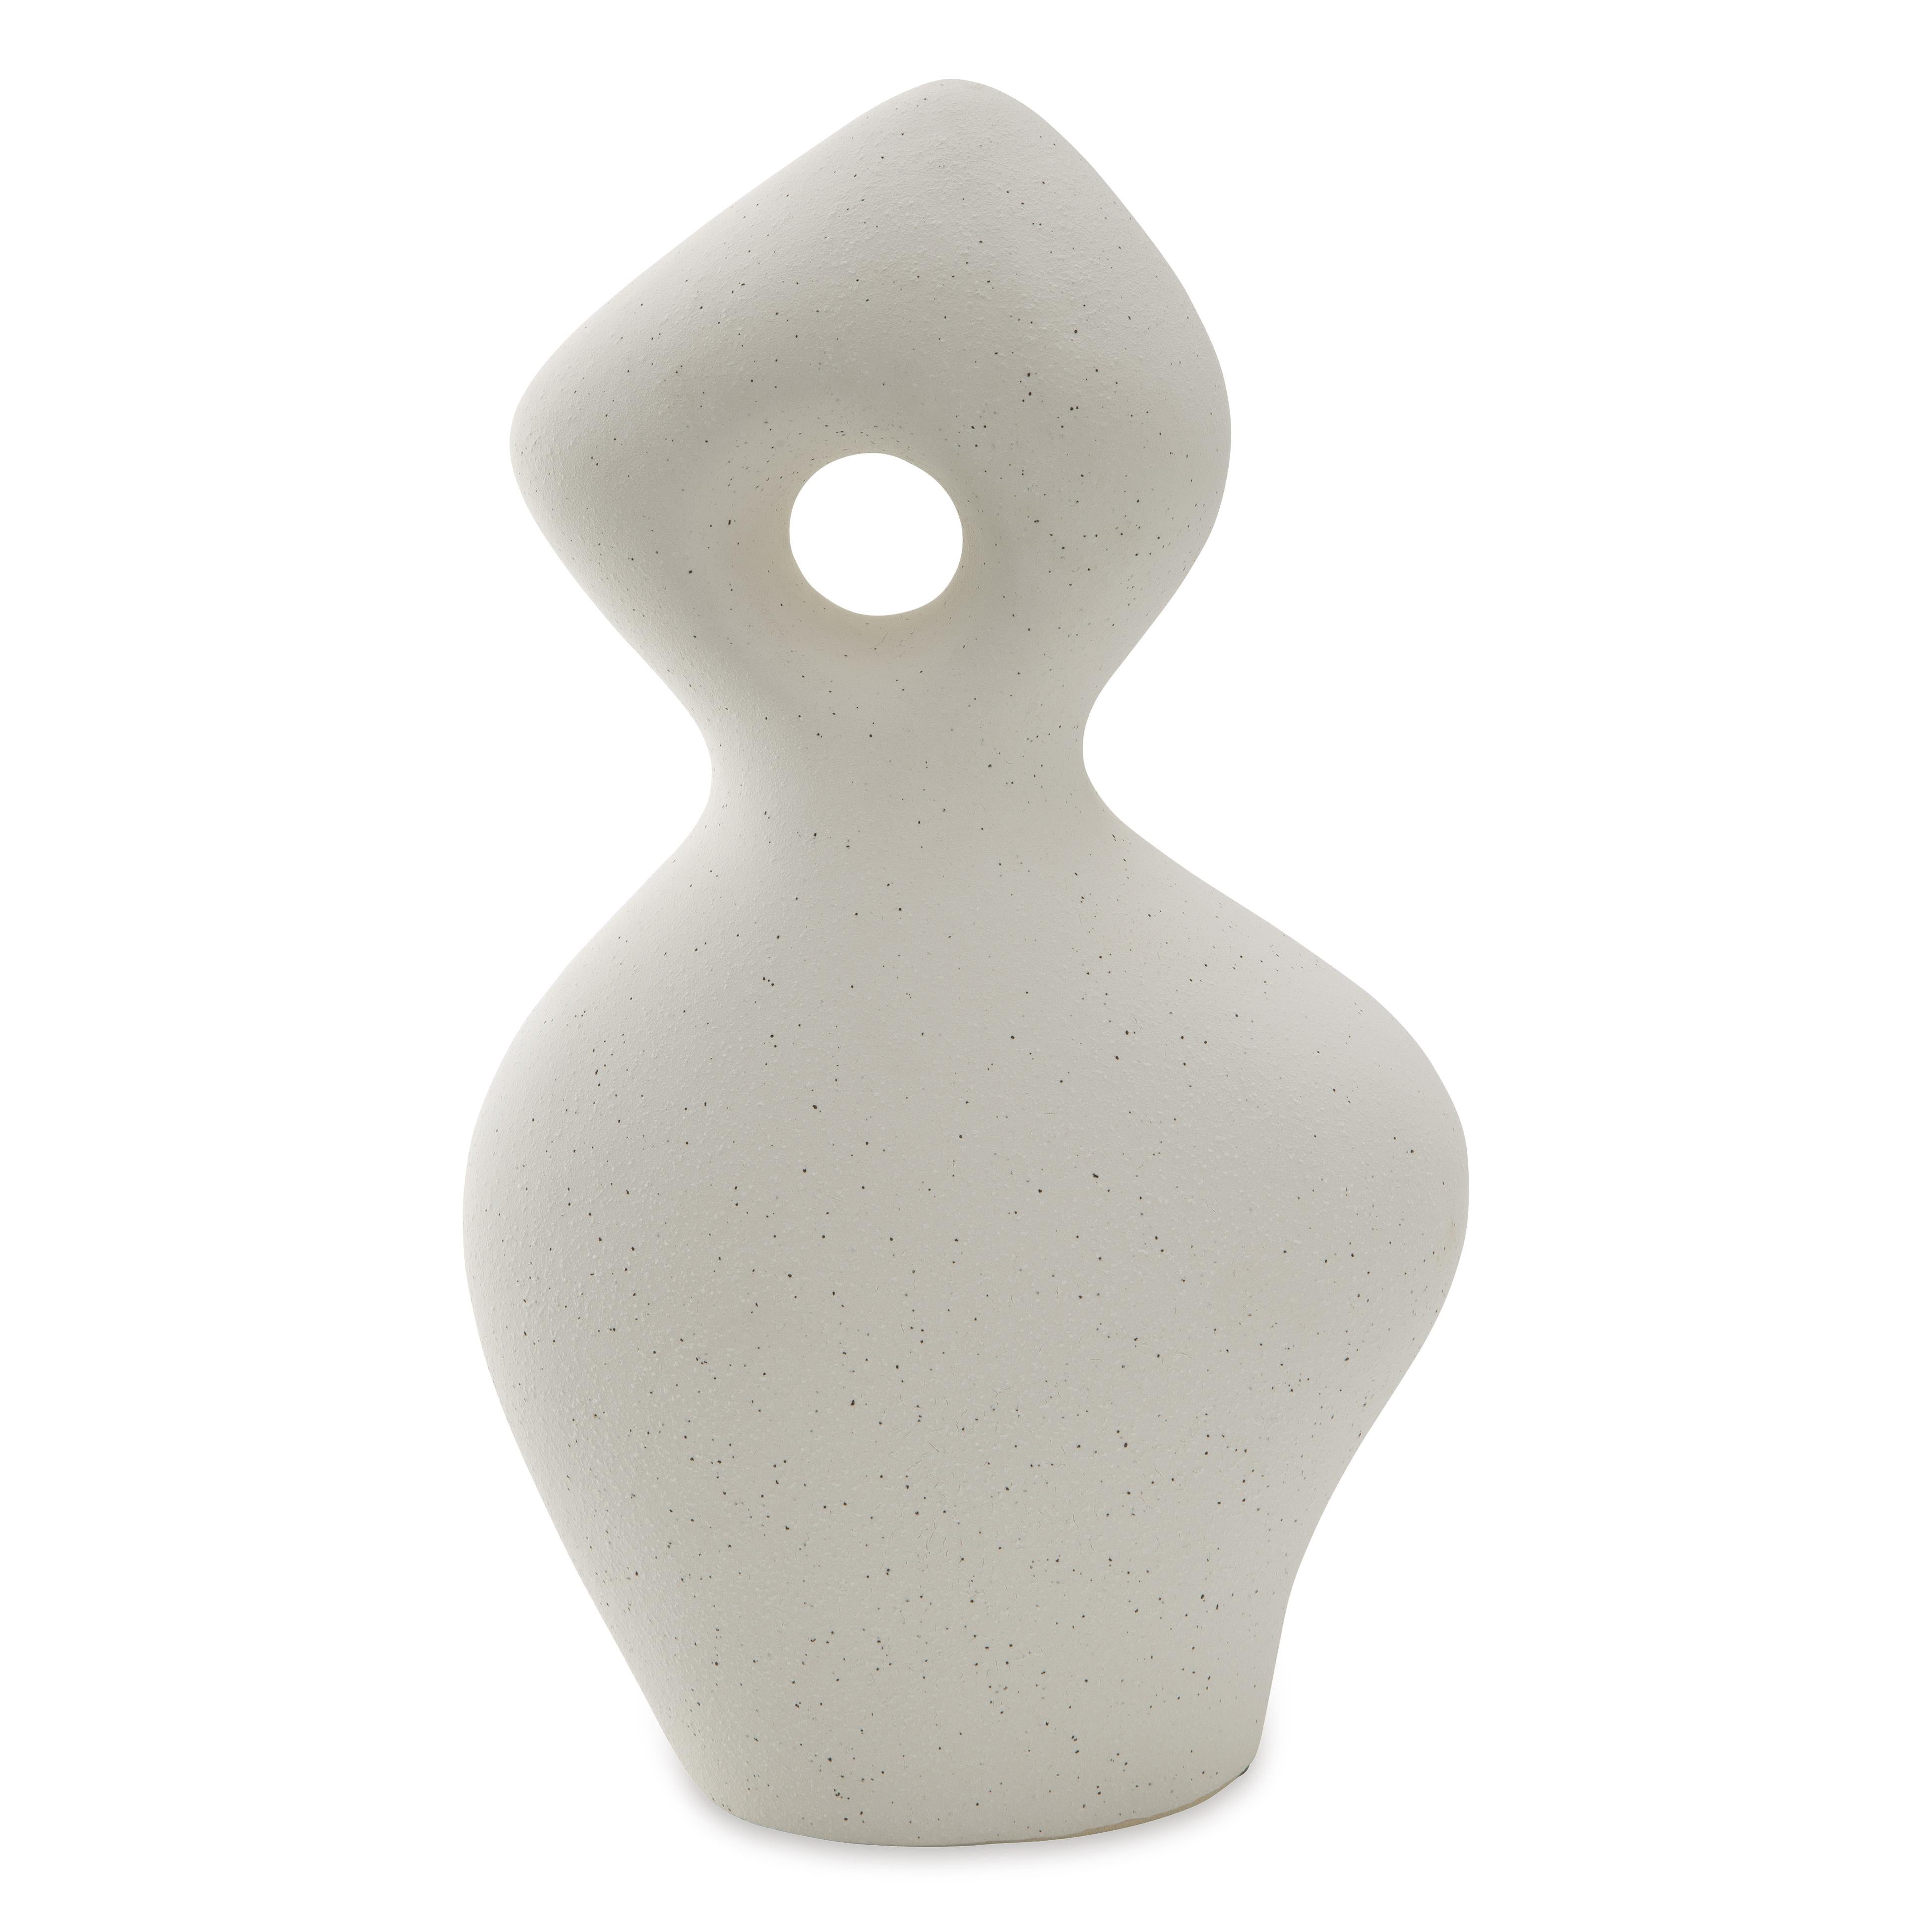
Signature Design by Ashley Arthrow A2000649 Sculpture
Sale price$63.00
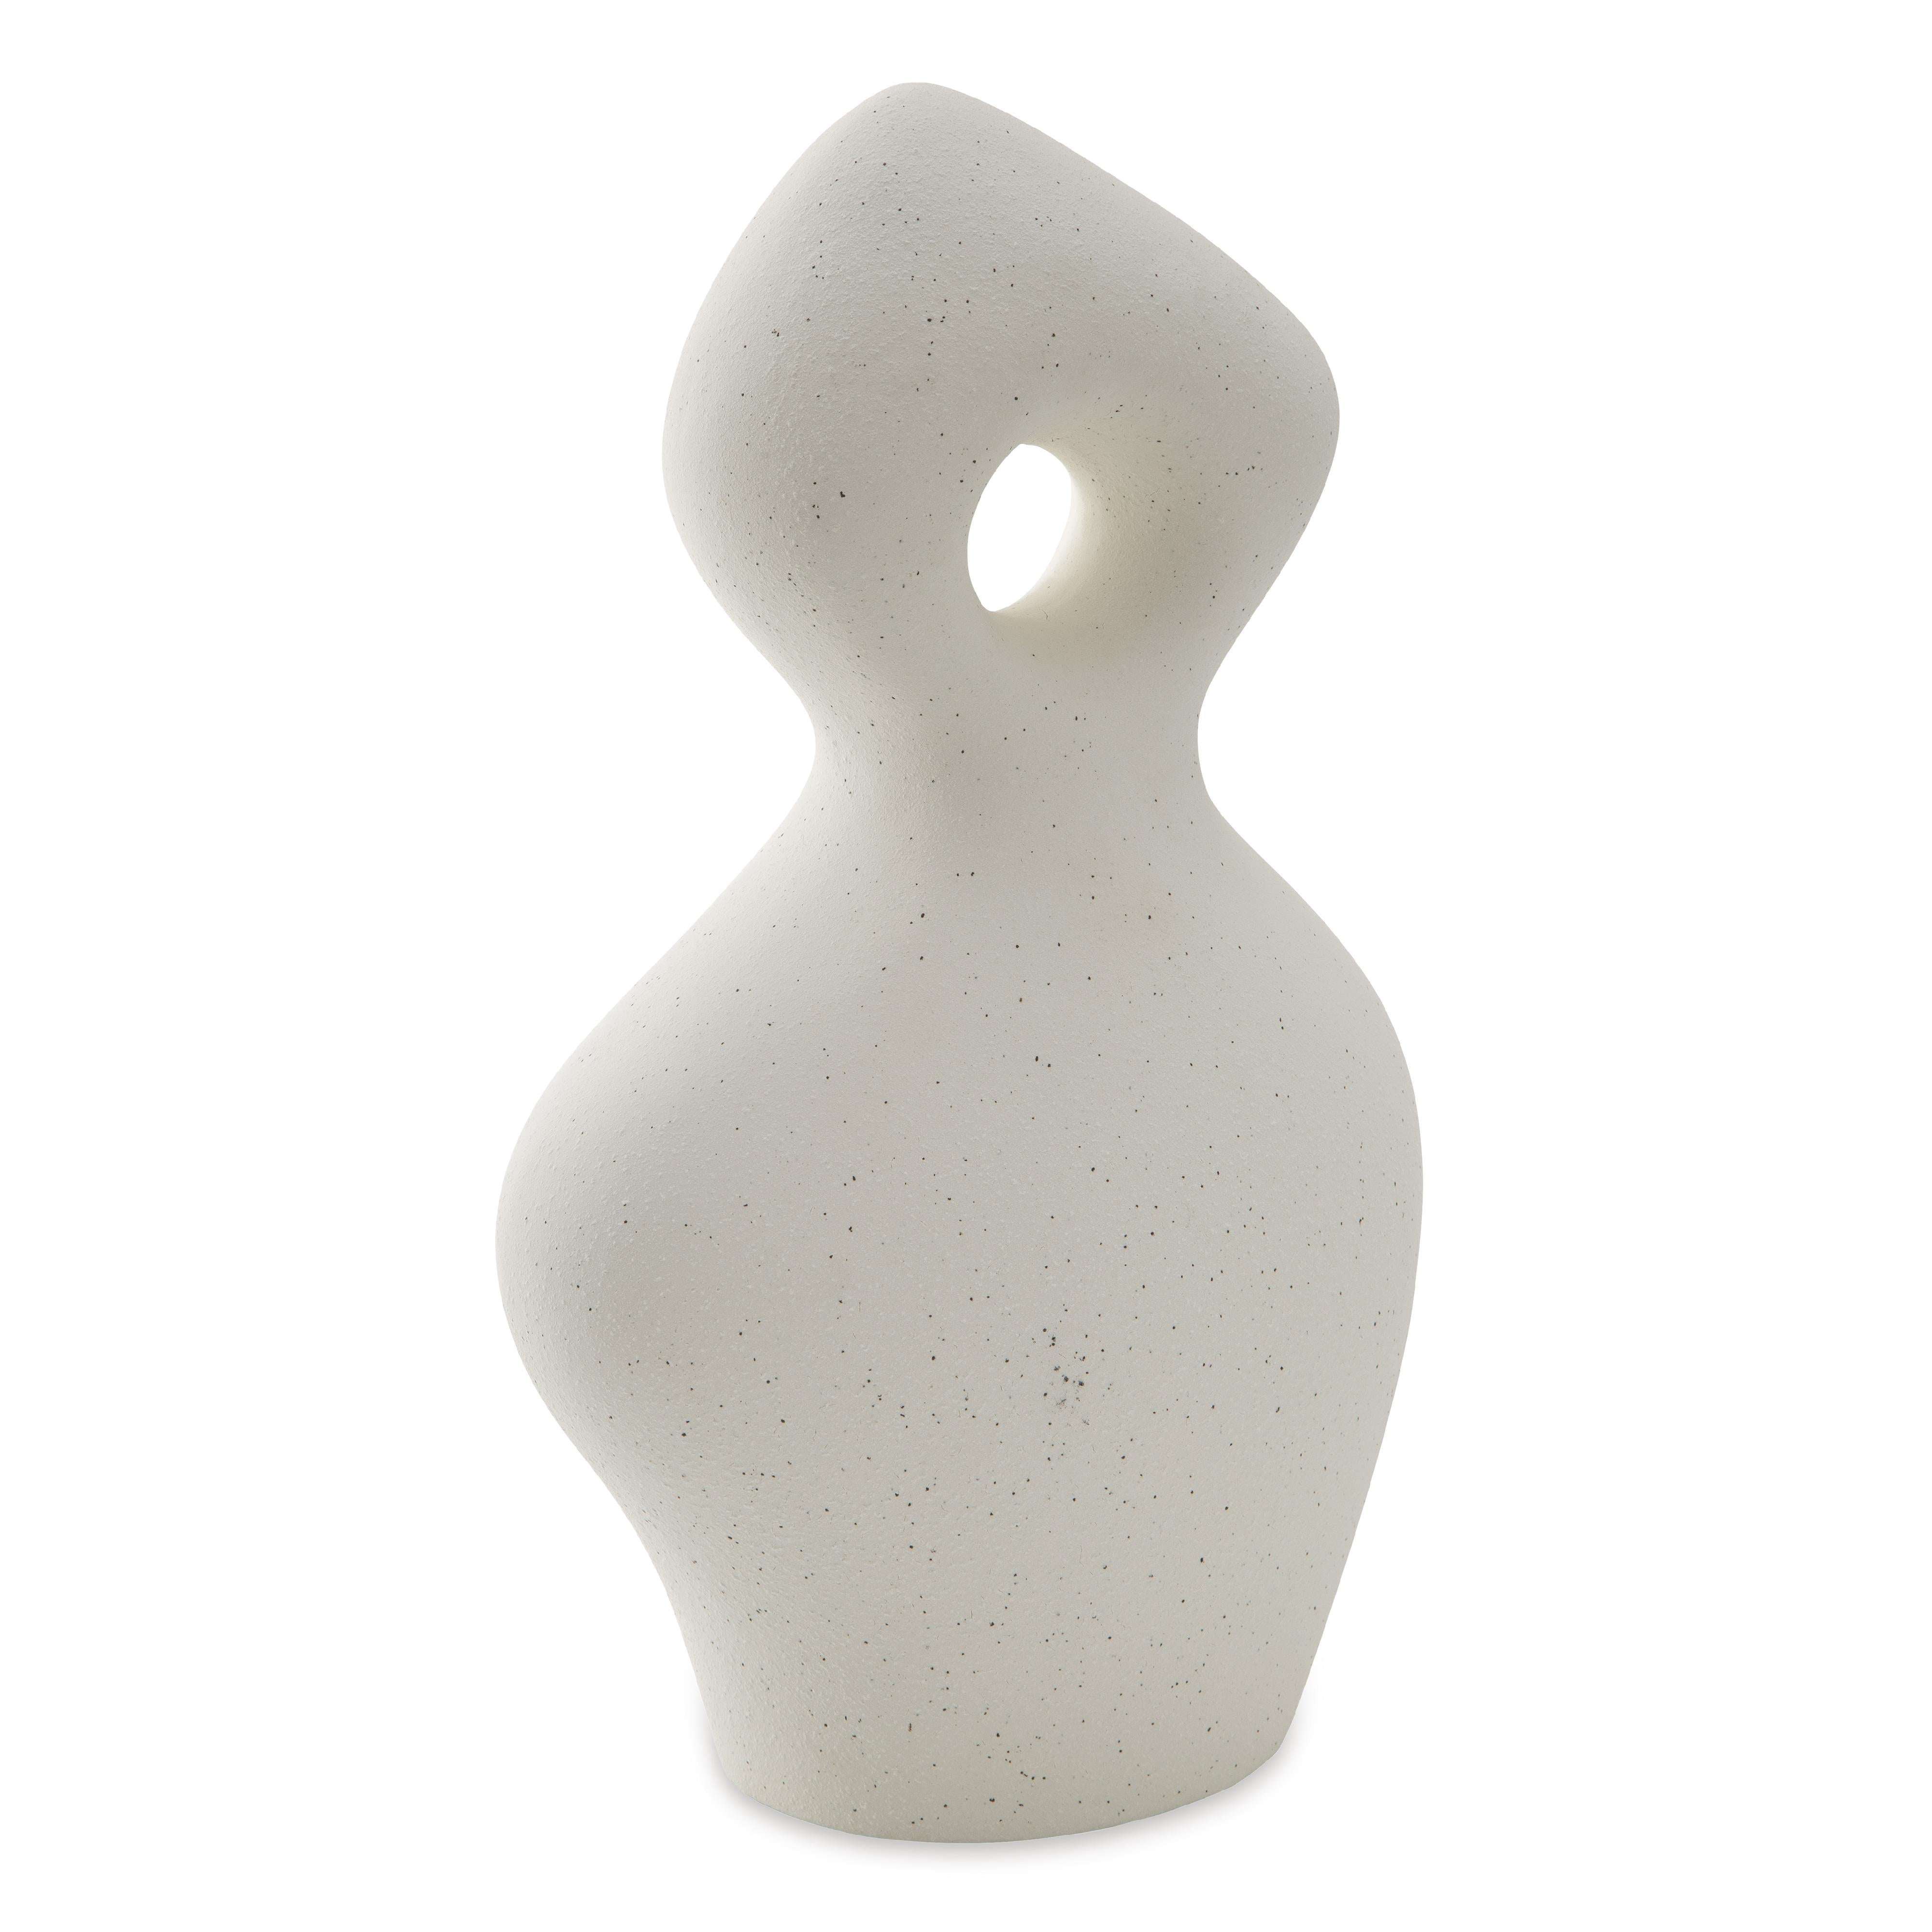
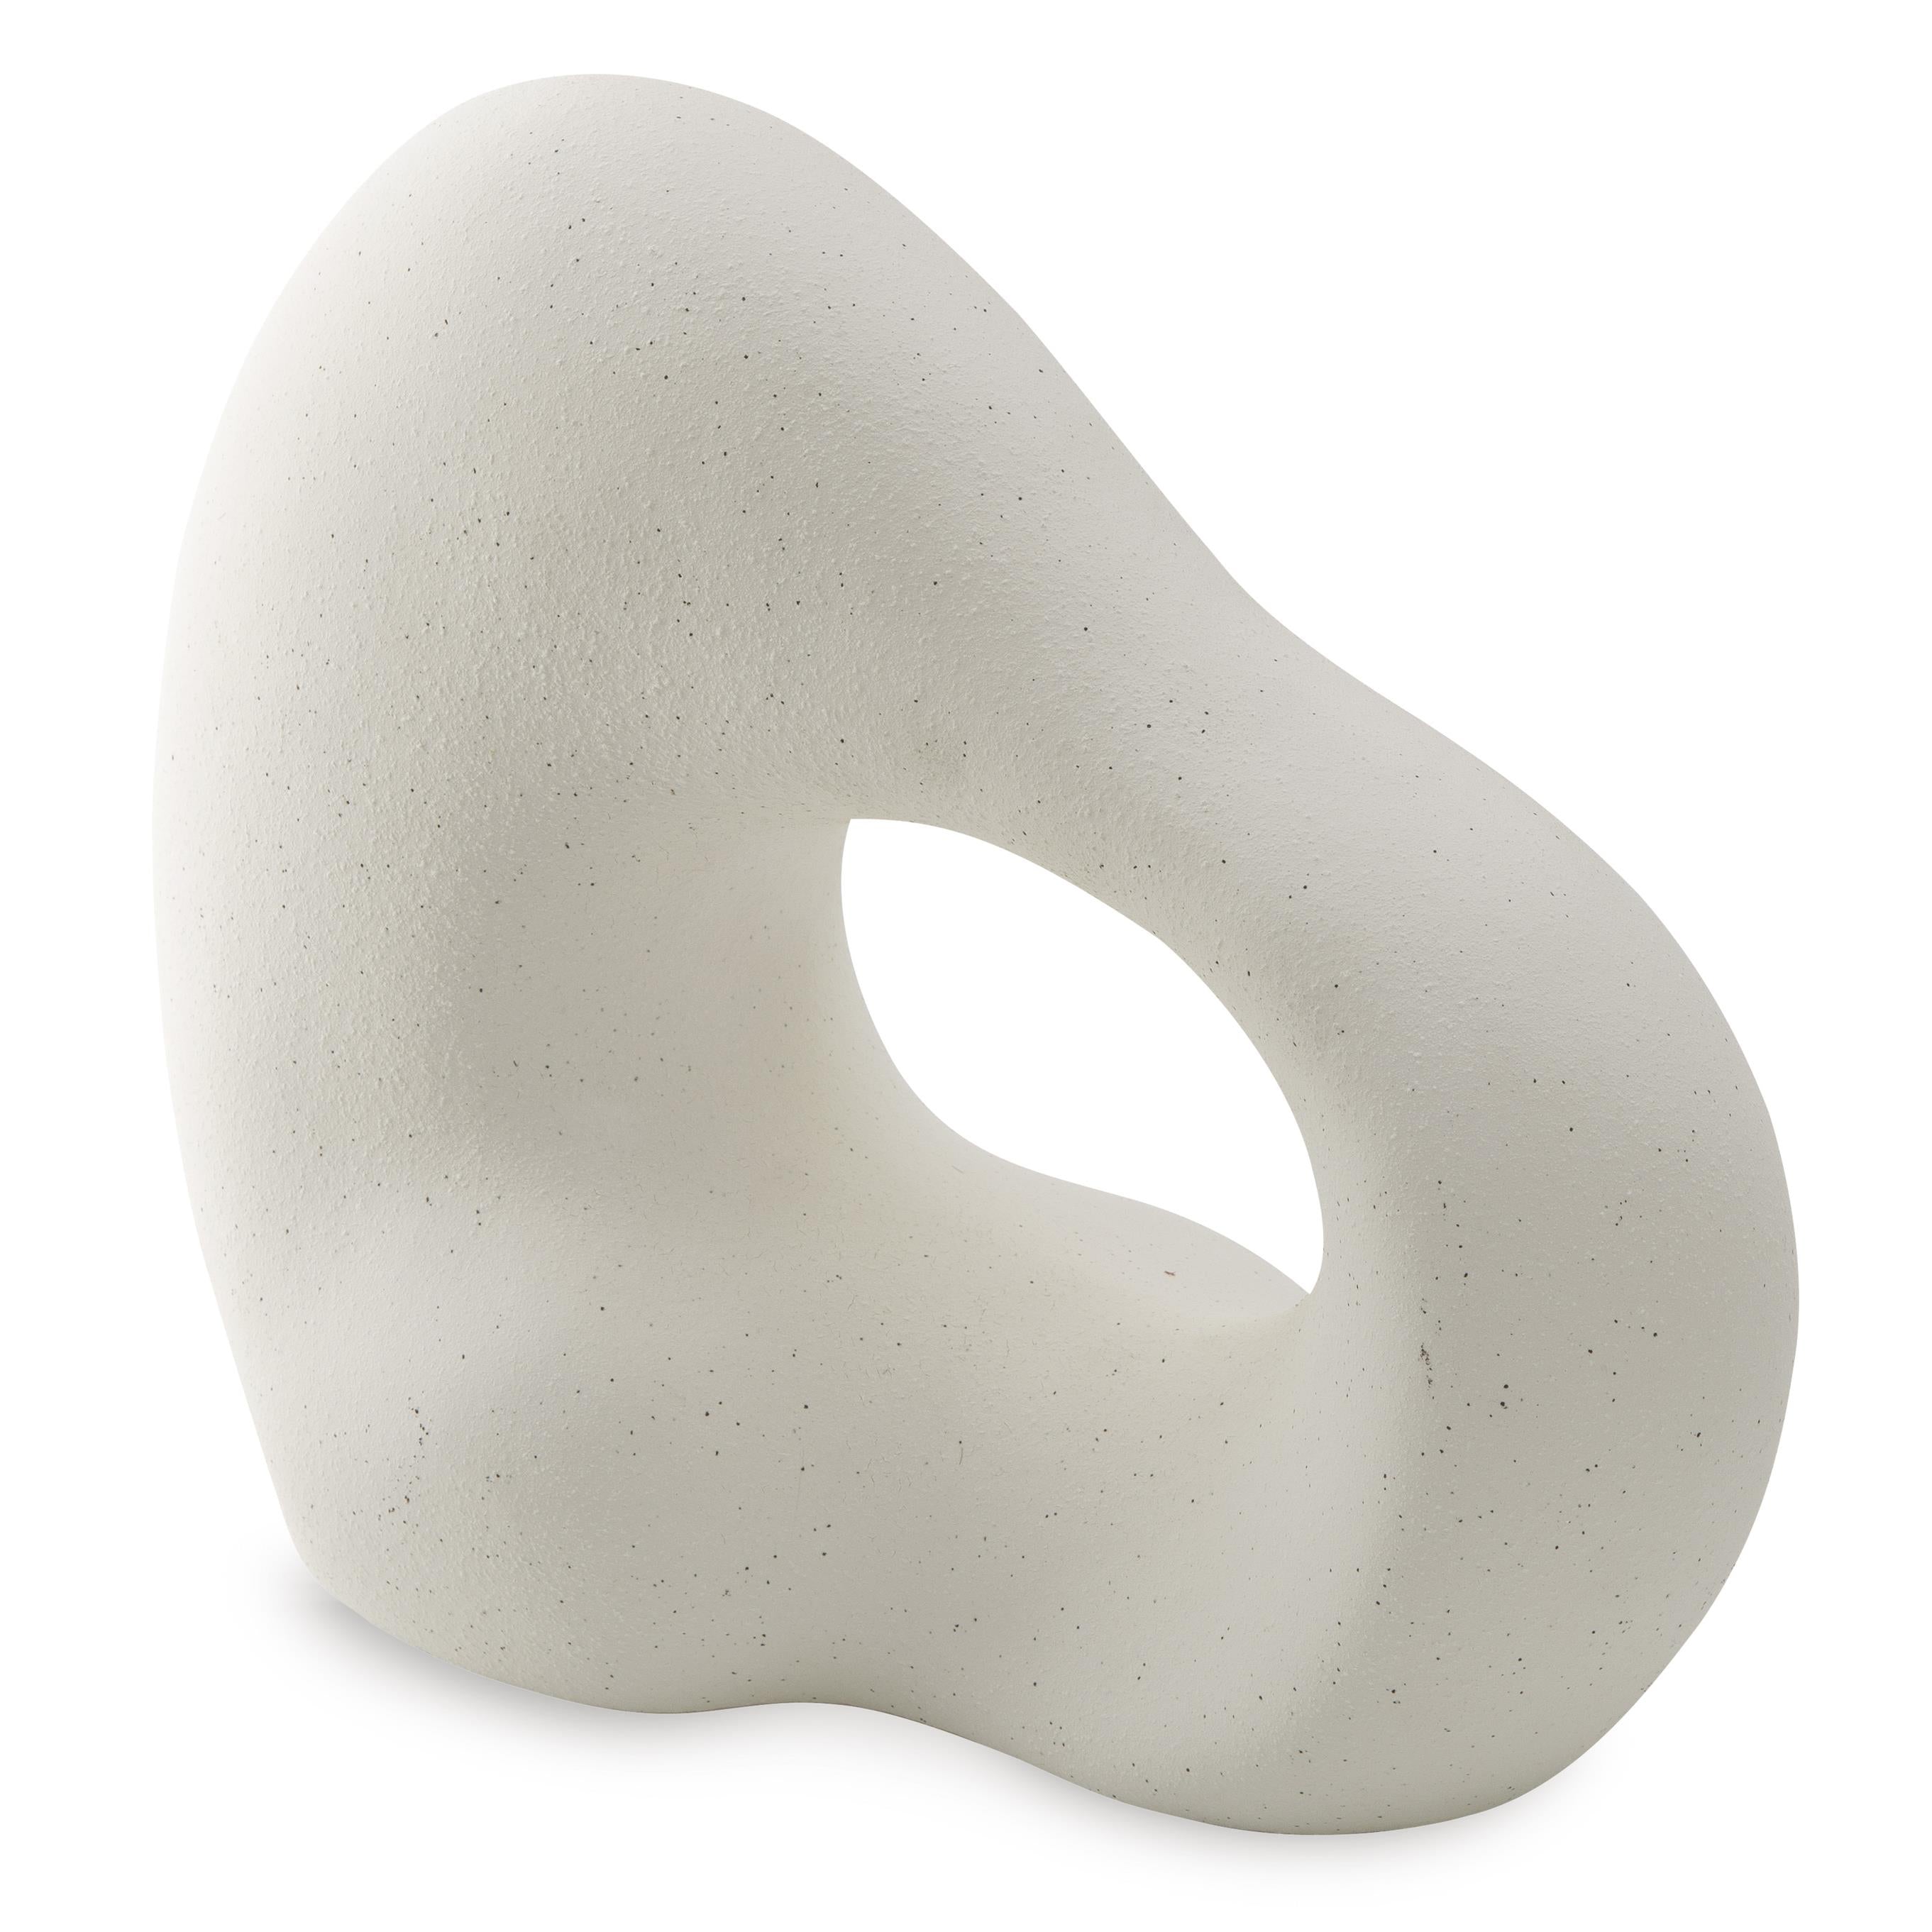
Signature Design by Ashley Arthrow A2000650 Sculpture
Sale price$66.60
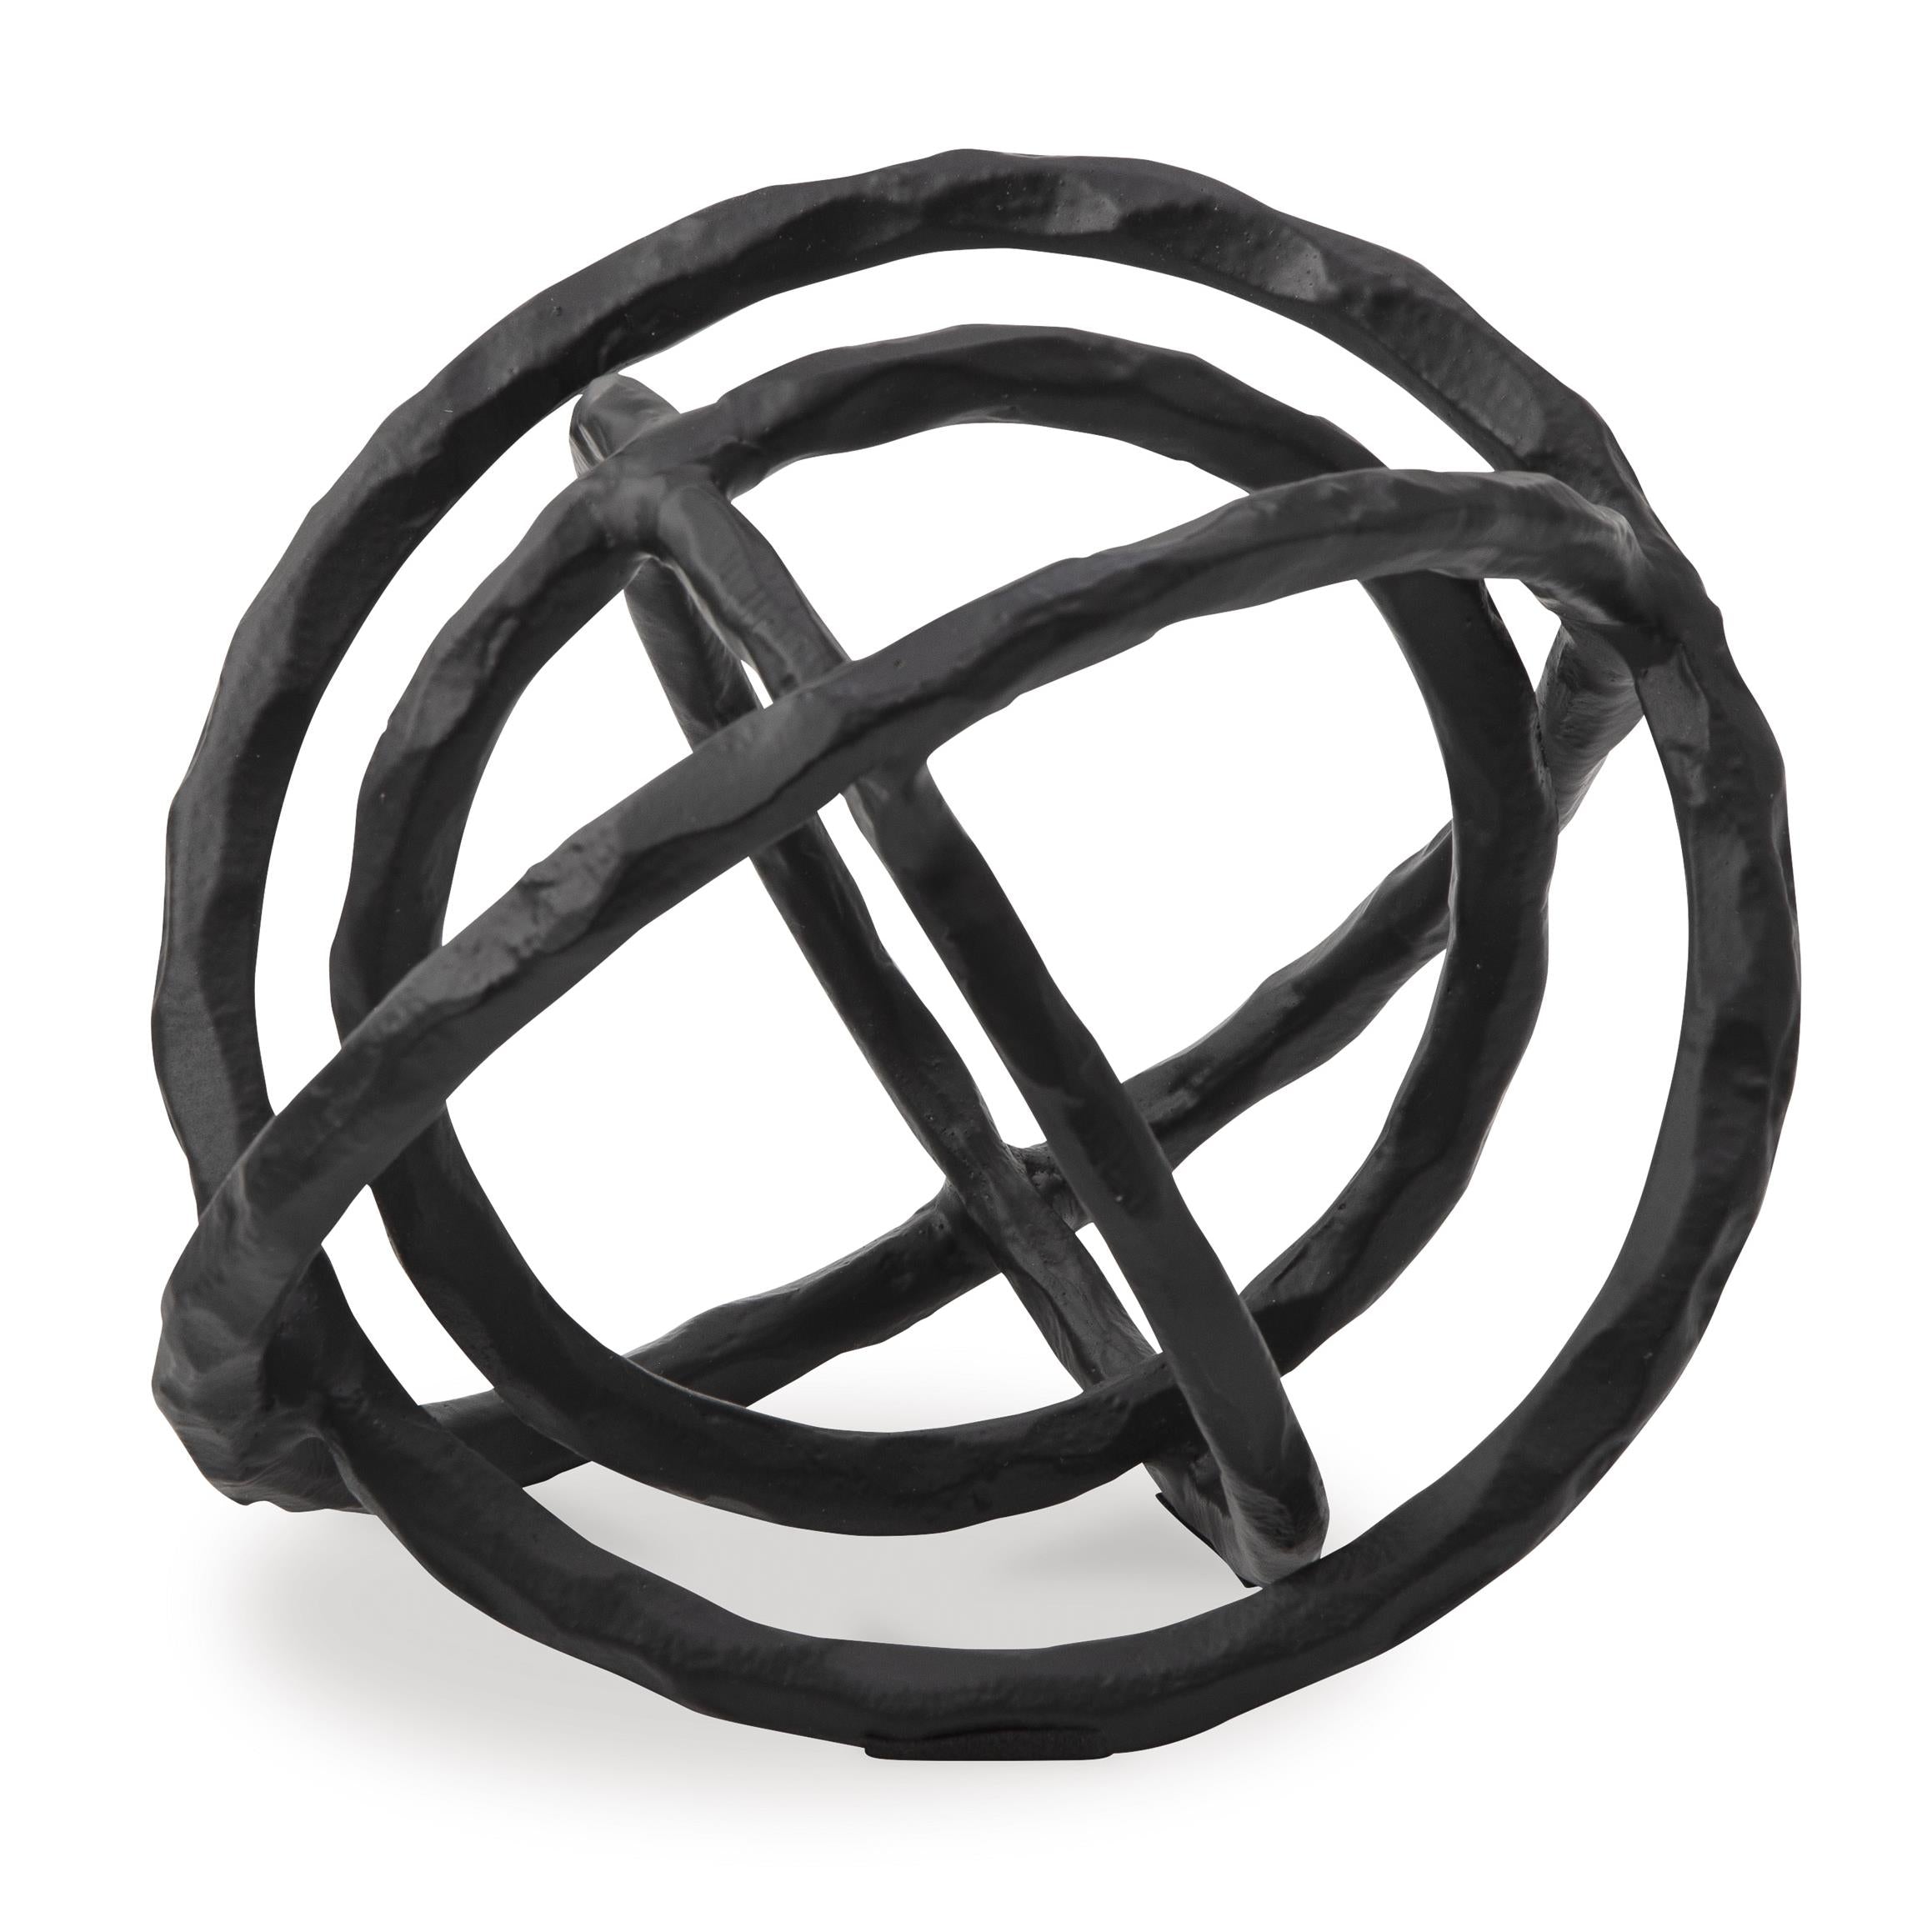
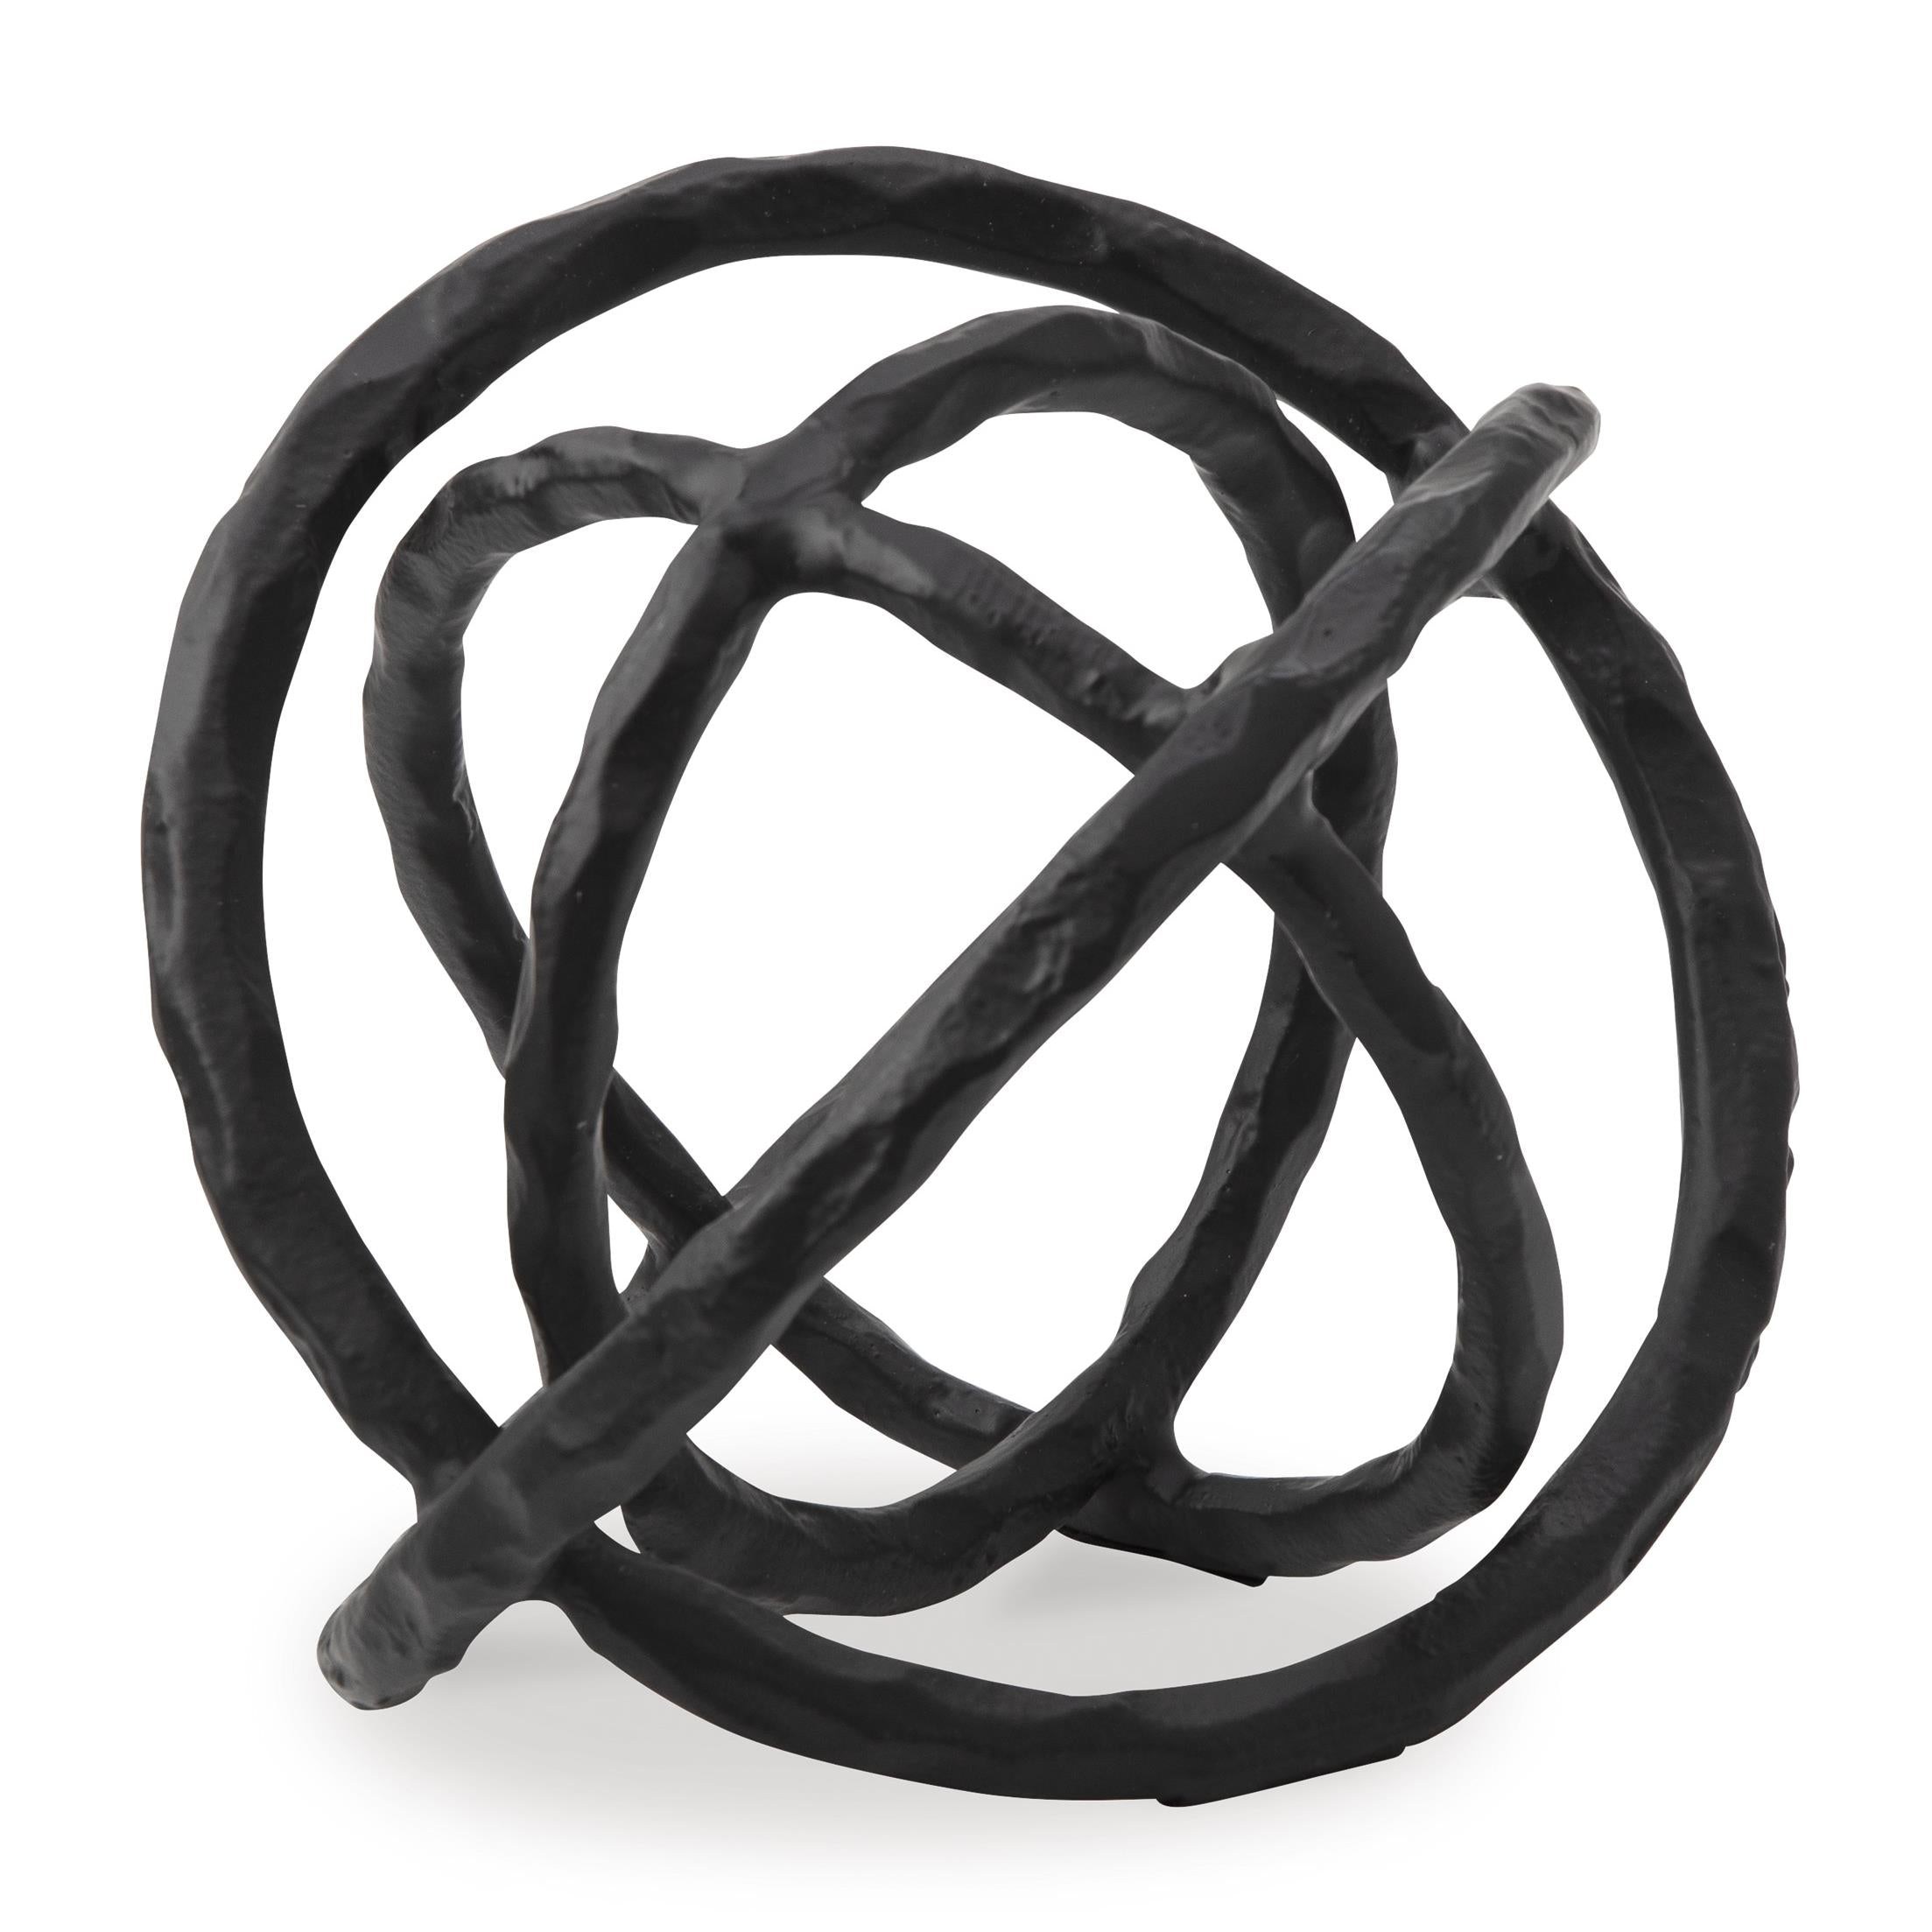
Signature Design by Ashley Barlee A2000652 Sculpture
Sale price$88.20


Signature Design by Ashley Scottyard A2900008 Vase
Sale price$138.60


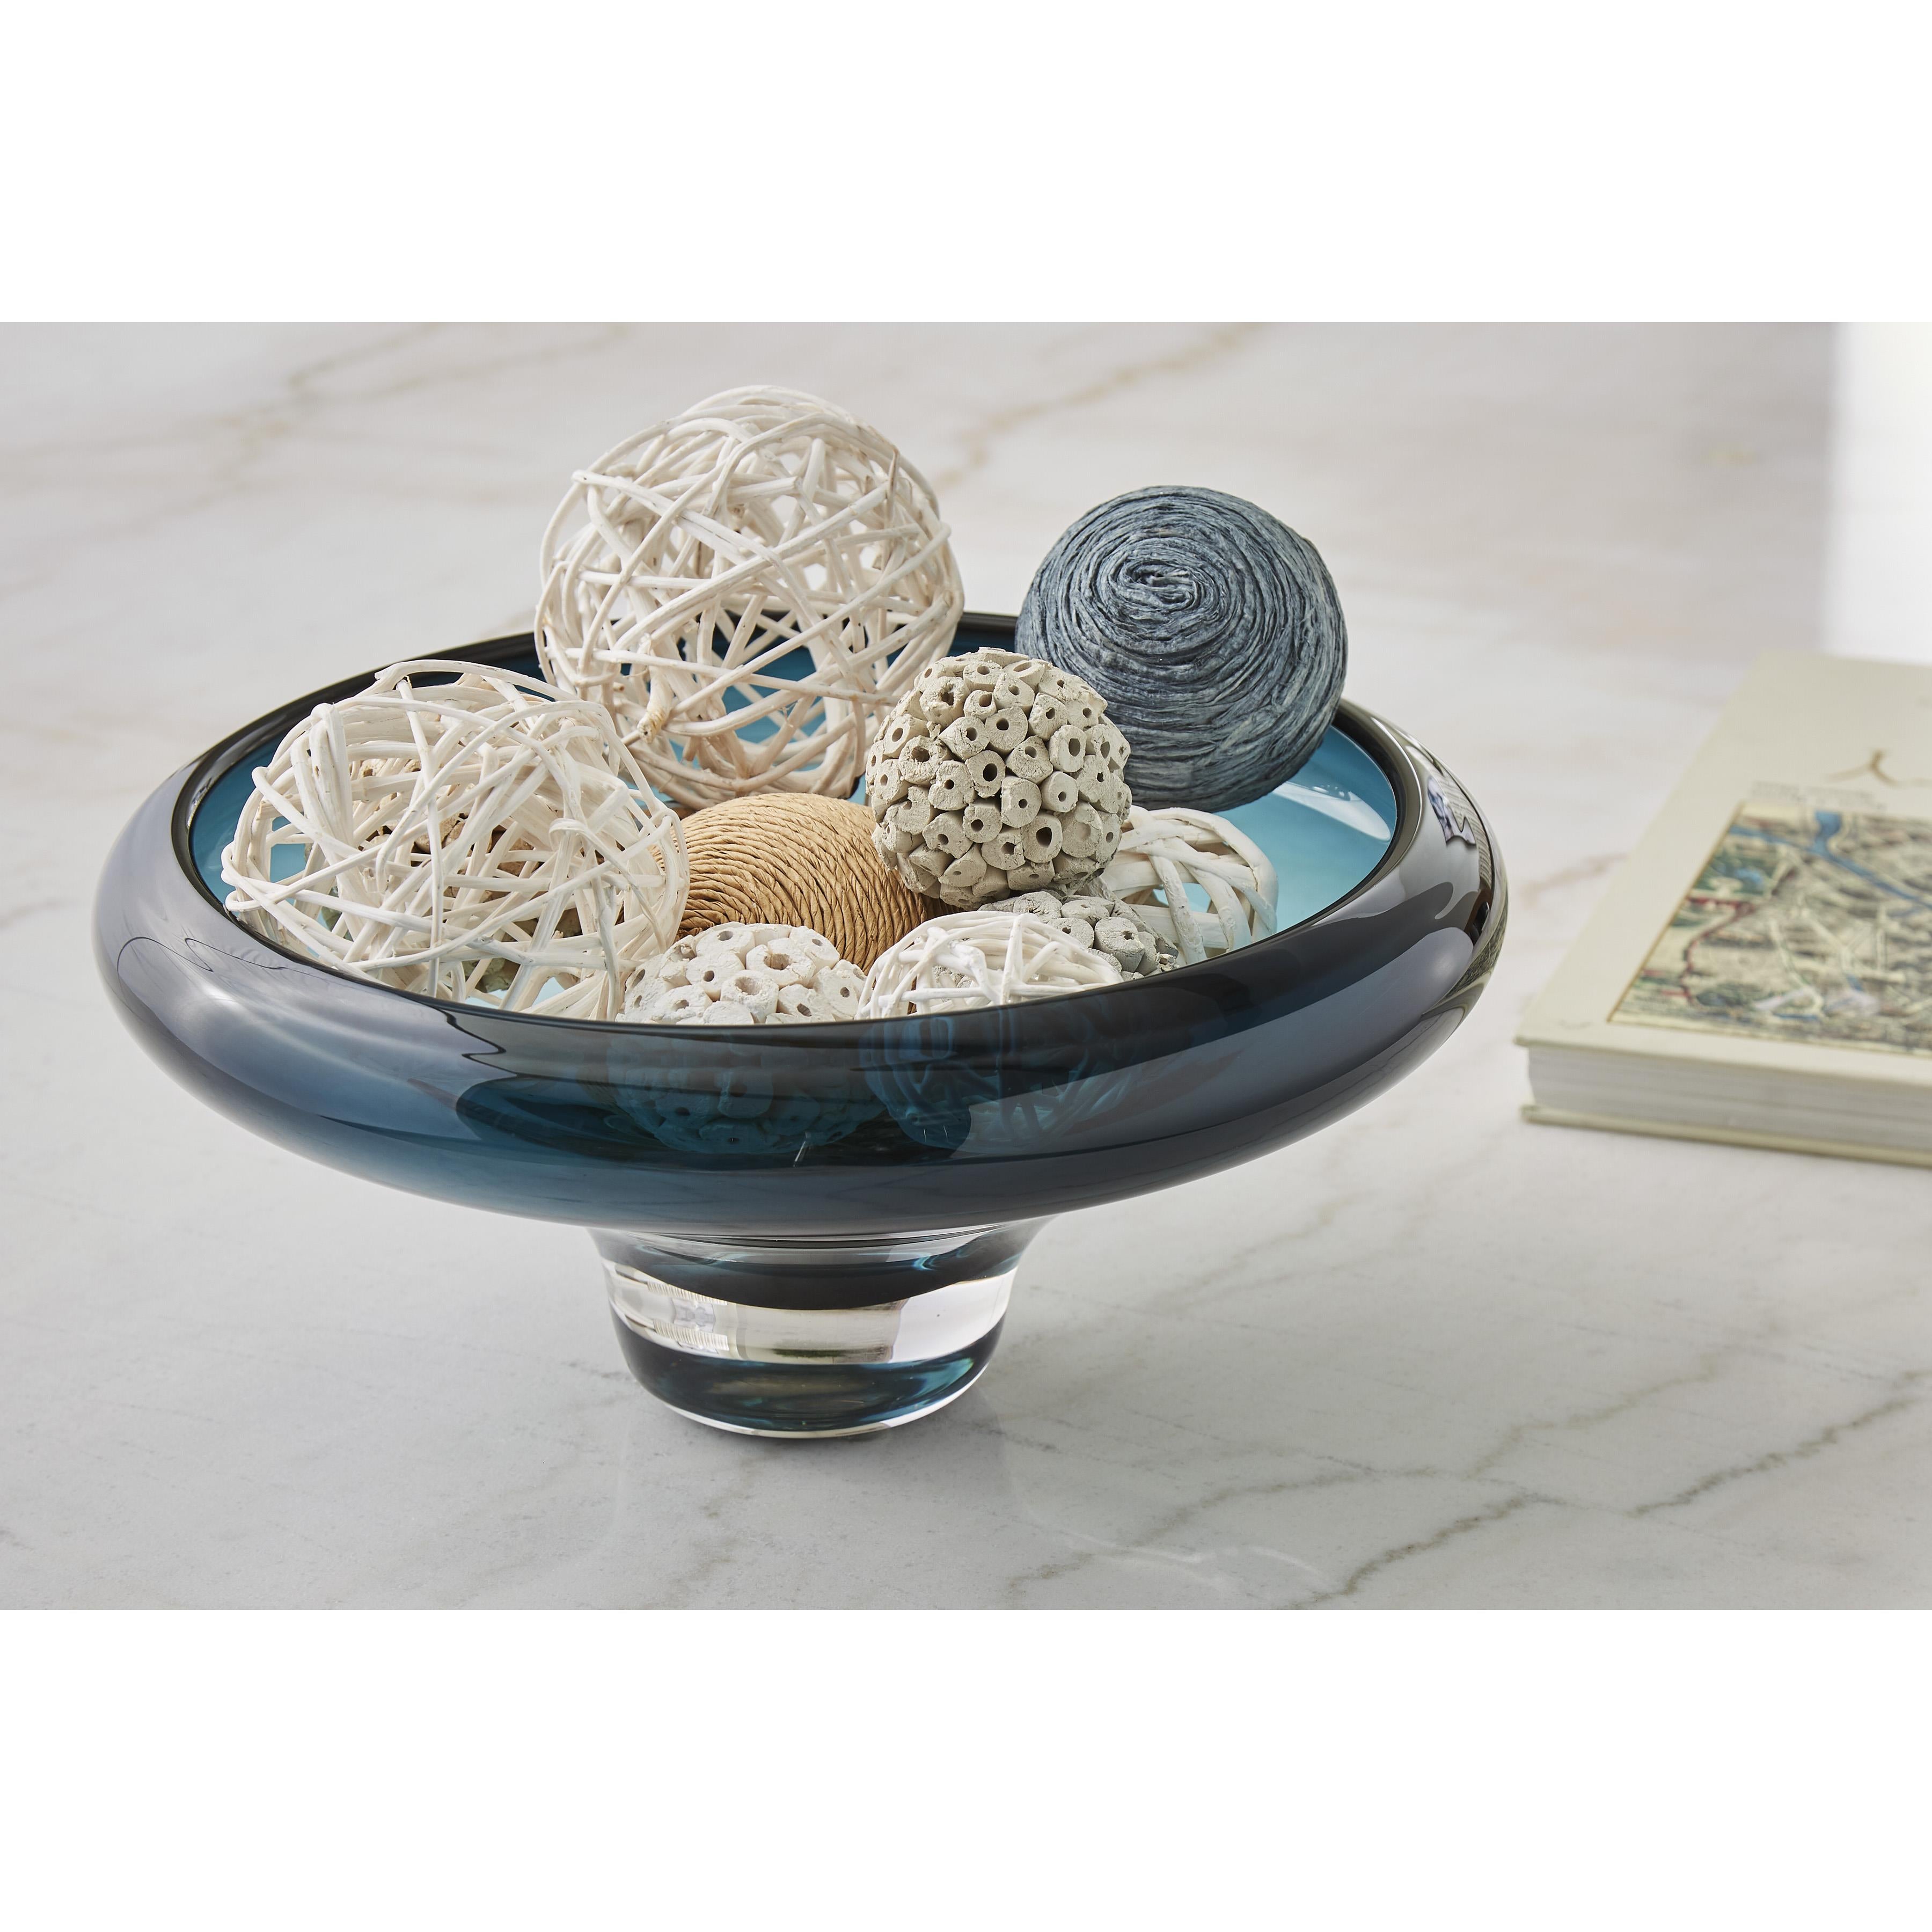
Signature Design by Ashley Meadie A2000630 Bowl
Sale price$131.40


Signature Design by Ashley Scottyard A2900009 Vase
Sale price$149.40
Signature Design by Ashley Bealen A2900012 Vase
Sale price$95.40

Signature Design by Ashley Bealen A2900013 Vase
Sale price$113.40


Signature Design by Ashley Beamund A2900010 Vase
Sale price$106.20


Signature Design by Ashley Beamund A2900011 Vase
Sale price$133.20

Signature Design by Ashley Vallborough A2900017 Bowl
Sale price$167.40


Signature Design by Ashley Solariston A2900016 Bowl
Sale price$167.40
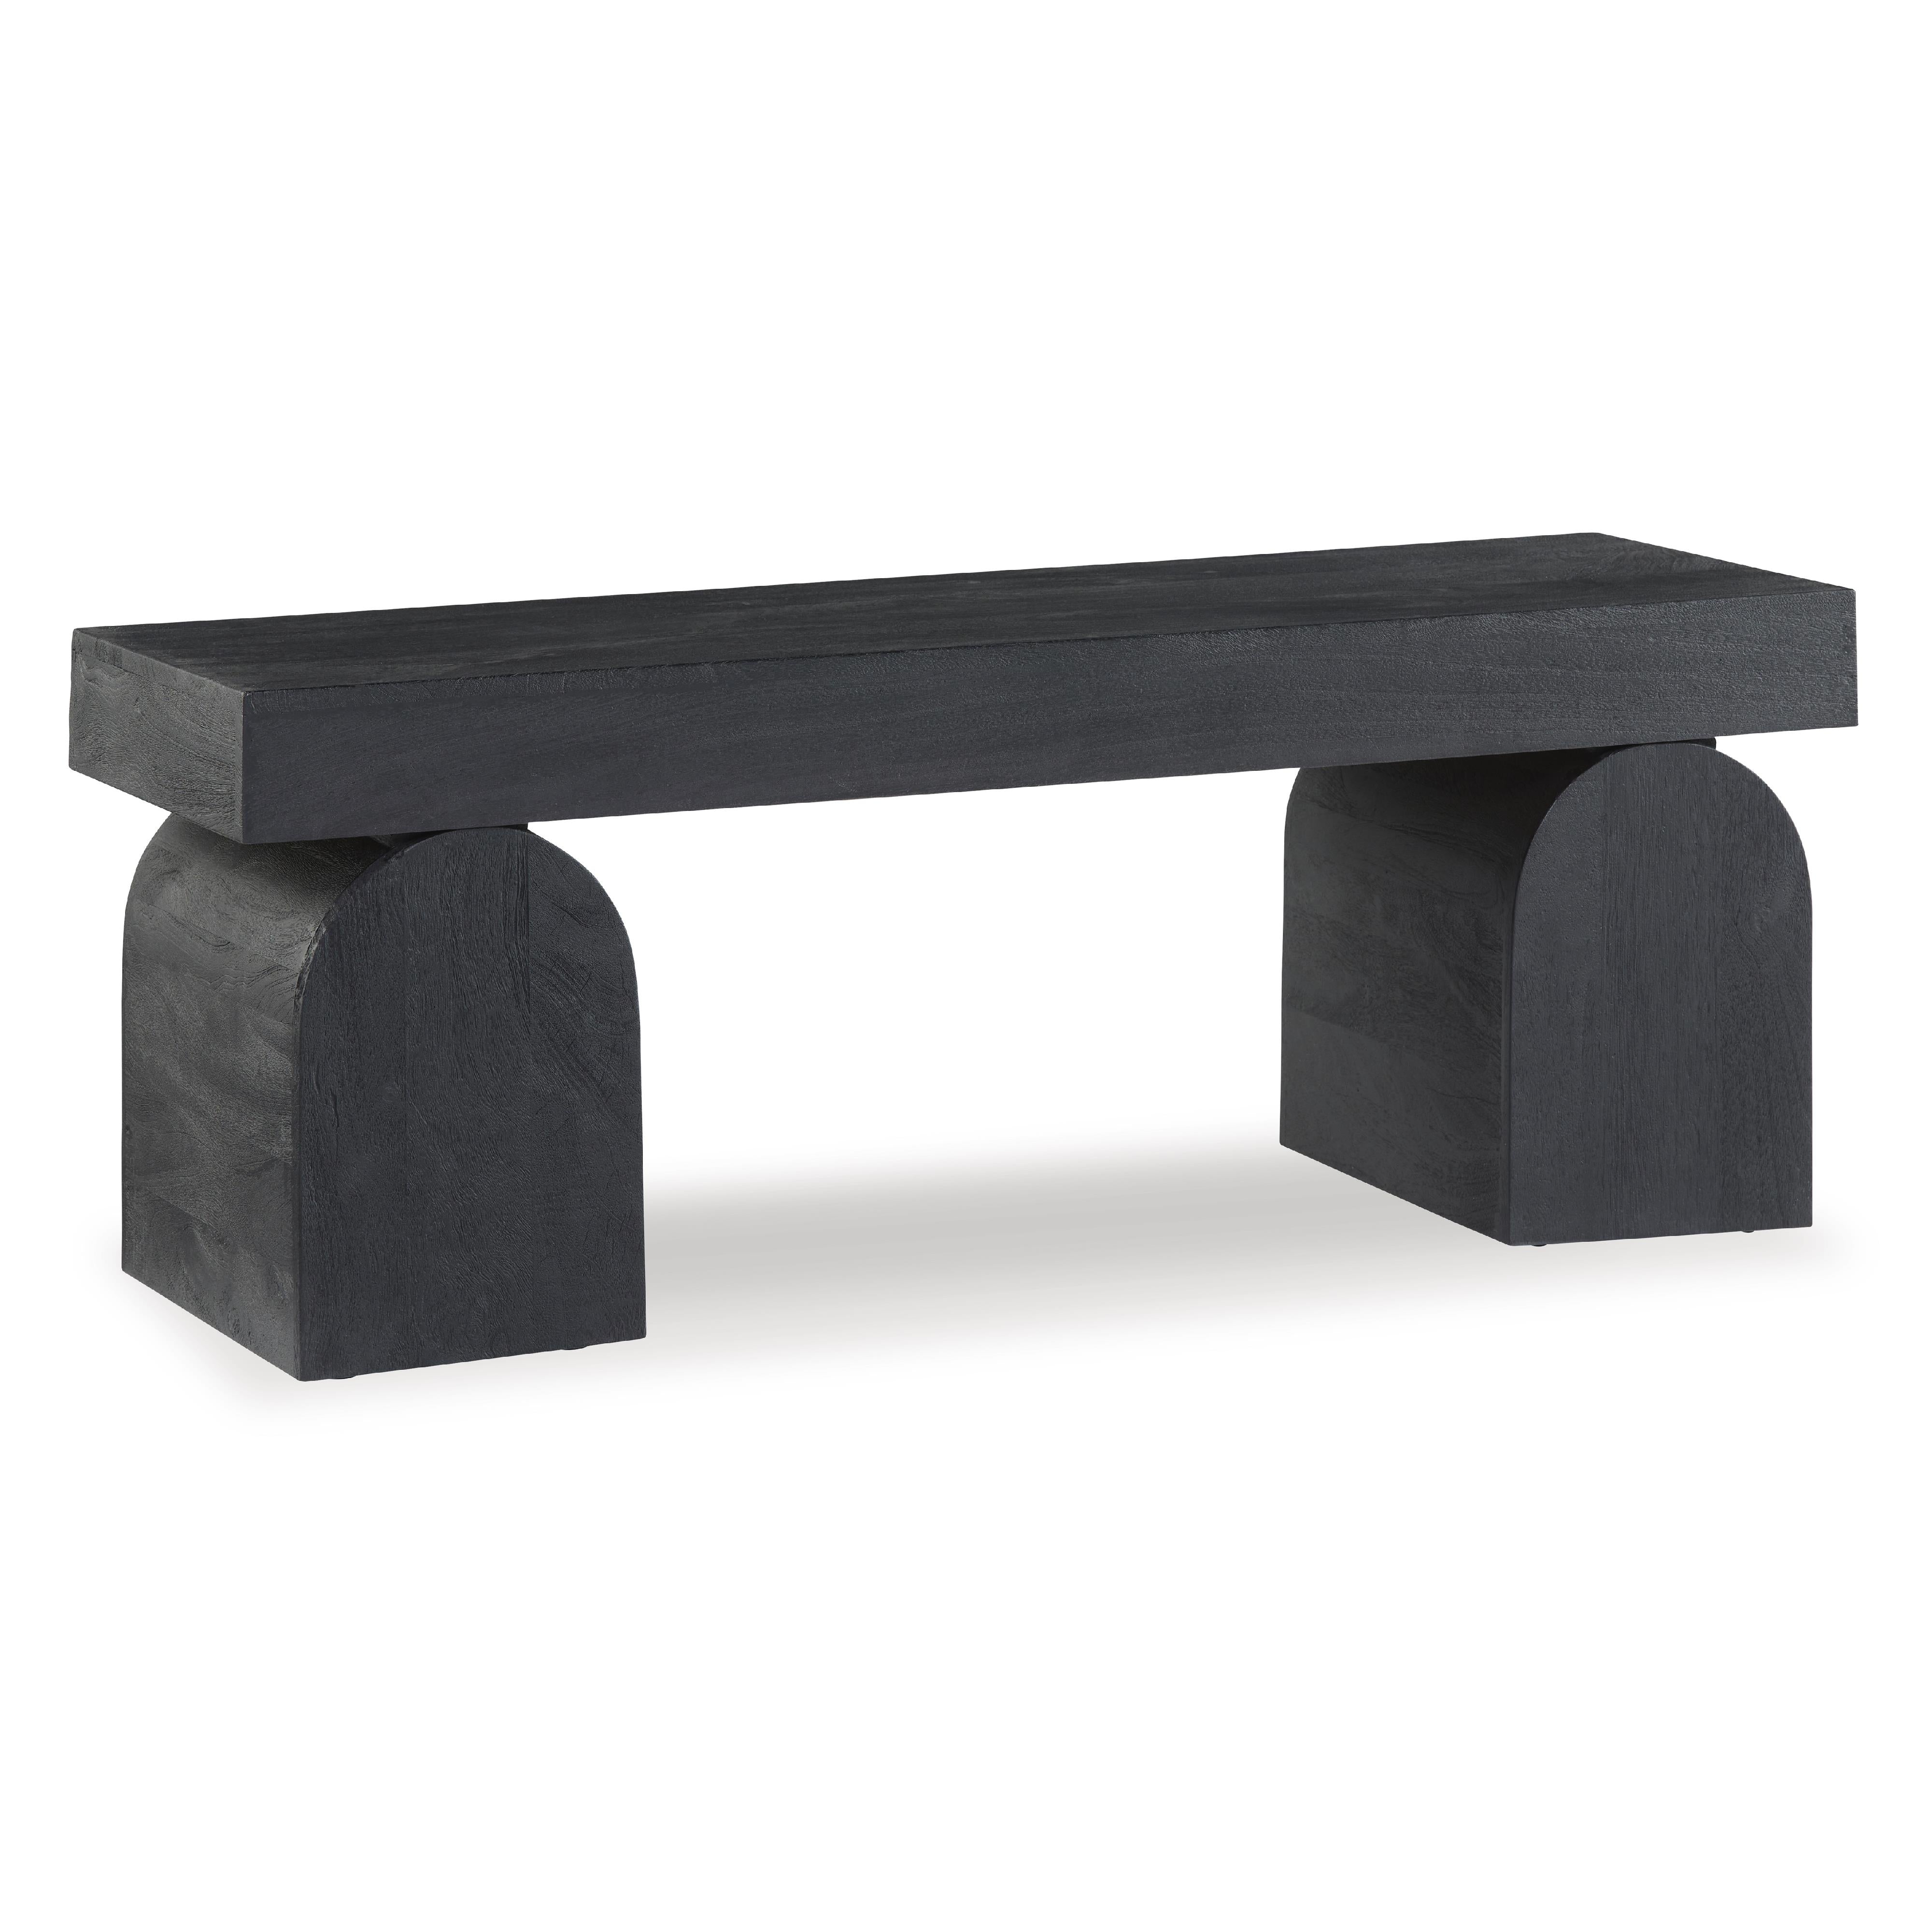

Signature Design by Ashley Holgrove A3000683 Accent Bench
Sale price$631.80


Signature Design by Ashley Chaseburn A8000380 Wall Art
Sale price$216.00


Signature Design by Ashley Hurshaw A8000391 Wall Art
Sale price$216.00
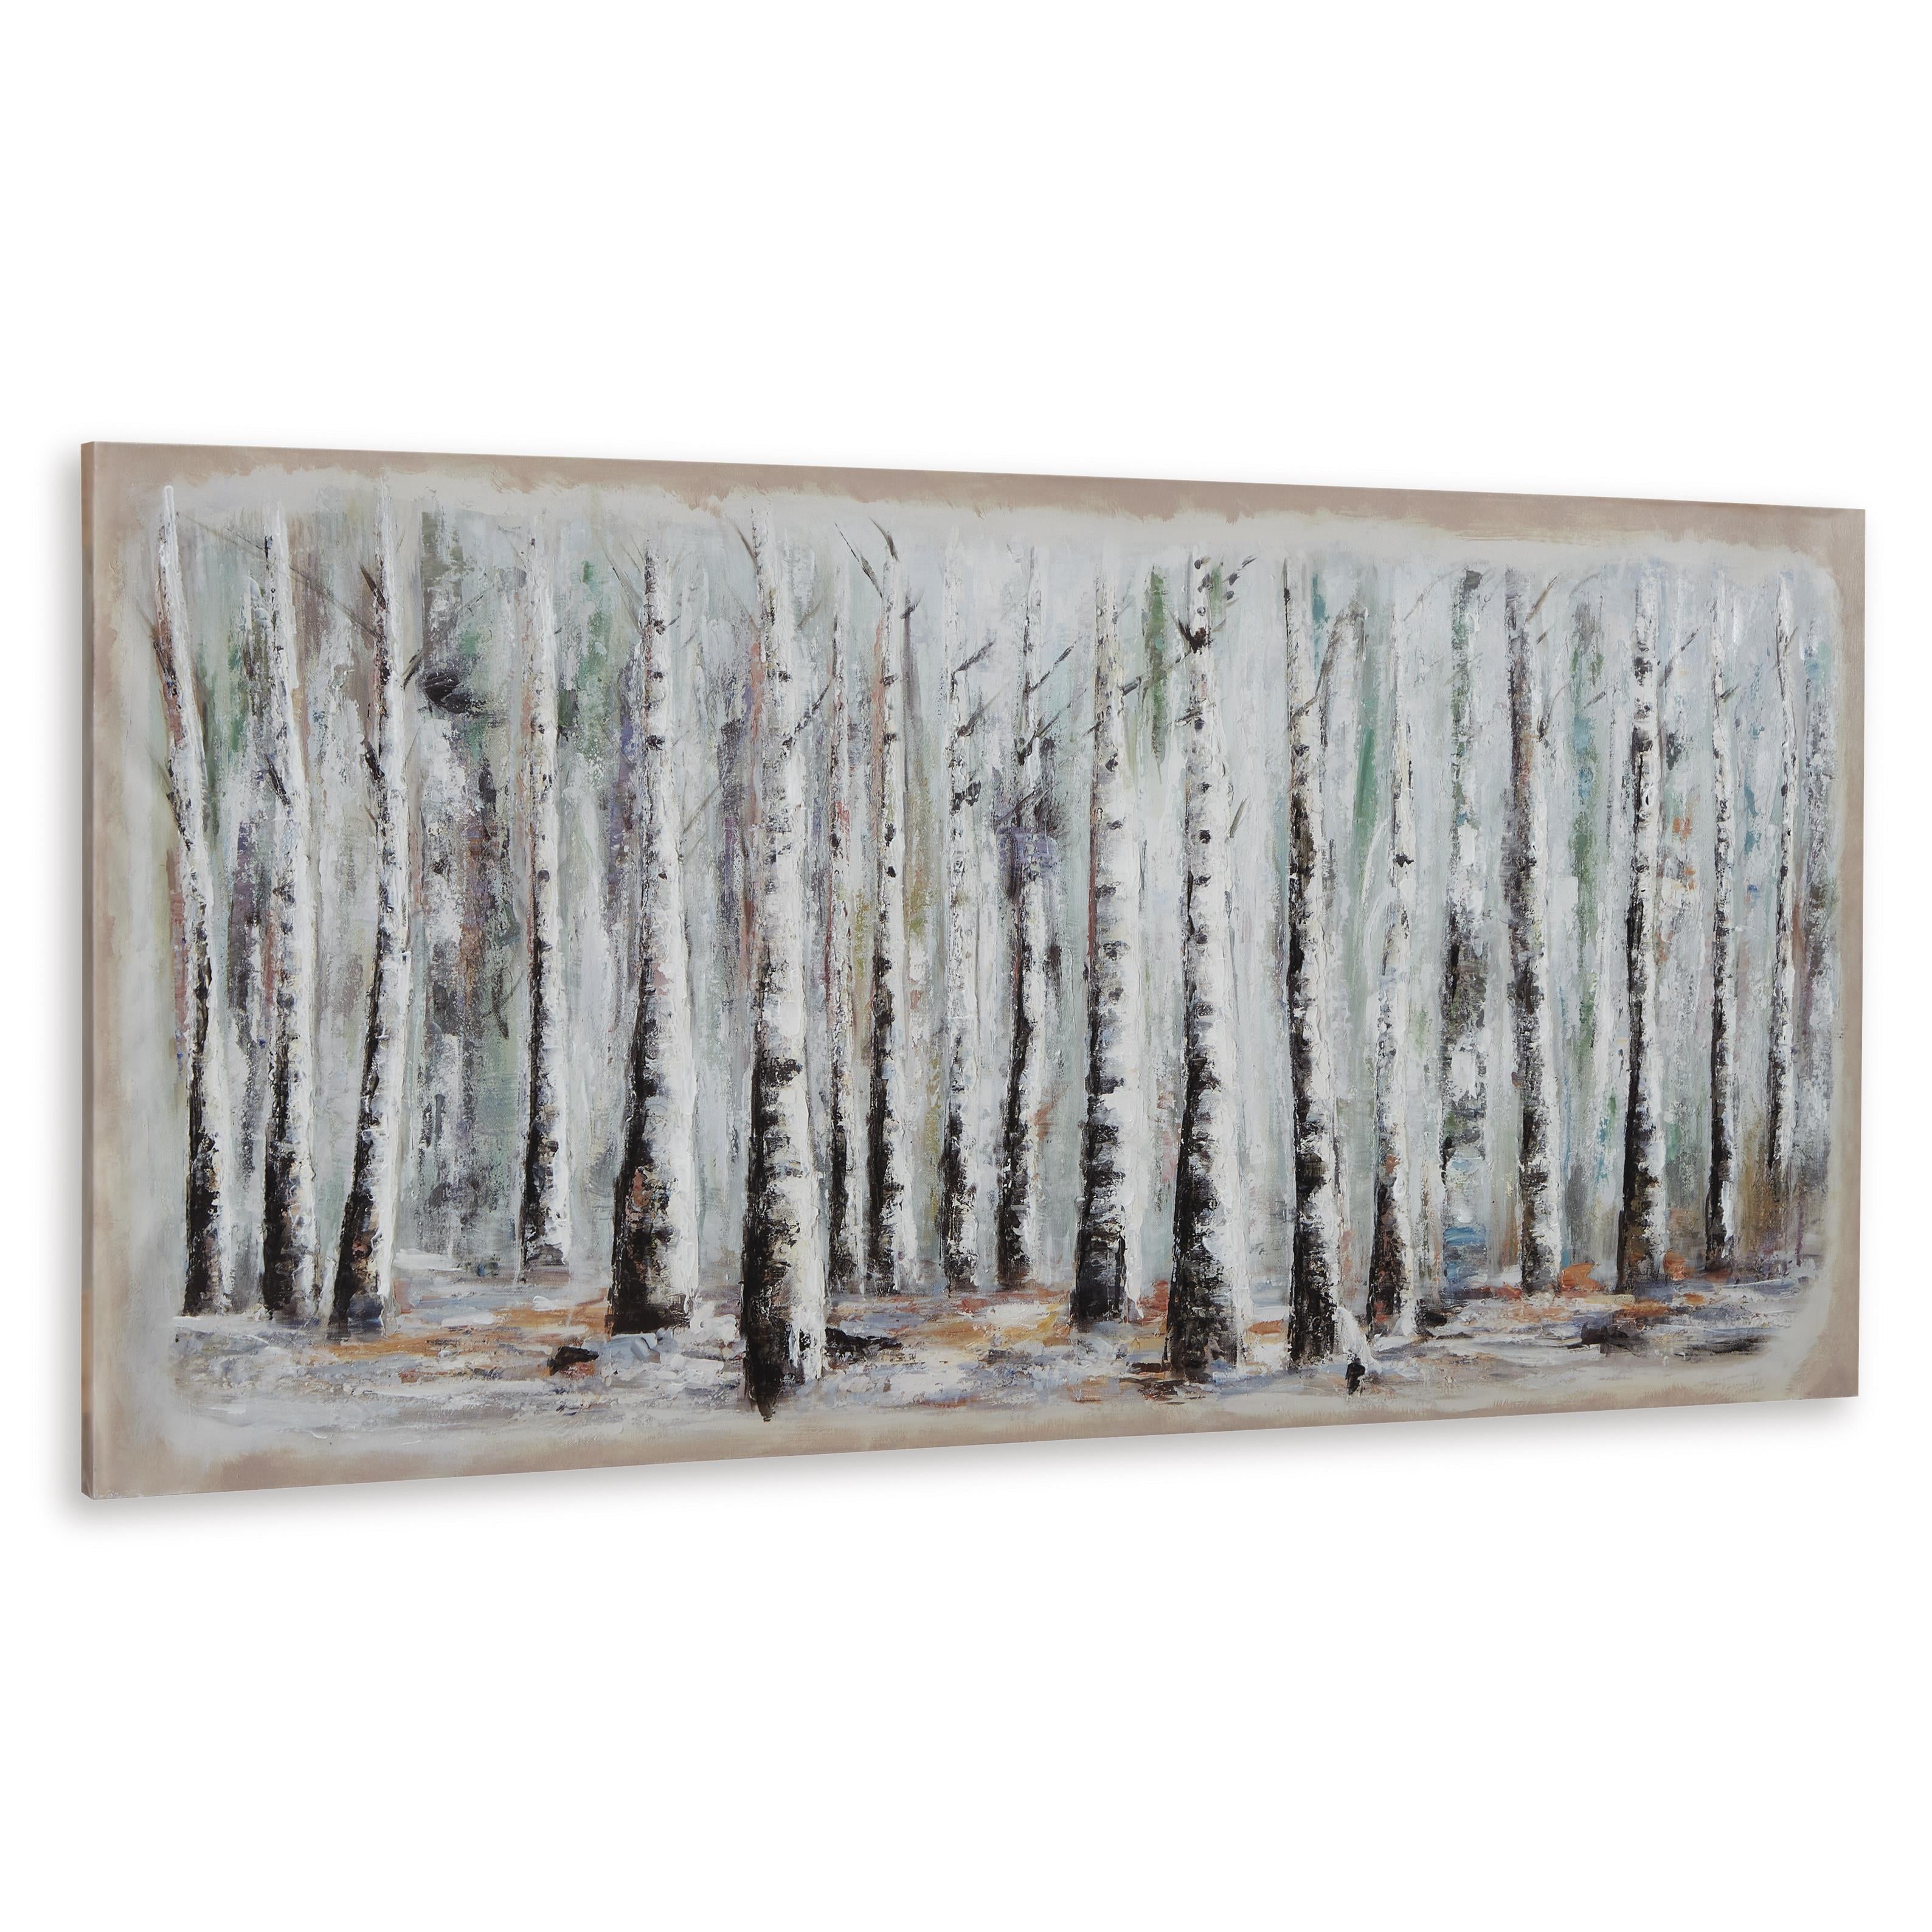

Signature Design by Ashley Calbert A8000392 Wall Art
Sale price$216.00

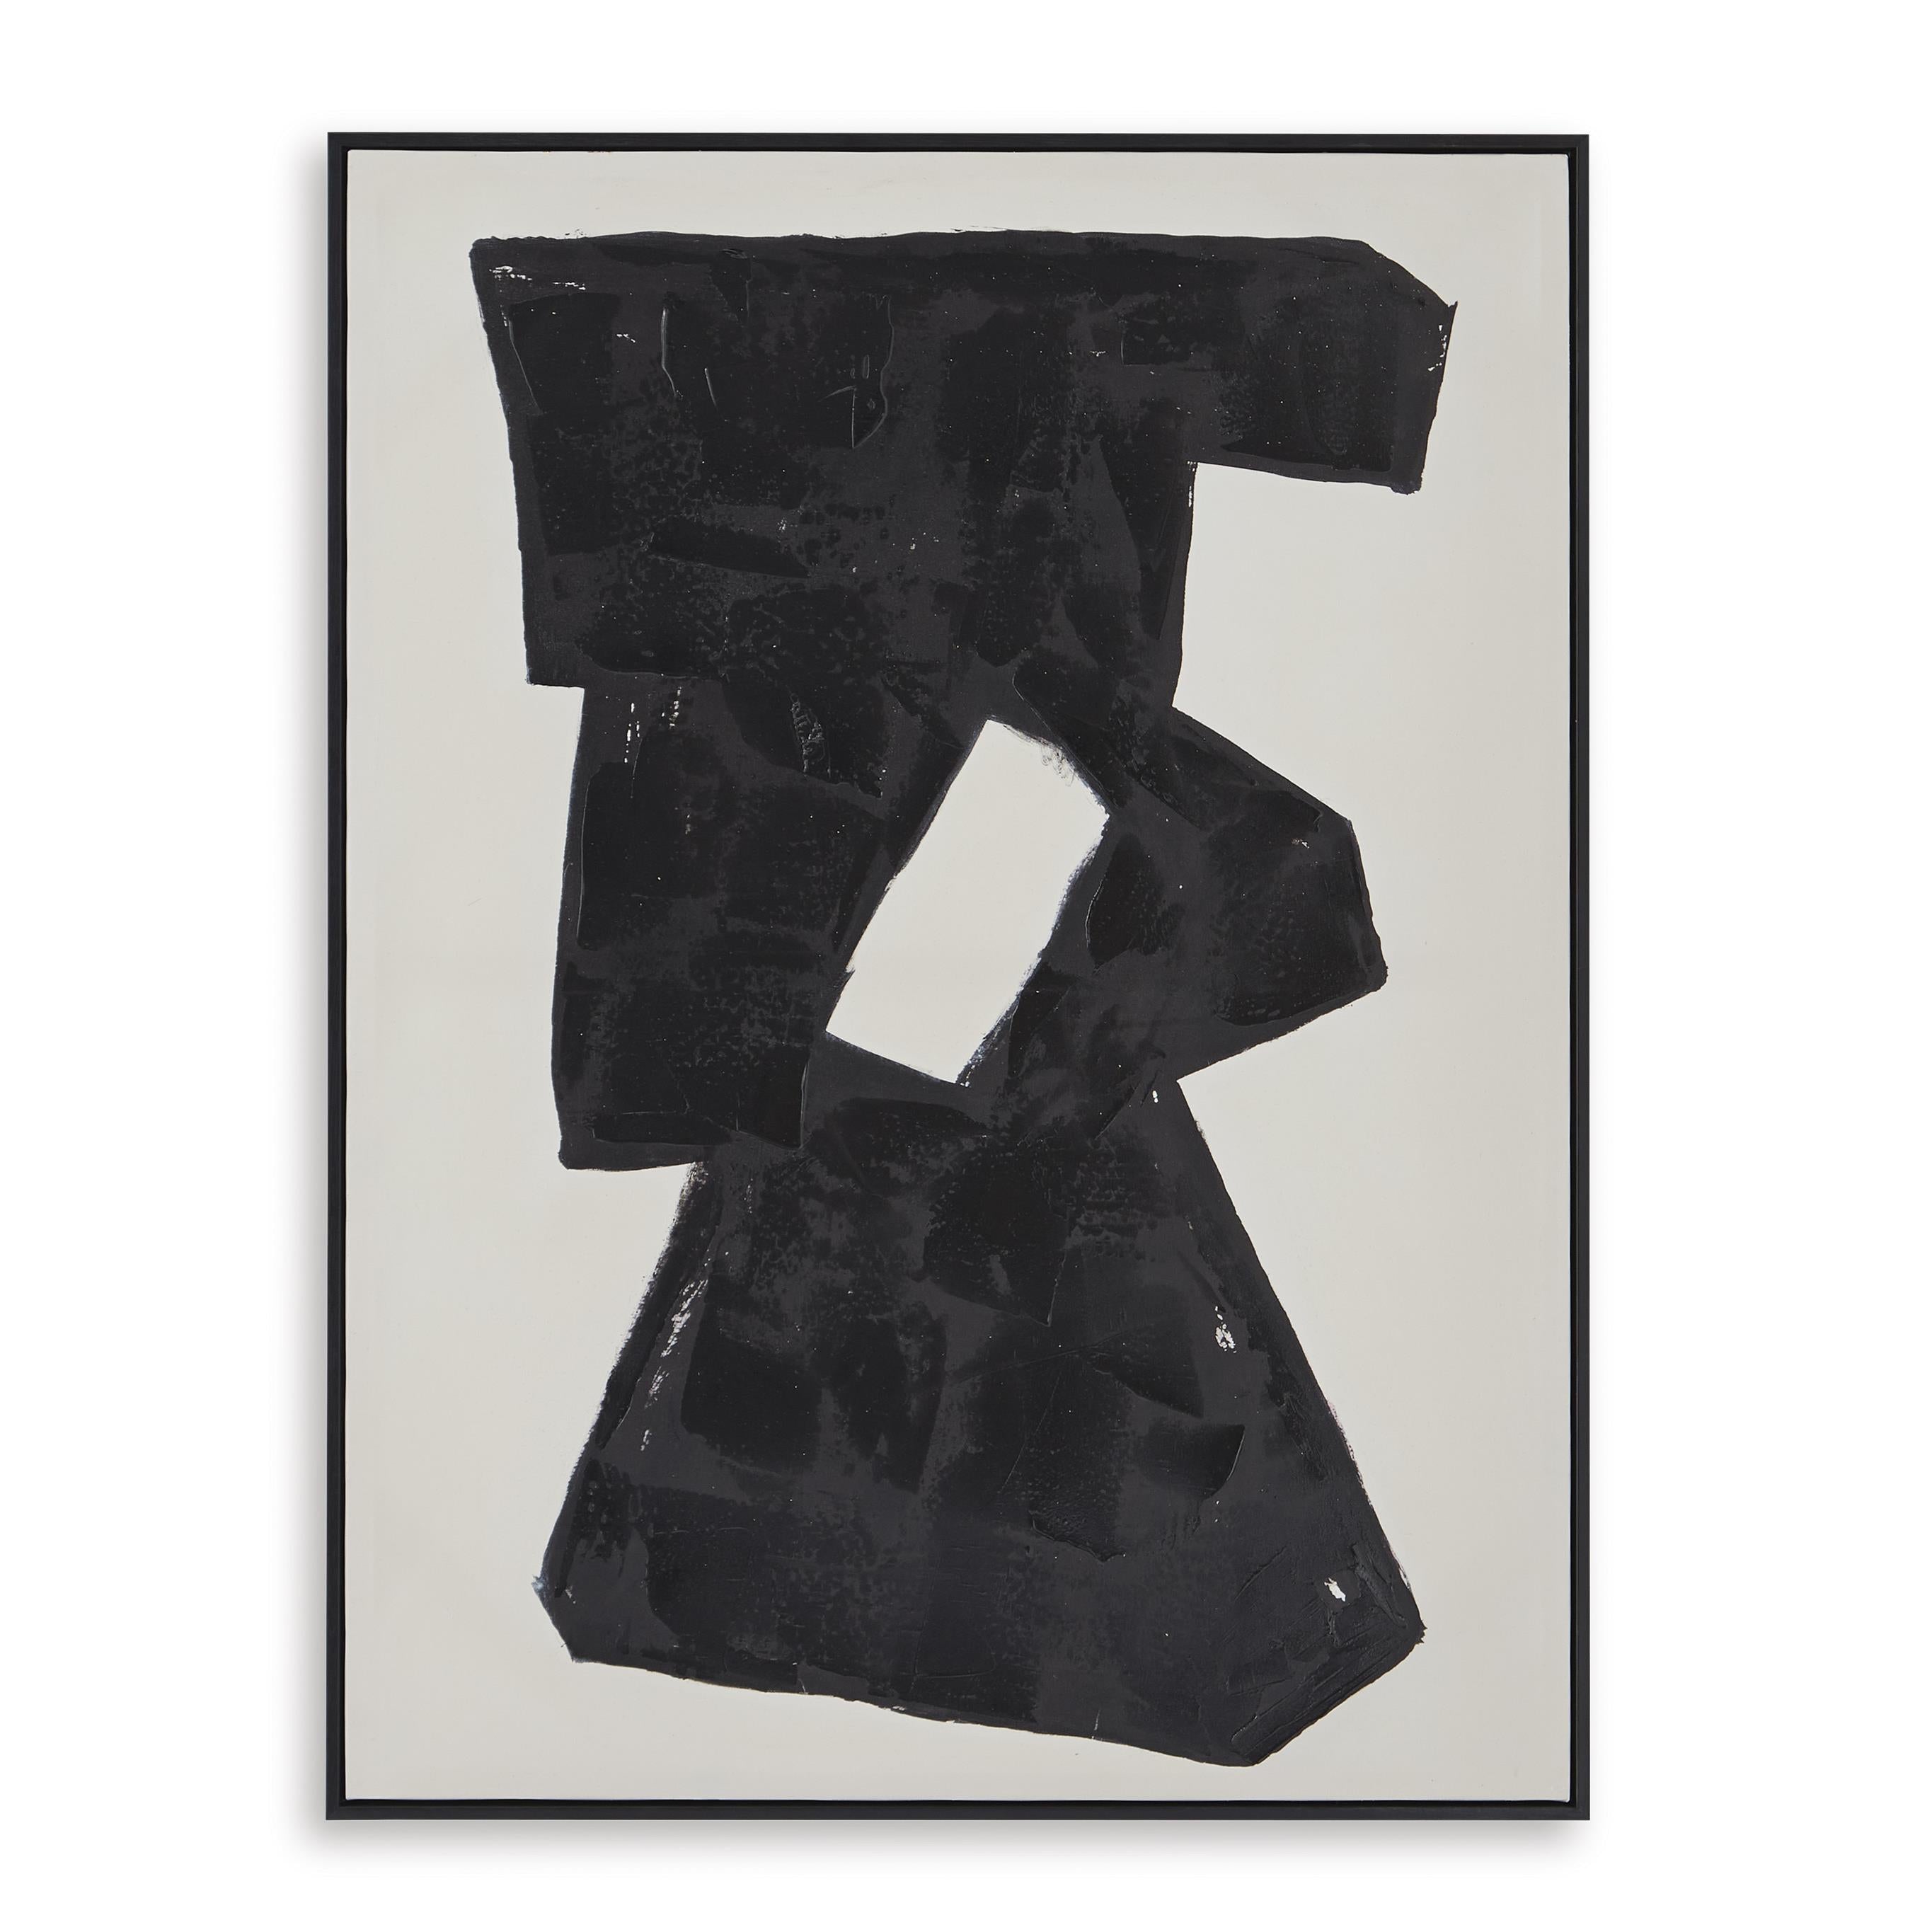
Signature Design by Ashley Garviery A8000385 Wall Art
Sale price$176.40


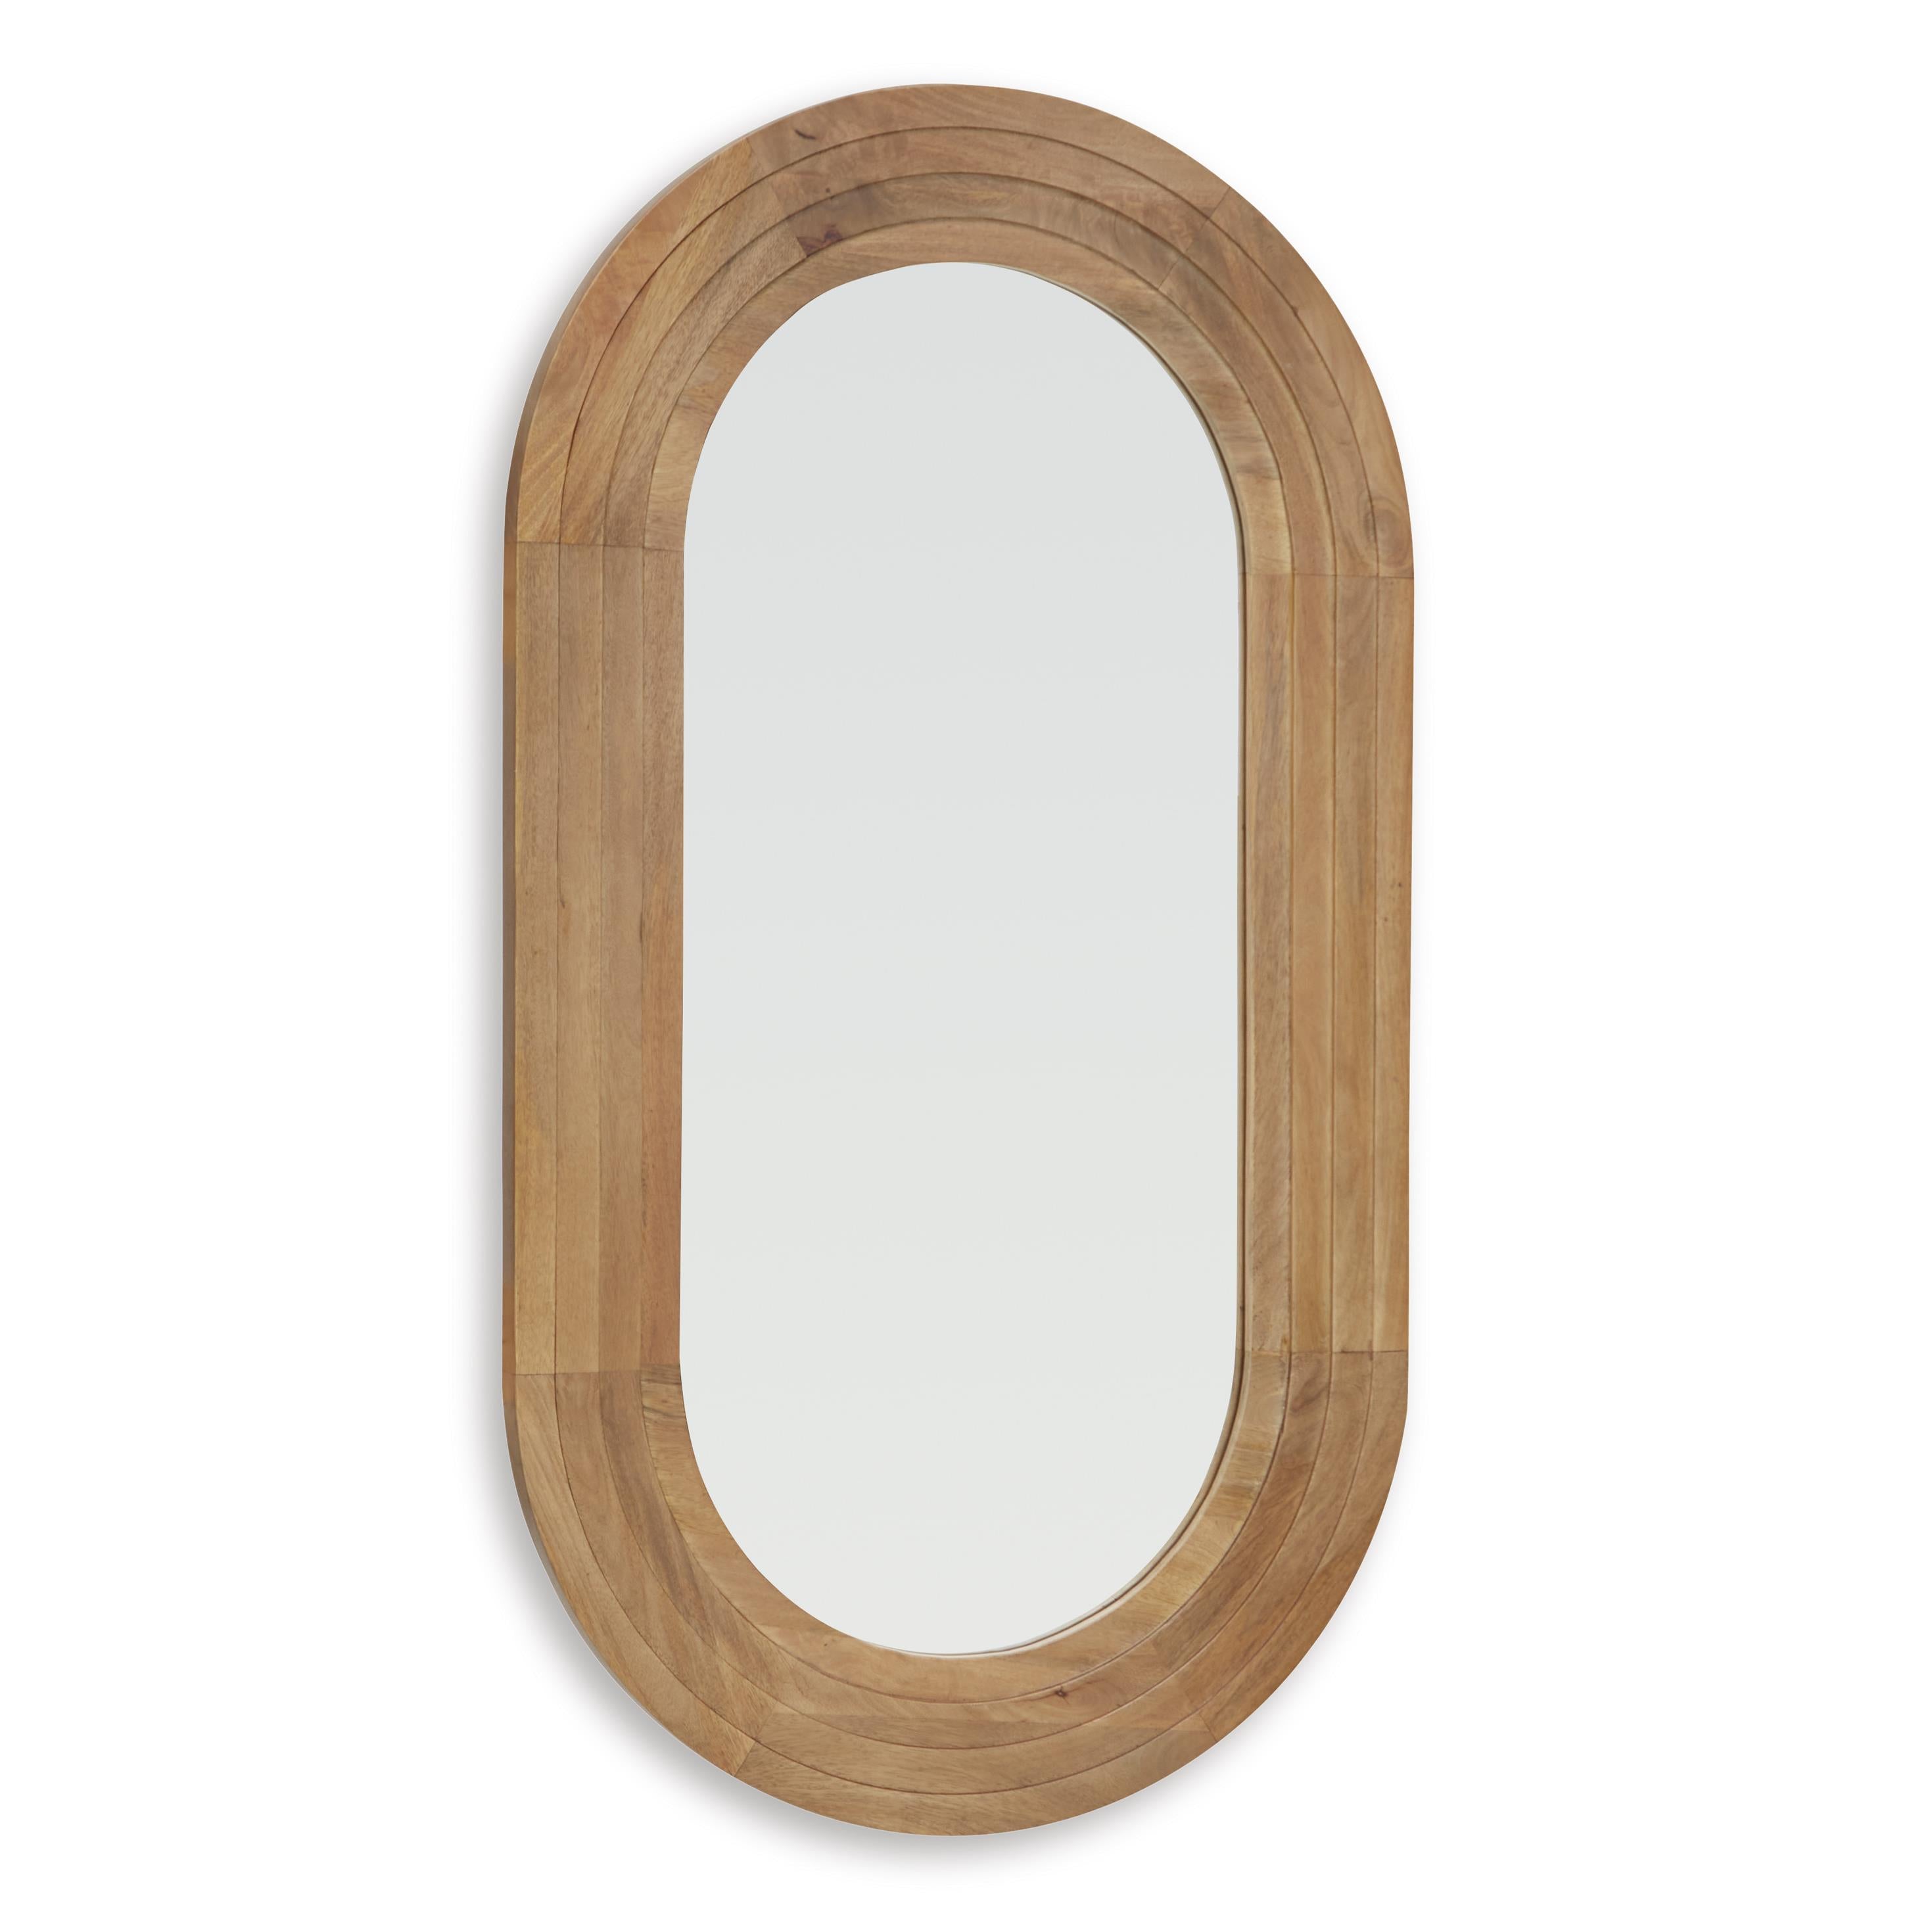
Signature Design by Ashley Evengton A8010319 Accent Mirror
Sale price$399.60
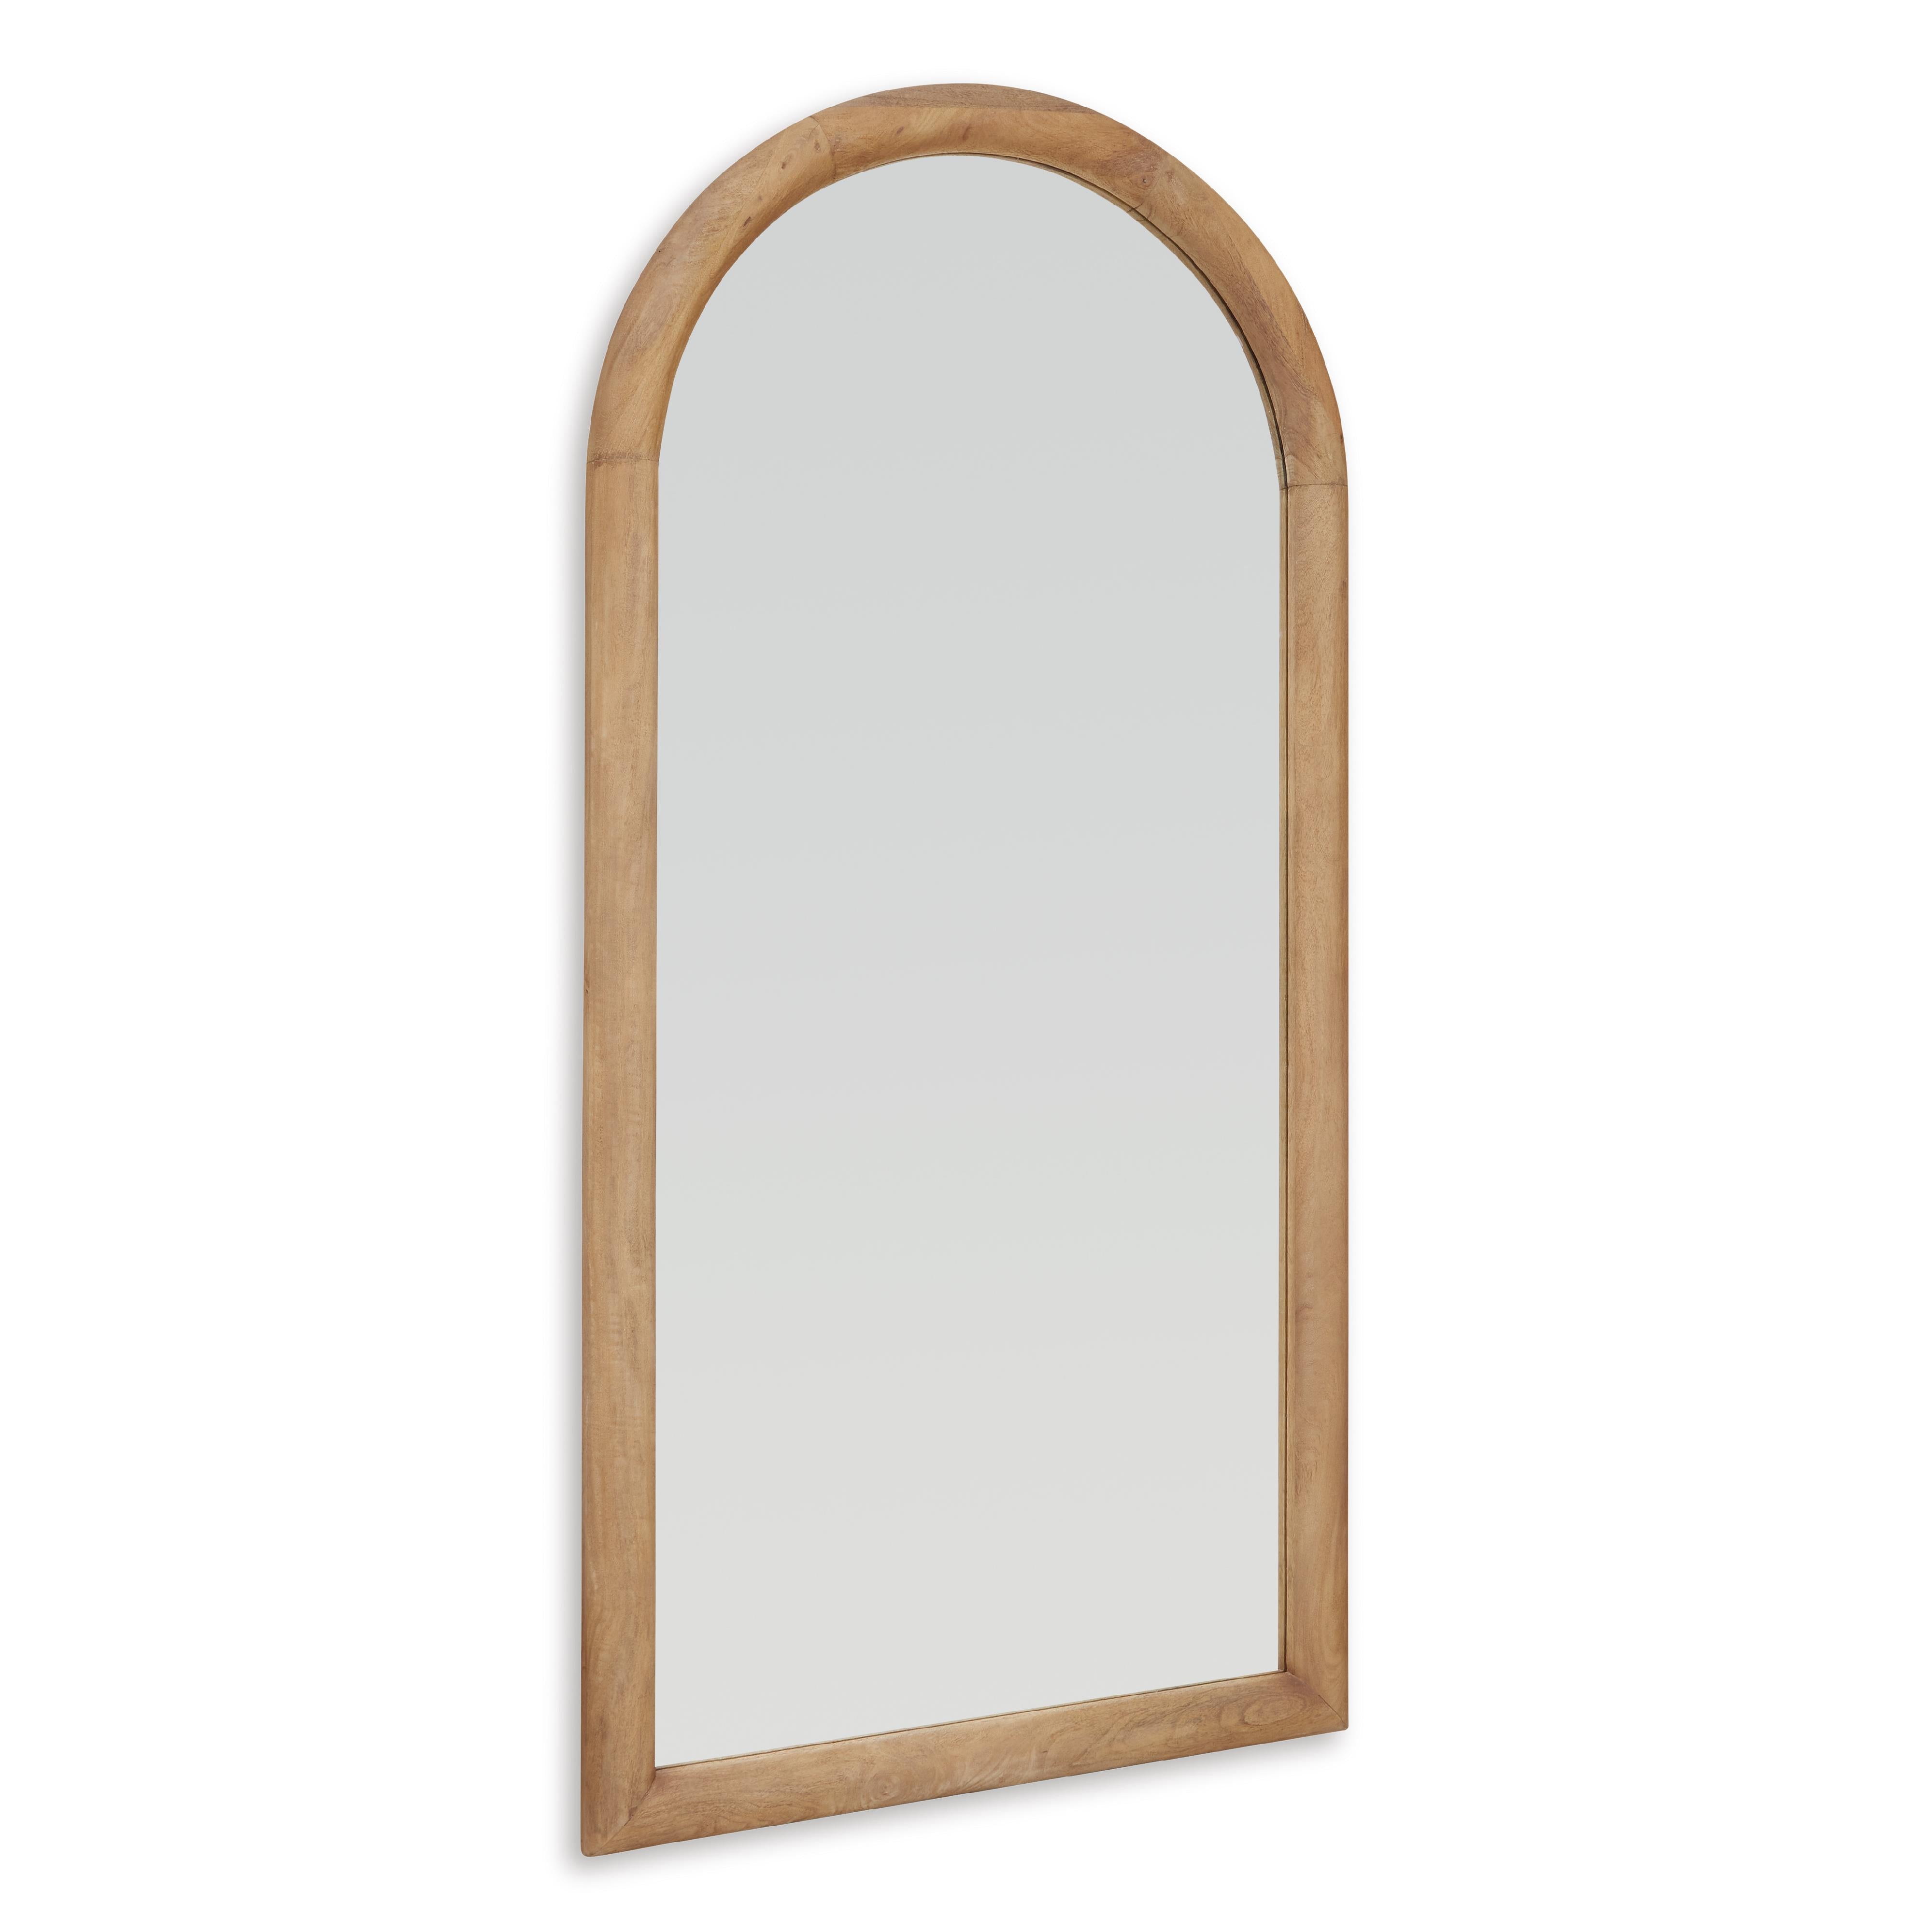
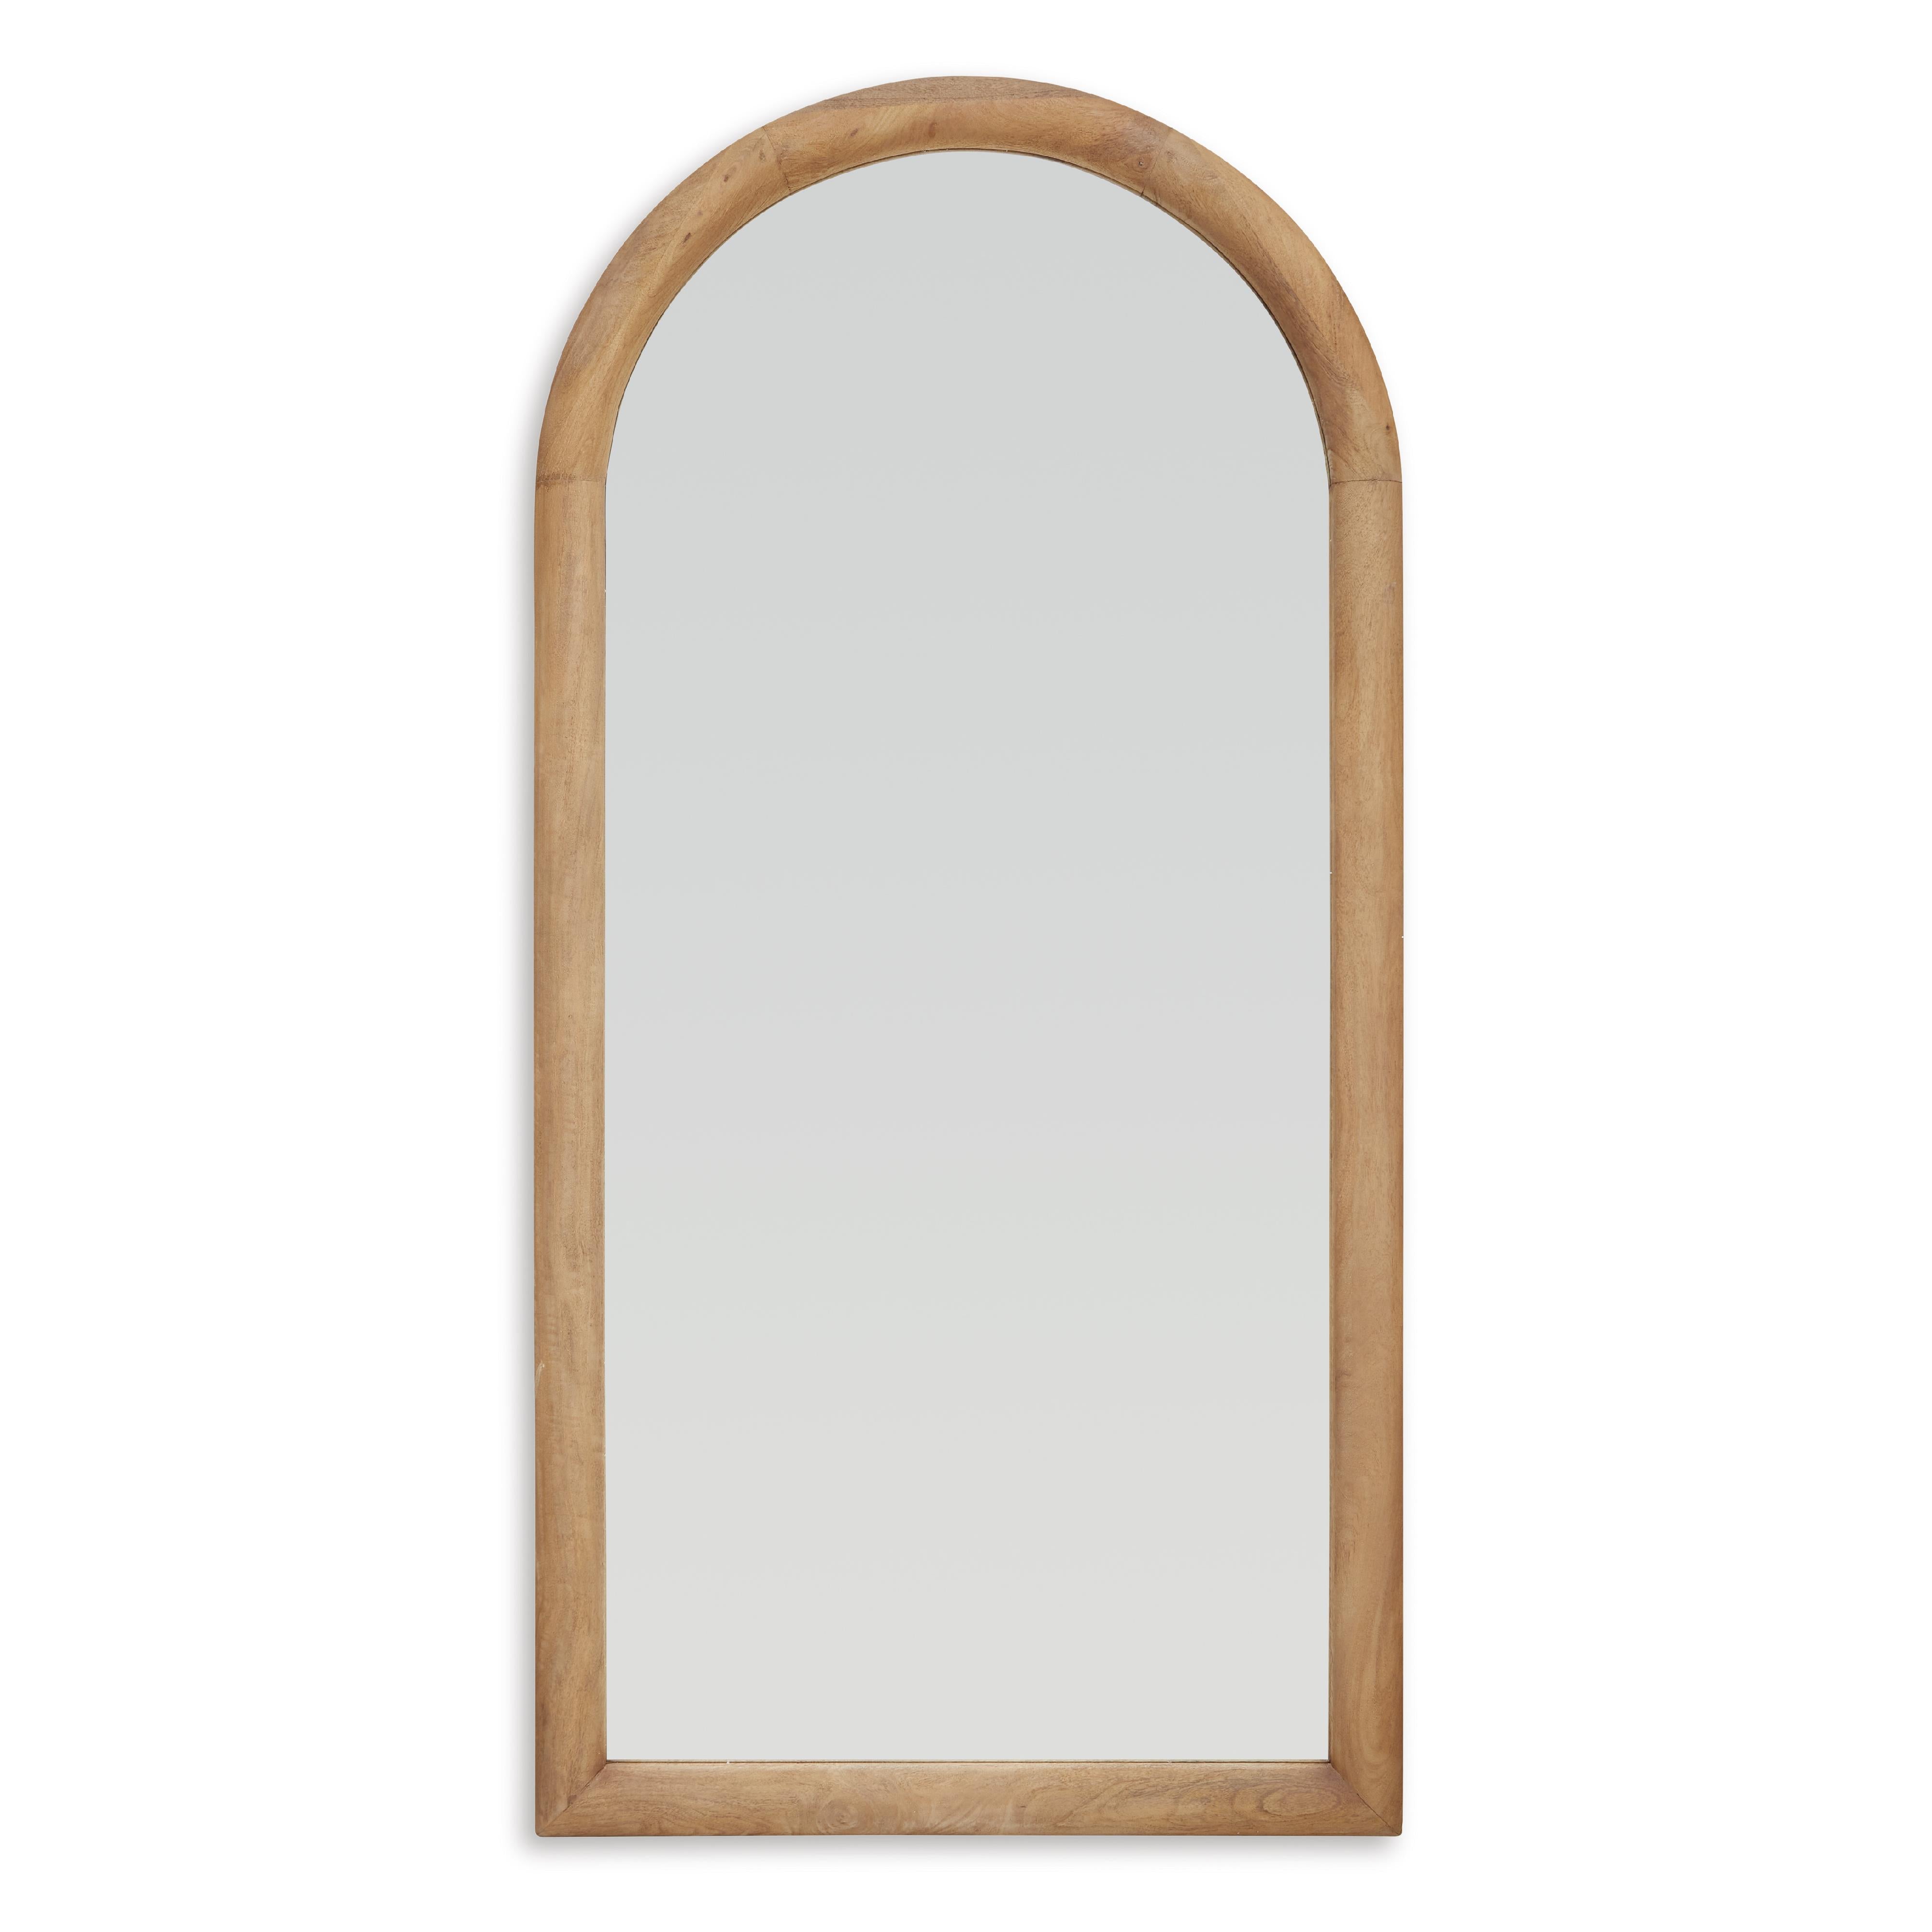
Signature Design by Ashley Dairville A8010323 Floor Mirror
Sale price$770.40
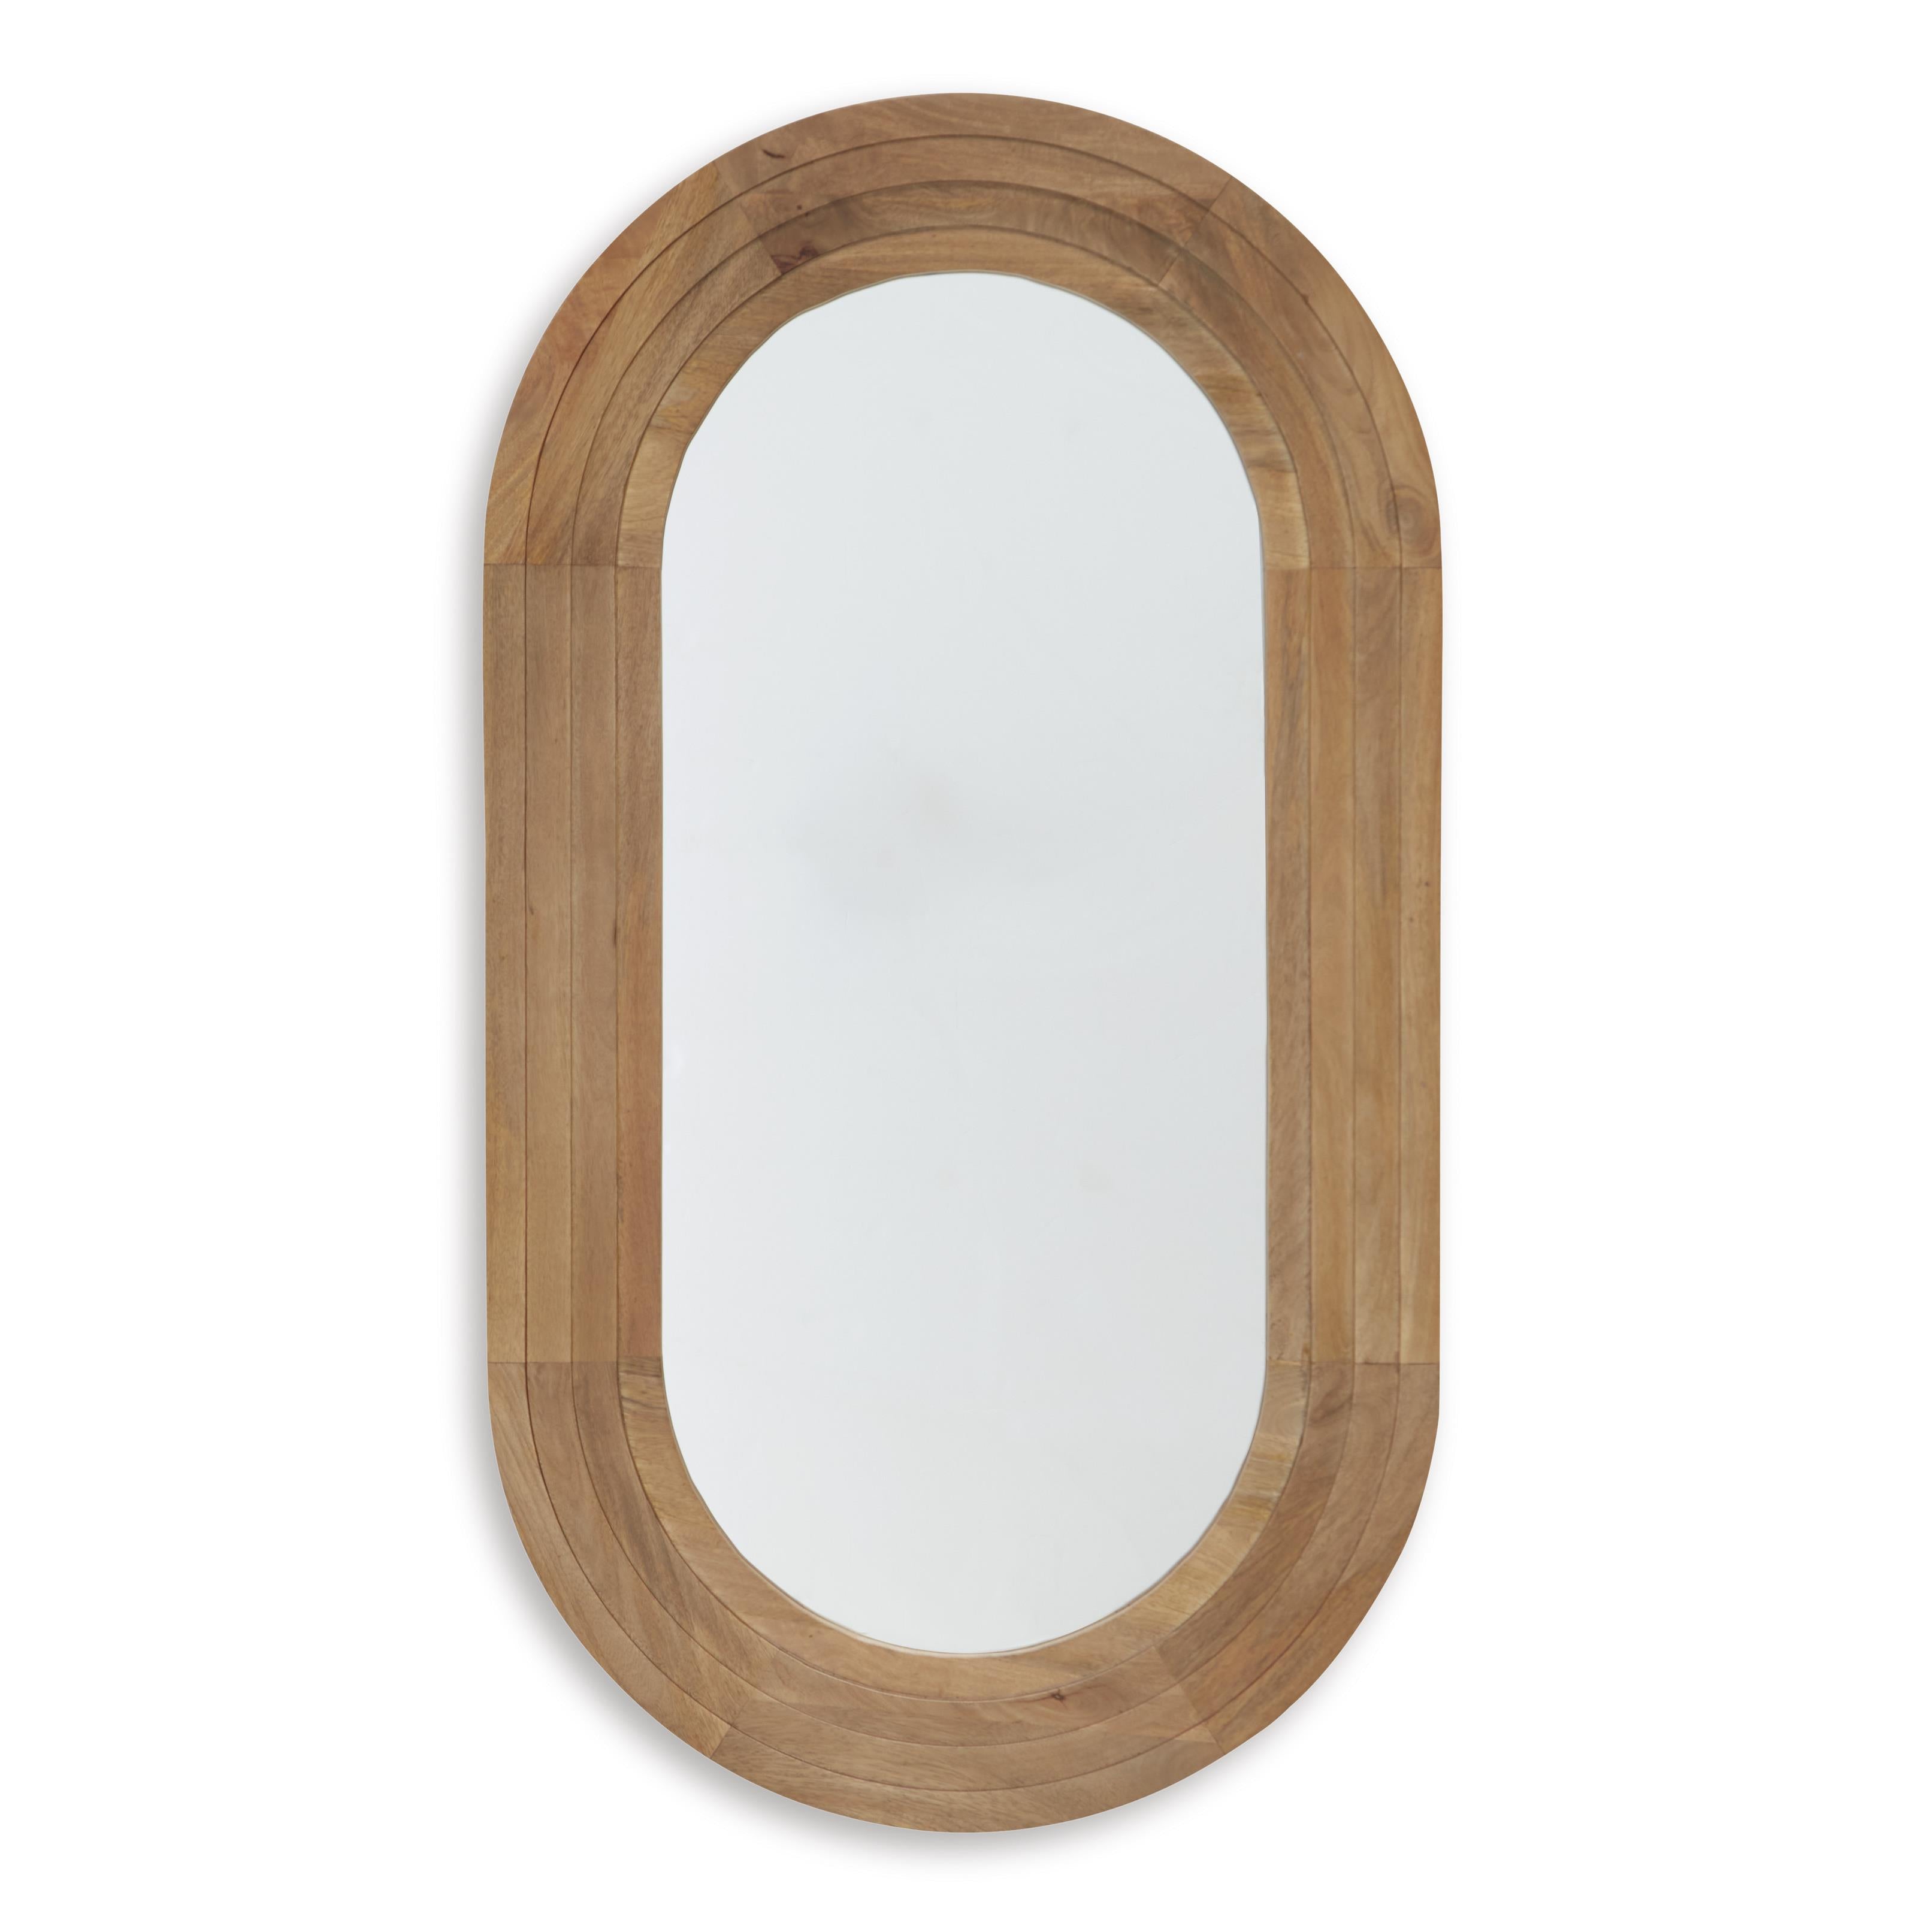
Signature Design by Ashley Daverly A8010326 Accent Mirror
Sale price$493.20


Signature Design by Ashley Cylener L100794 Ceramic Table Lamp
Sale price$207.00


Signature Design by Ashley Cashner L206101 Metal Floor Lamp
Sale price$279.00


Signature Design by Ashley Hambell L207434 Metal Table Lamp
Sale price$261.00


Signature Design by Ashley Scantor L207464 Metal Table Lamp
Sale price$225.00


Signature Design by Ashley Danry L207454 Metal Table Lamp
Sale price$243.00


Signature Design by Ashley Danacy L235754 Paper Table Lamp
Sale price$185.40


Signature Design by Ashley Cylerick L235714 Terracotta Table Lamp
Sale price$207.00


Signature Design by Ashley Hallburg L235761 Poly Floor Lamp
Sale price$354.60


Signature Design by Ashley Scarbot L243354 Paper Table Lamp
Sale price$225.00


Signature Design by Ashley Wimmings L243654 Poly Table Lamp
Sale price$243.00


Signature Design by Ashley Danset L329104 Wood Table Lamp
Sale price$225.00
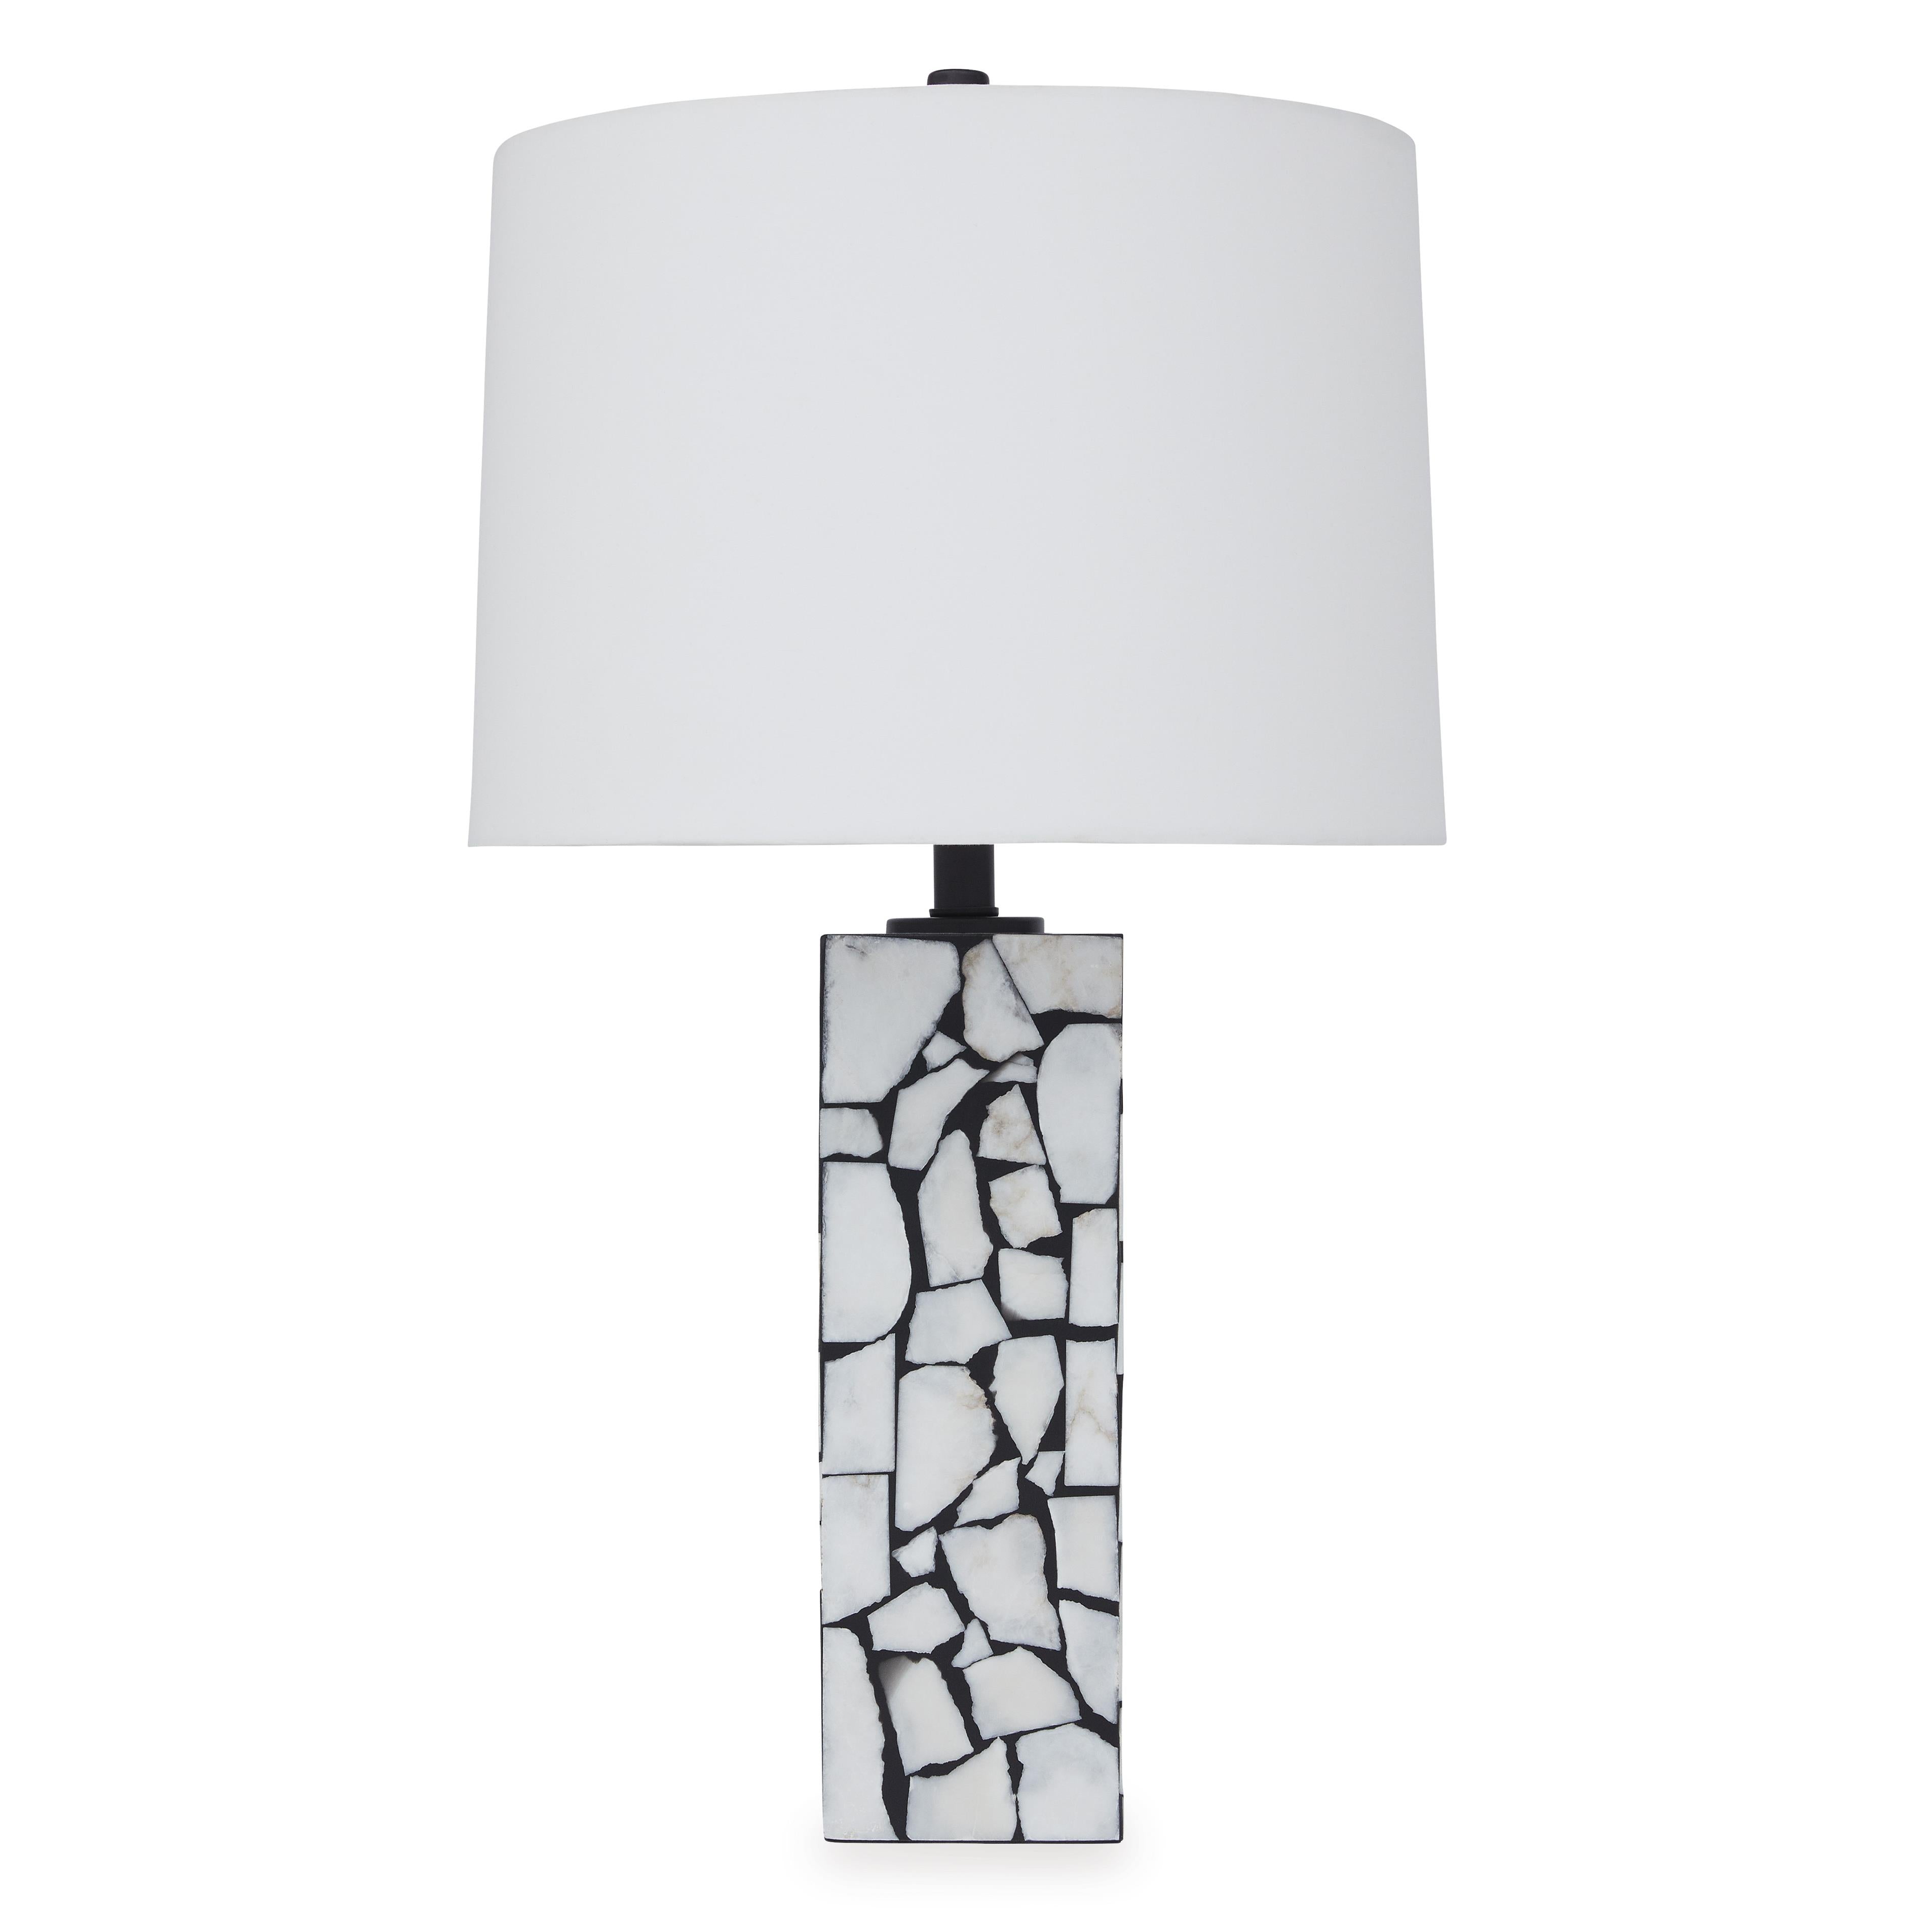

Signature Design by Ashley Macaria L429044 Marble Table Lamp
Sale price$261.00


Signature Design by Ashley Danset L329101 Wood Floor Lamp
Sale price$444.60


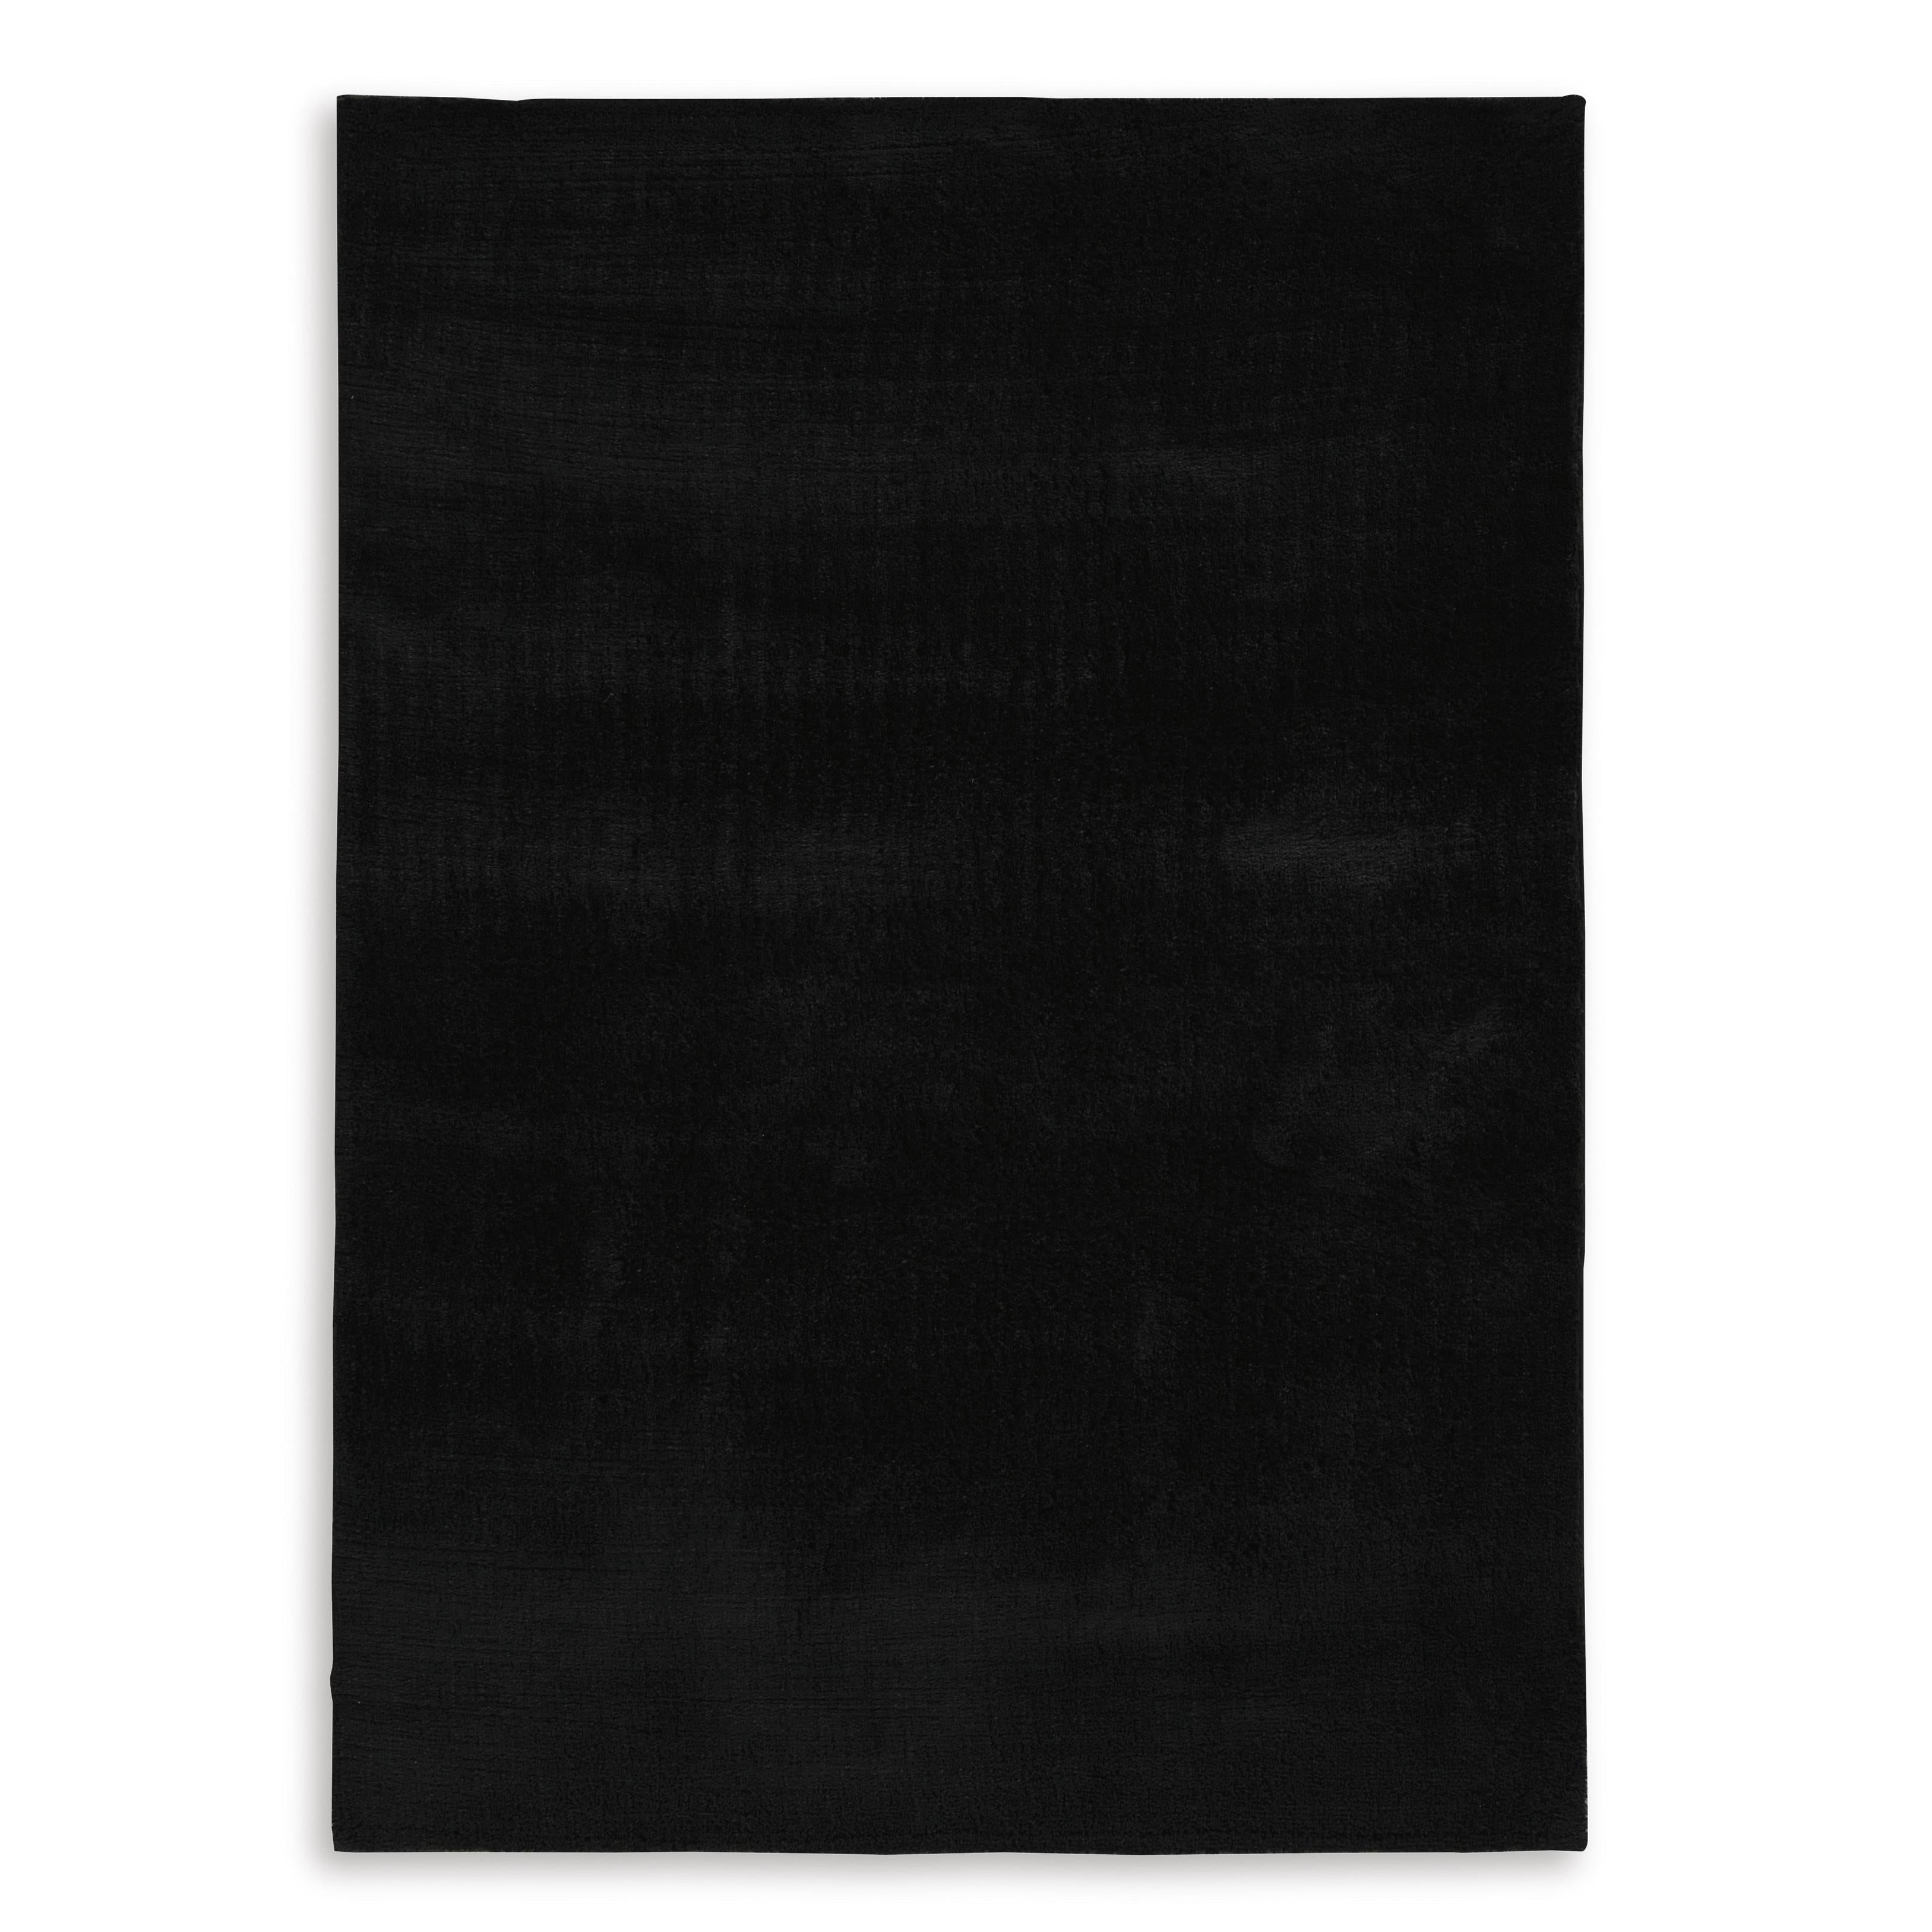
Signature Design by Ashley Anaben R406312 Washable Medium Rug
Sale price$194.40
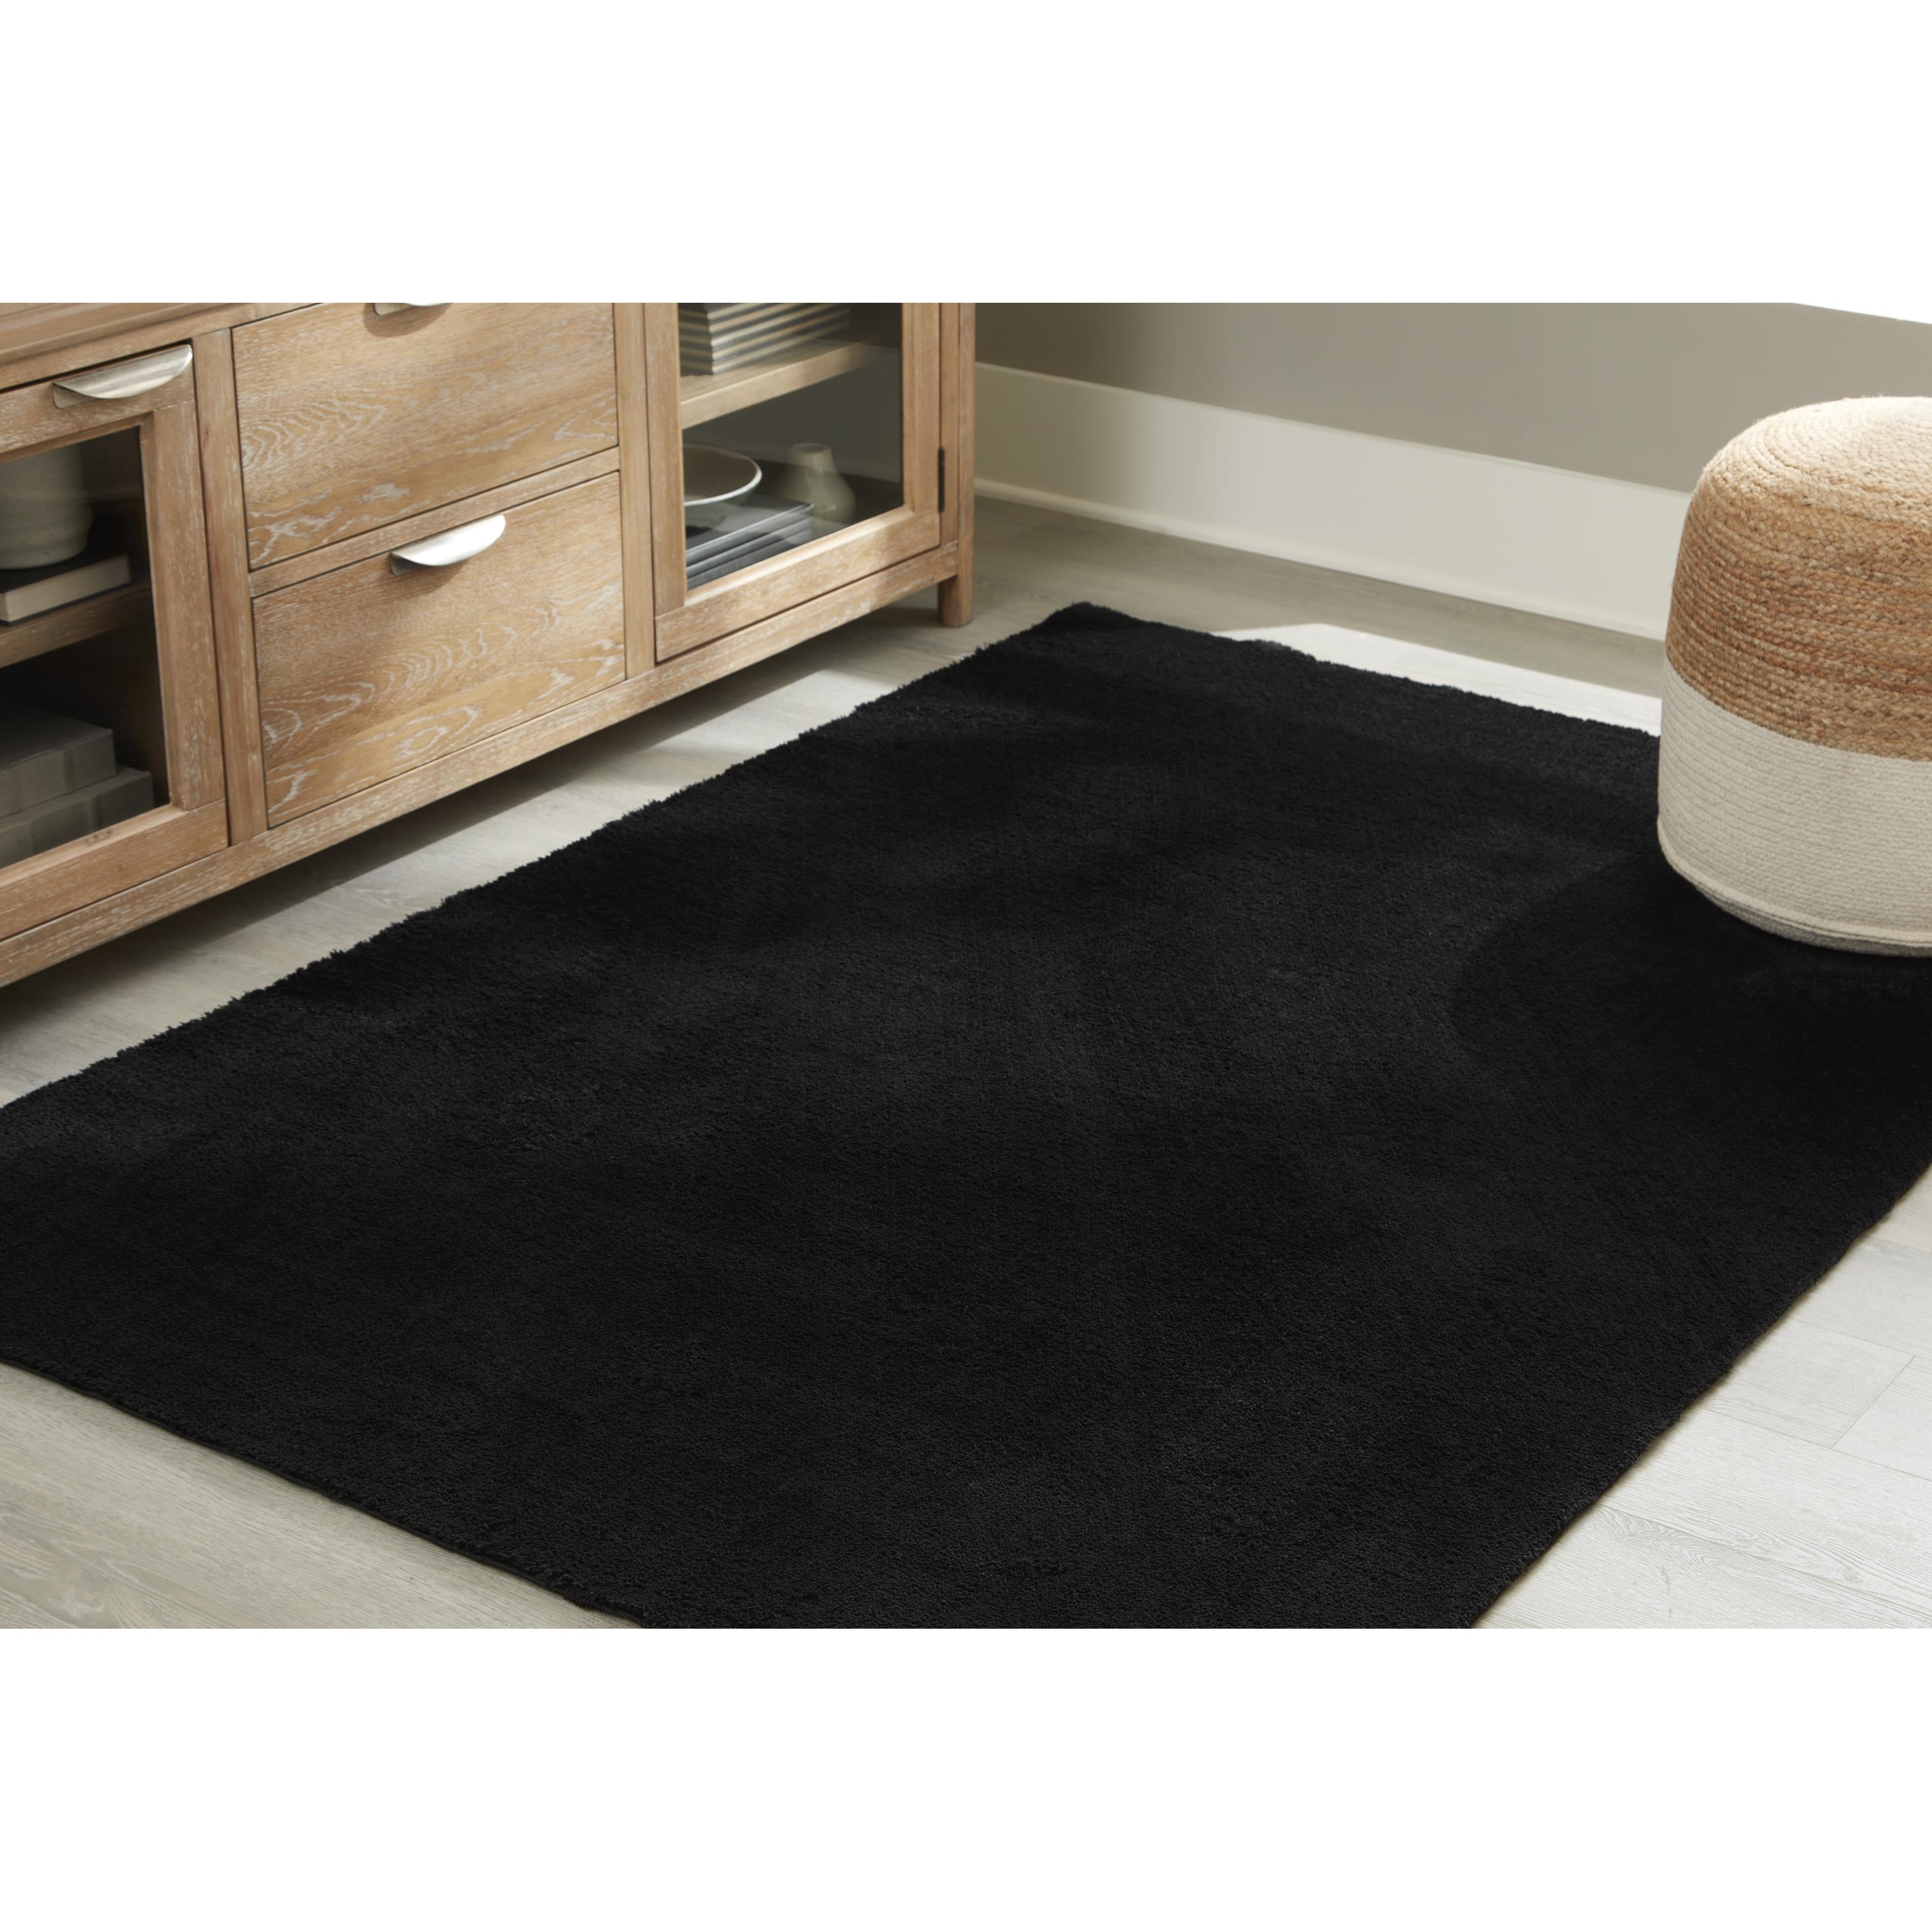
Signature Design by Ashley Anaben R406311 Washable Large Rug
Sale price$404.46
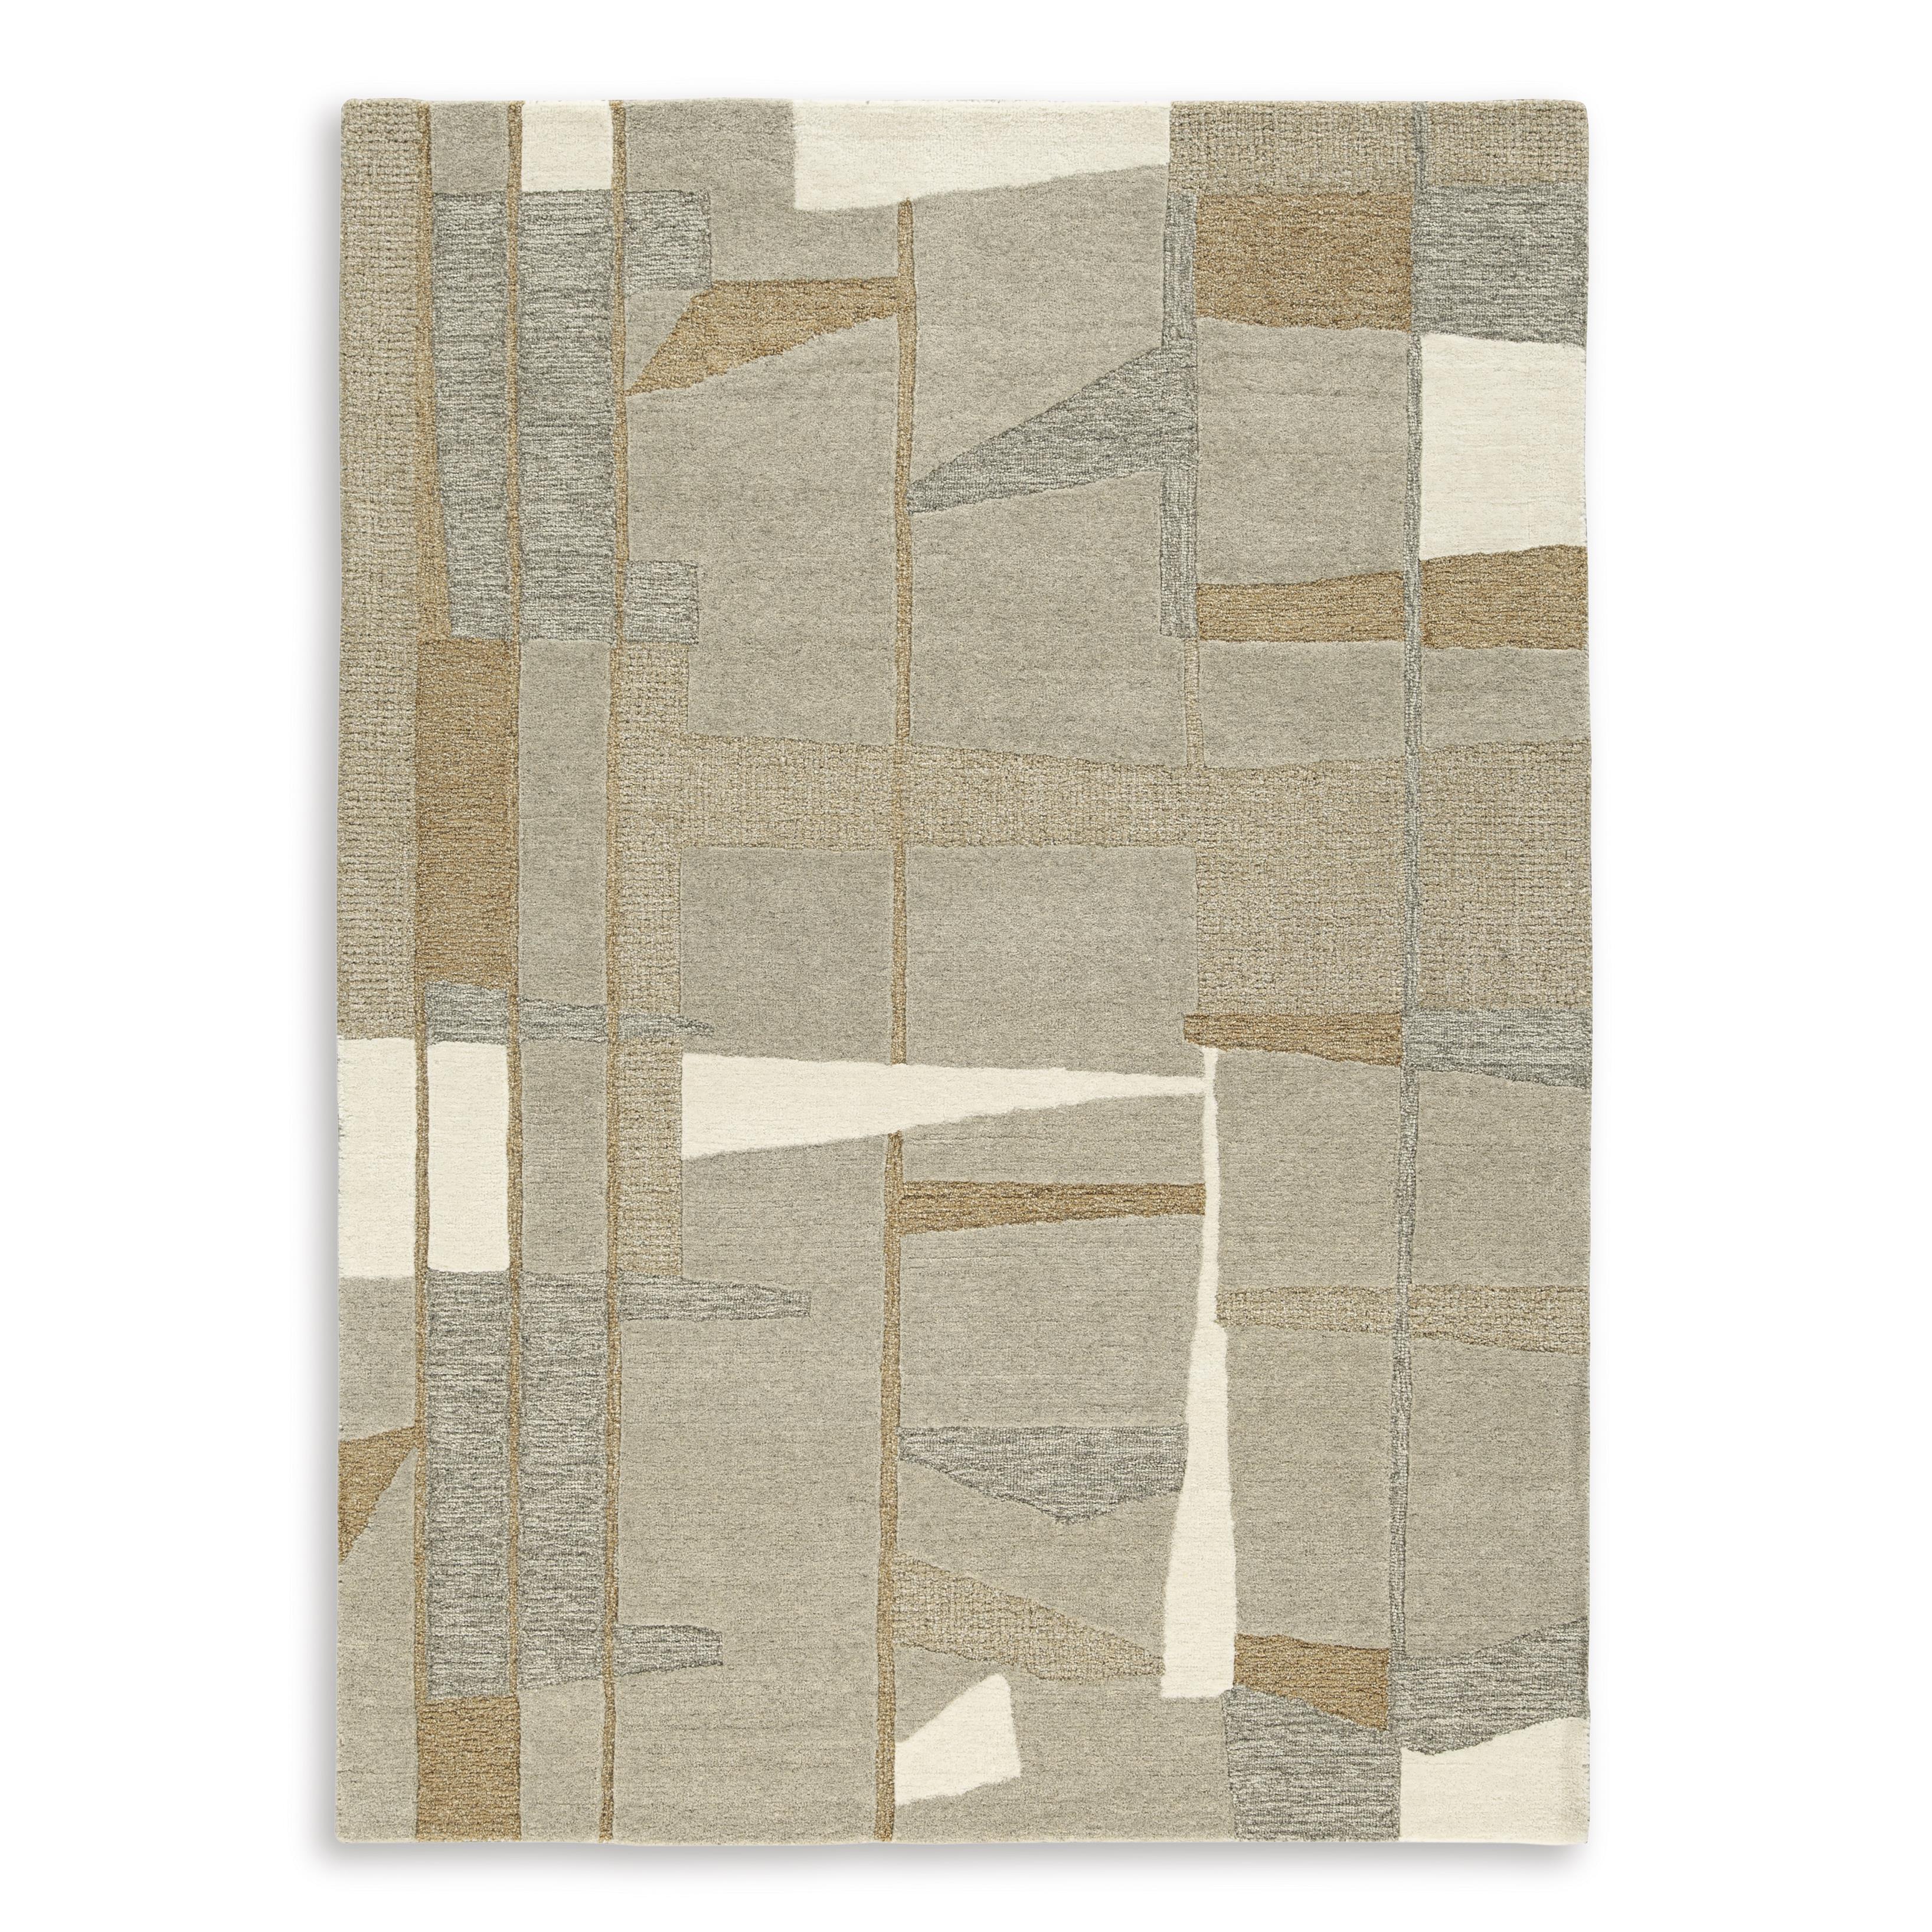
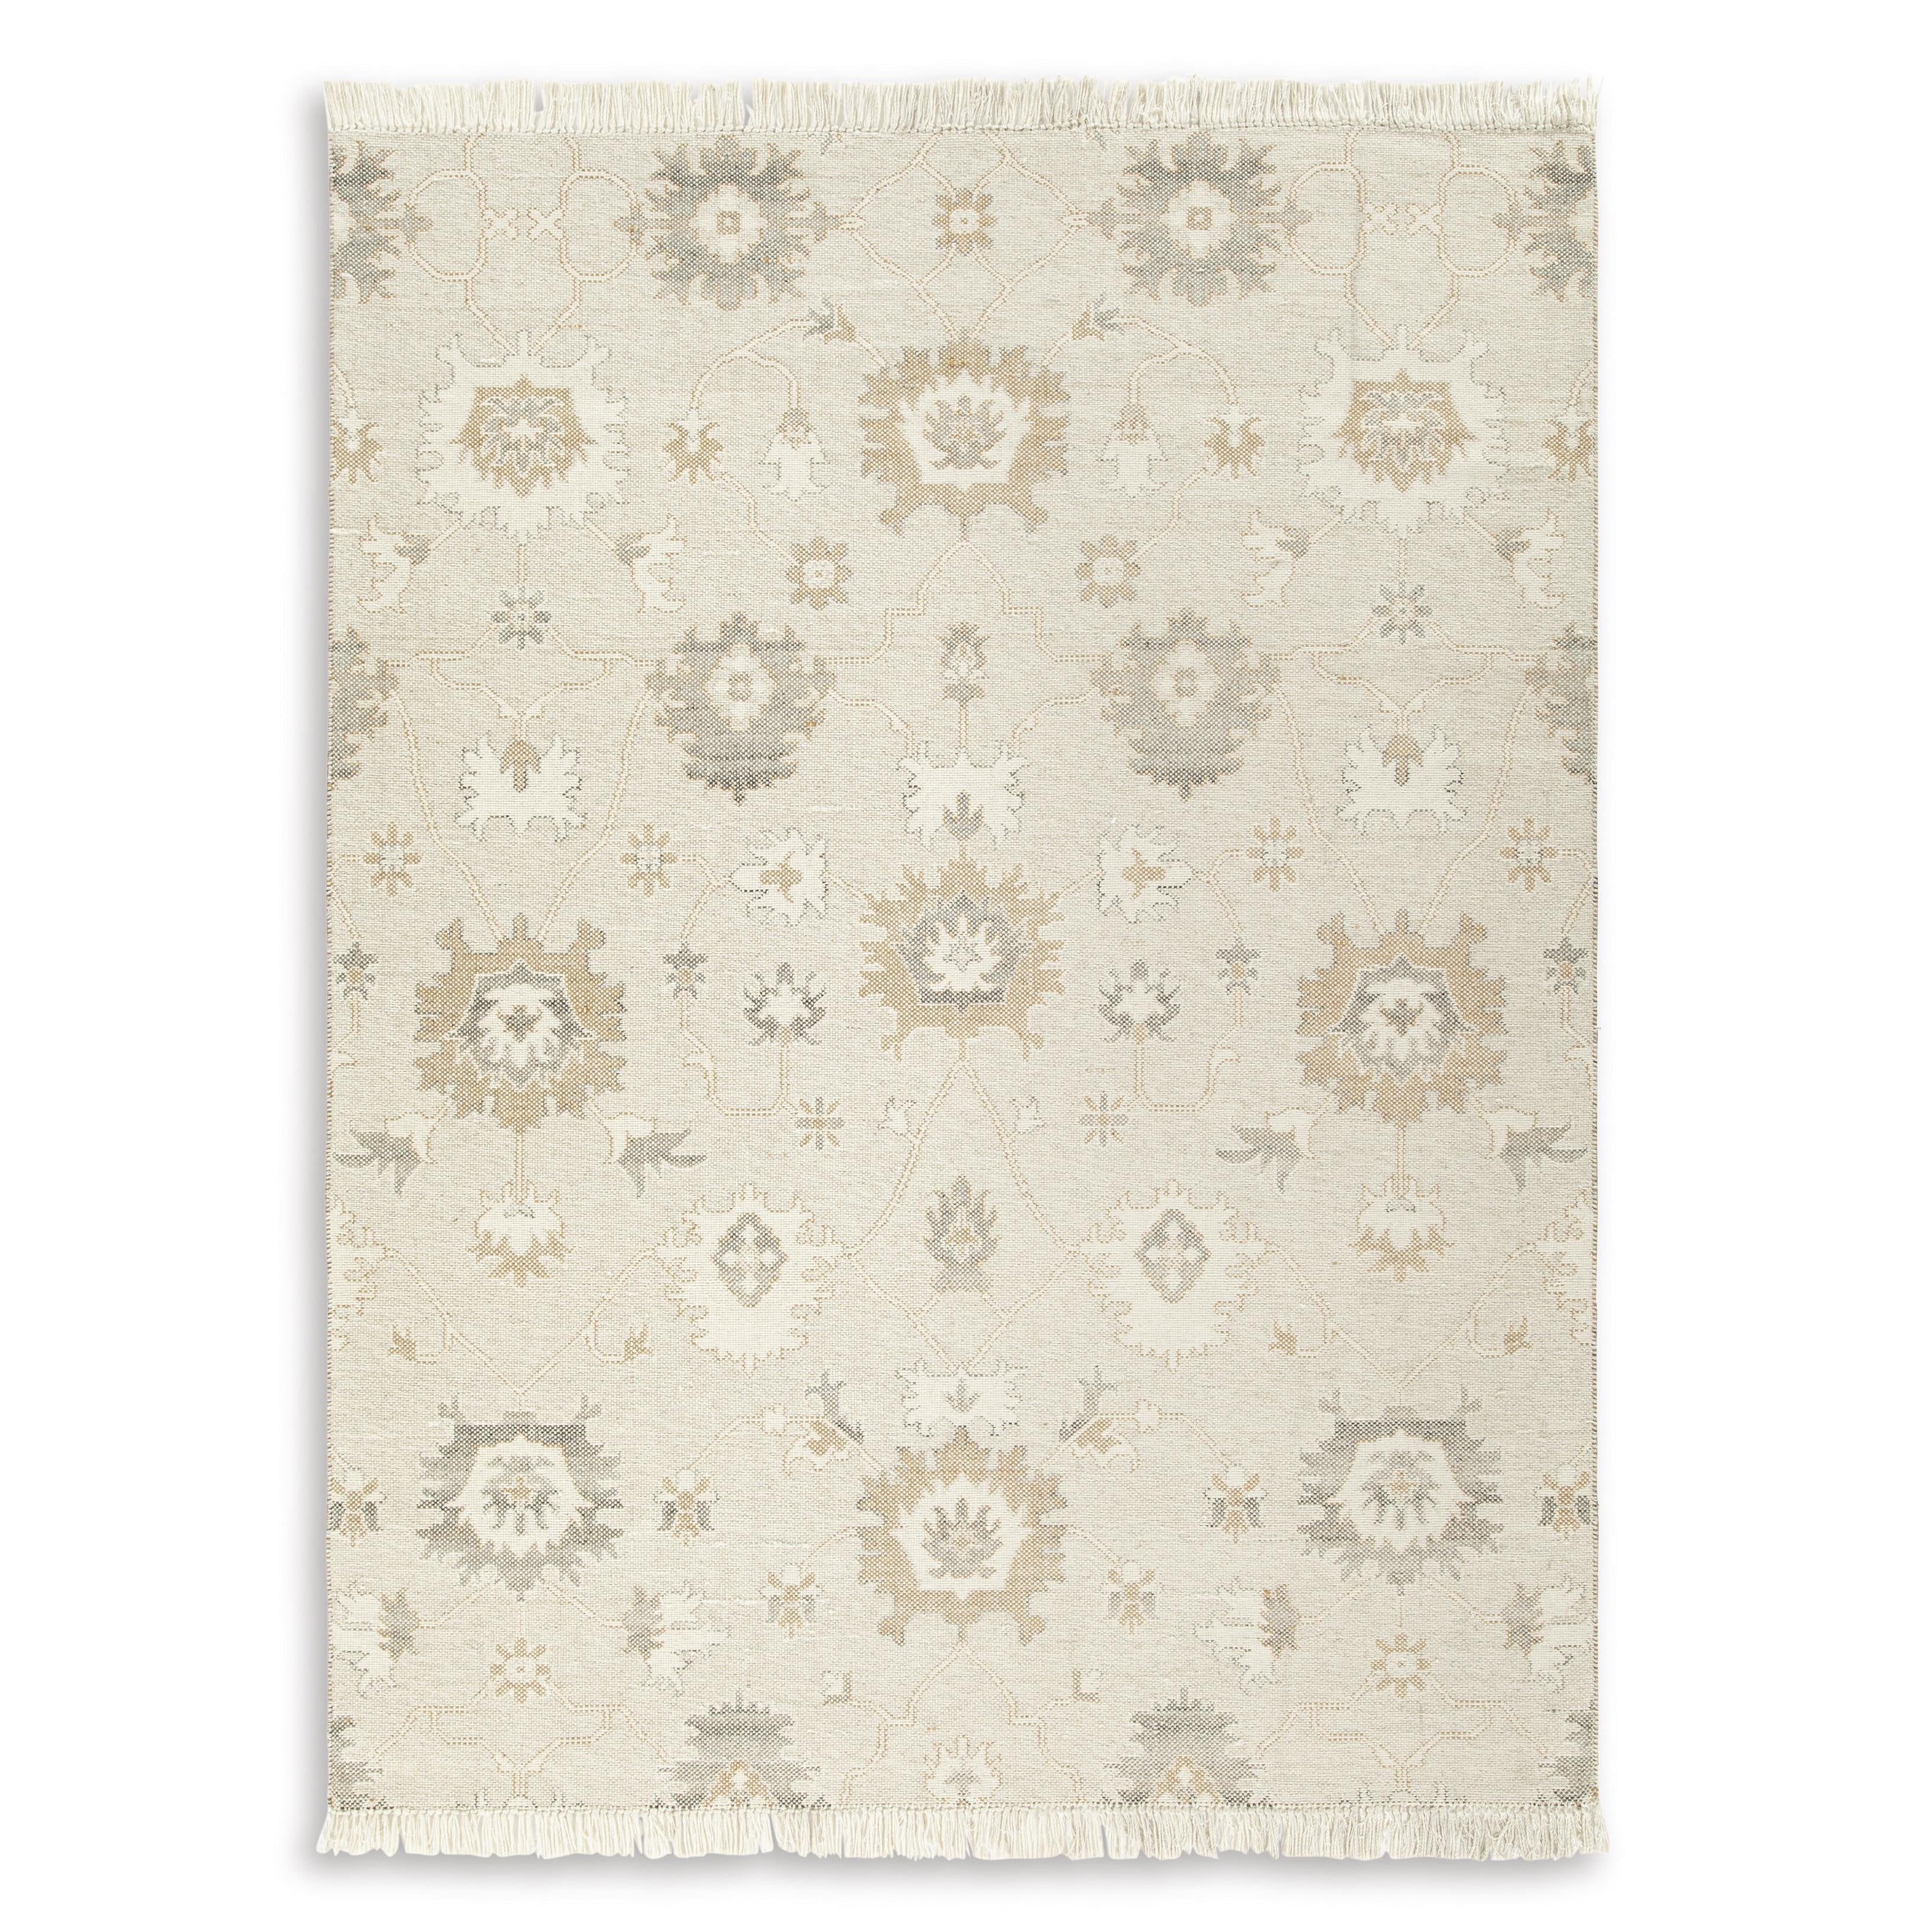
Signature Design by Ashley Abbotton R406332 Medium Rug
Sale price$363.60


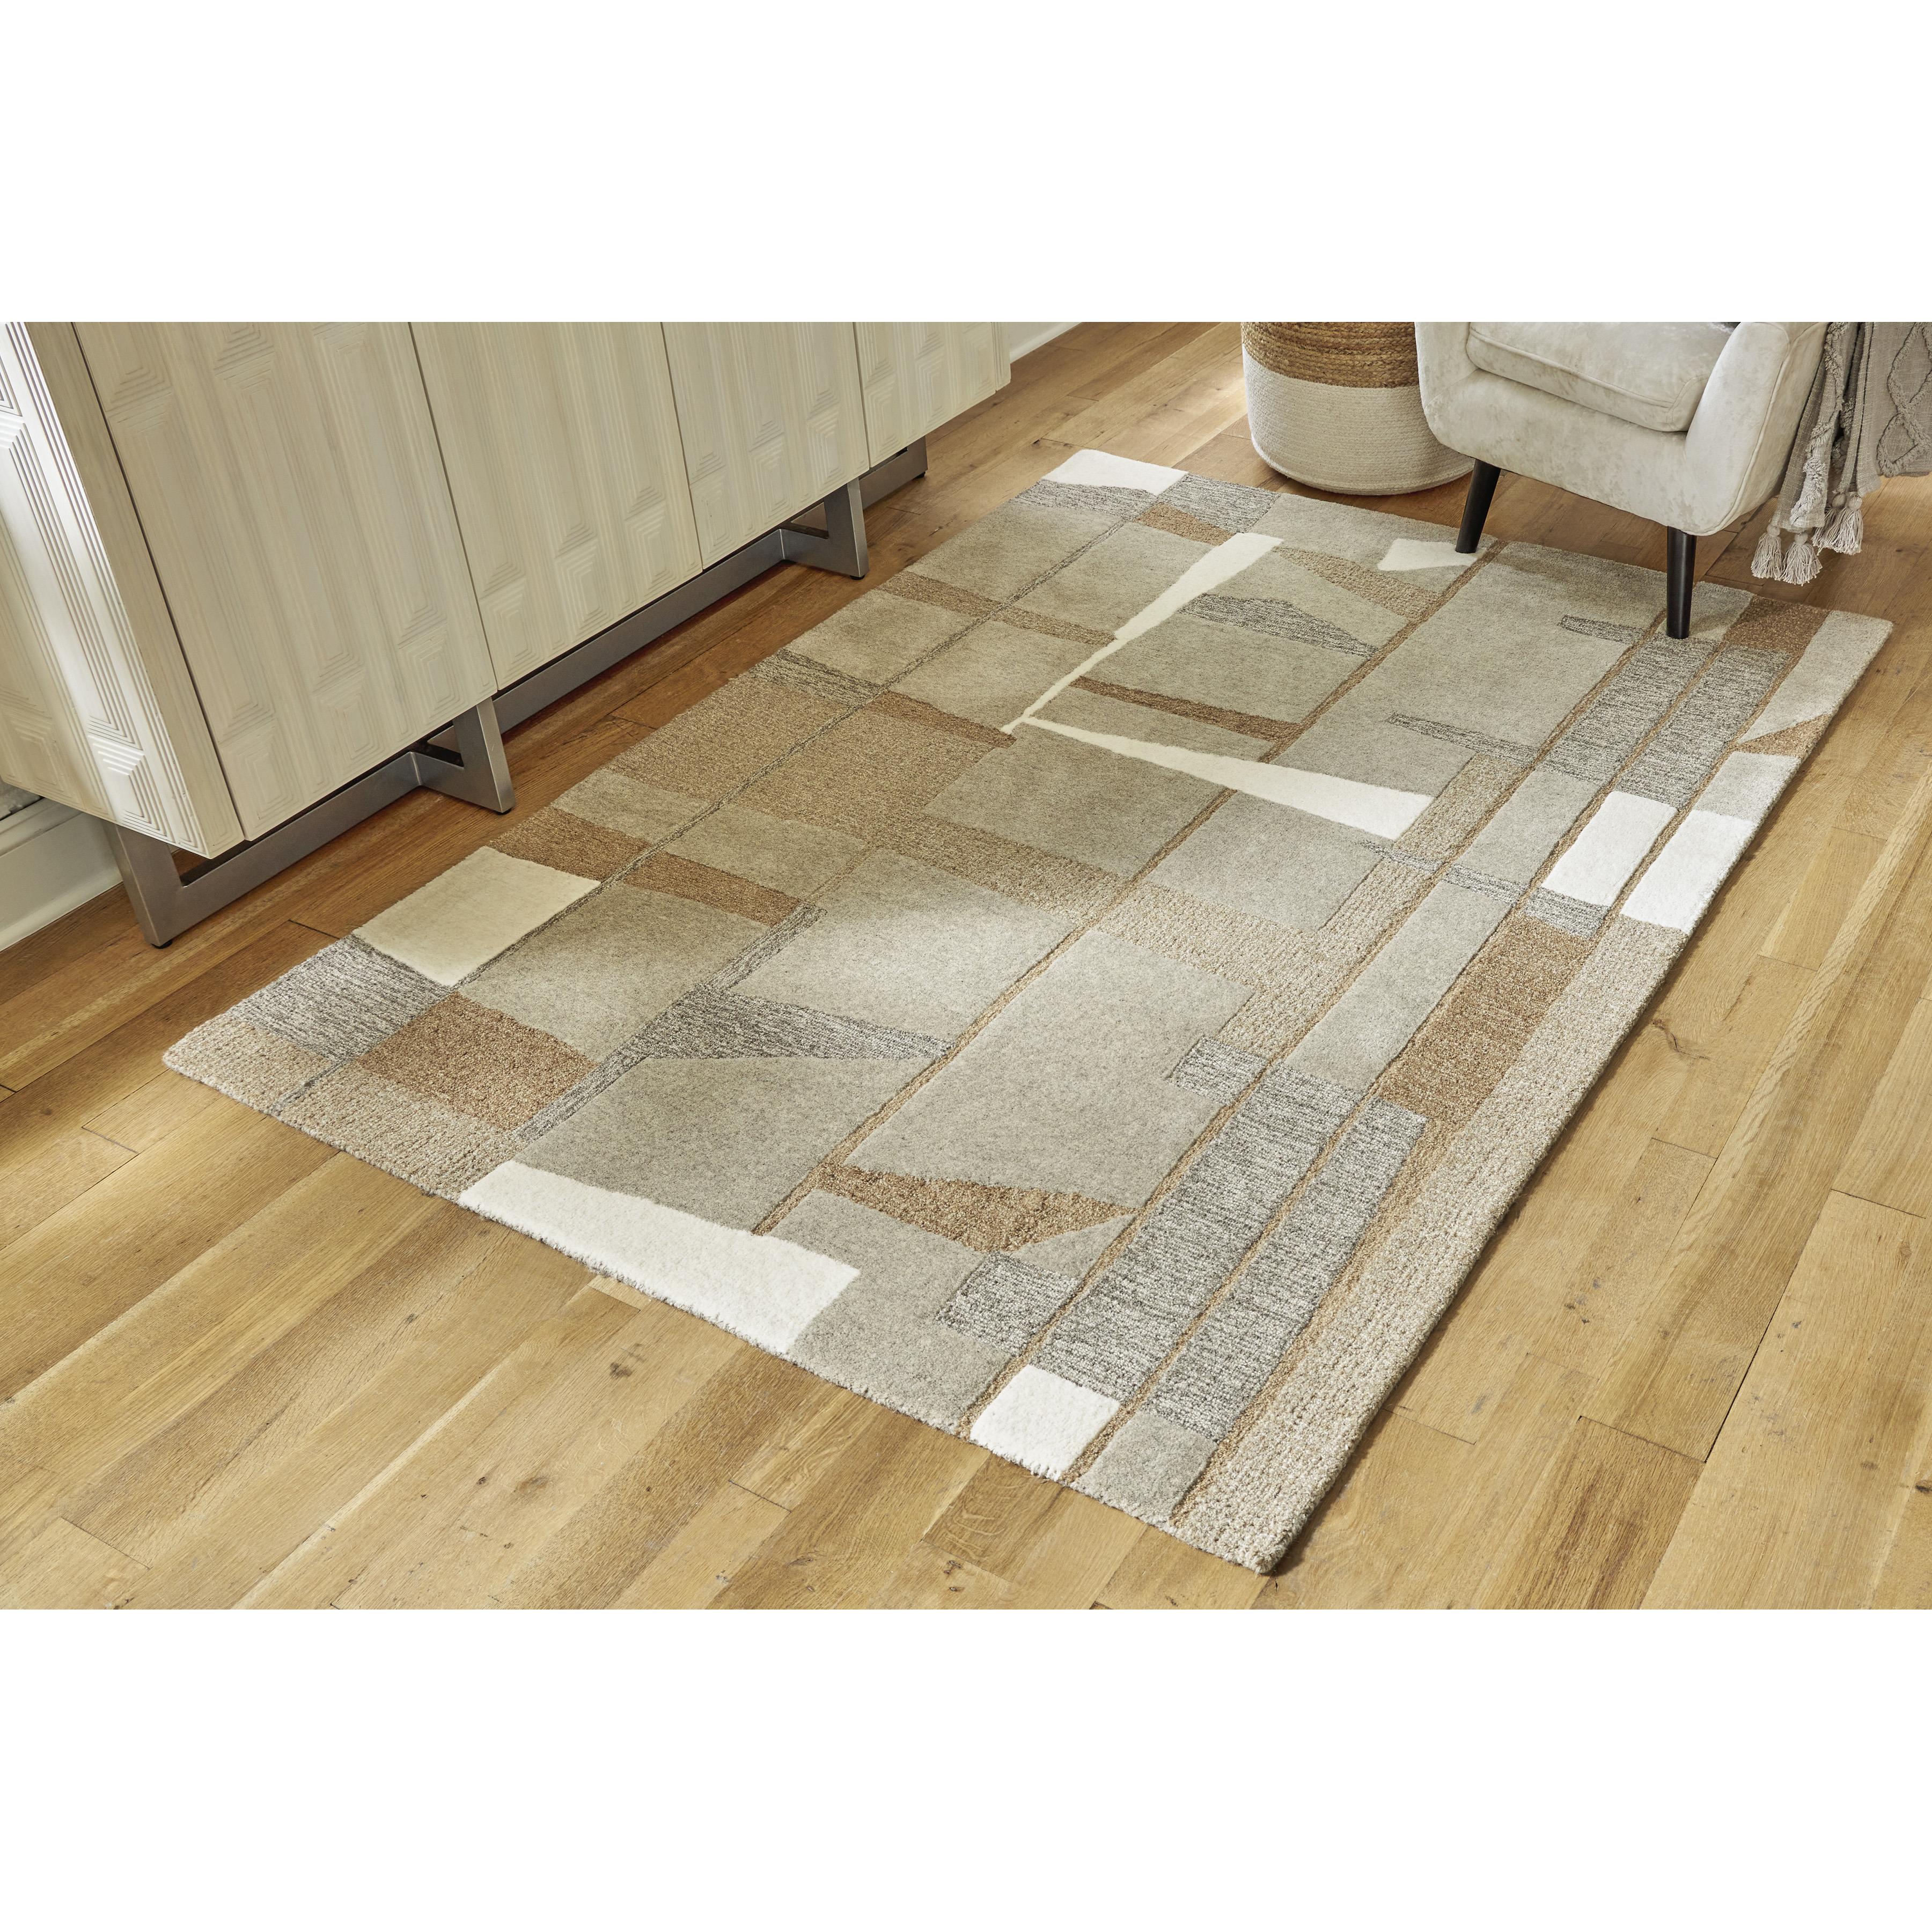
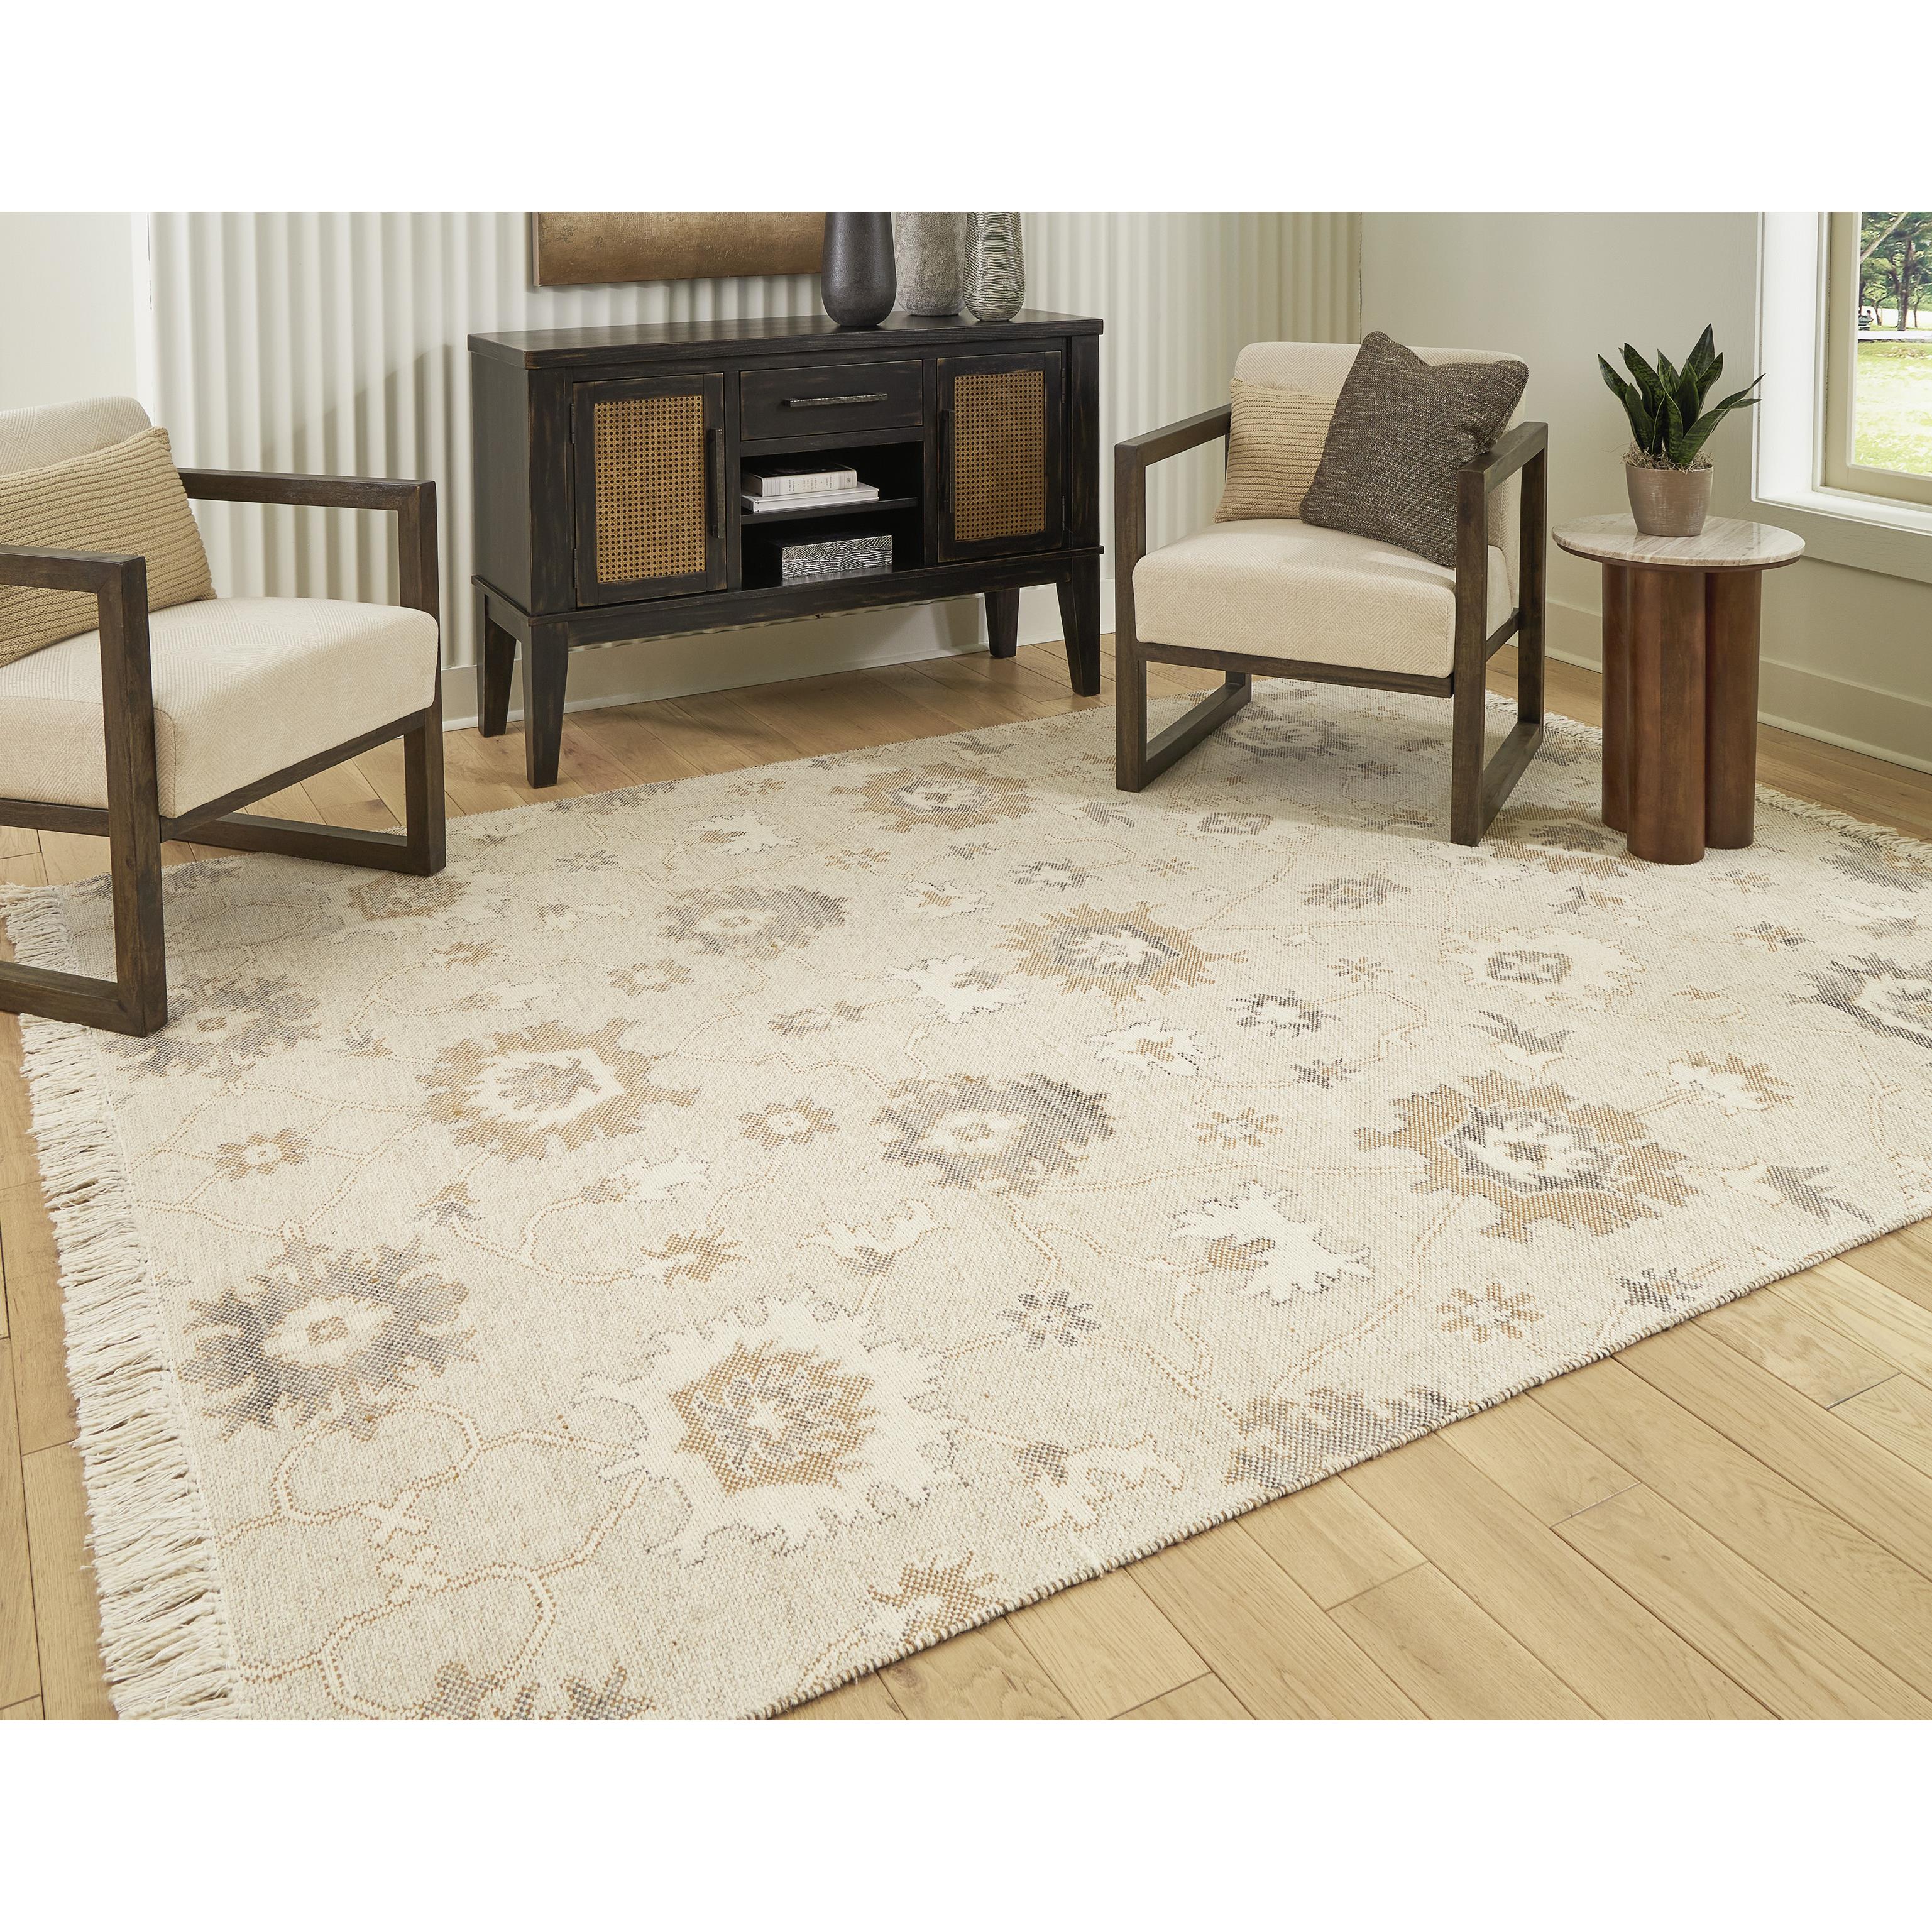
Signature Design by Ashley Abbotton R406331 Large Rug
Sale price$739.26


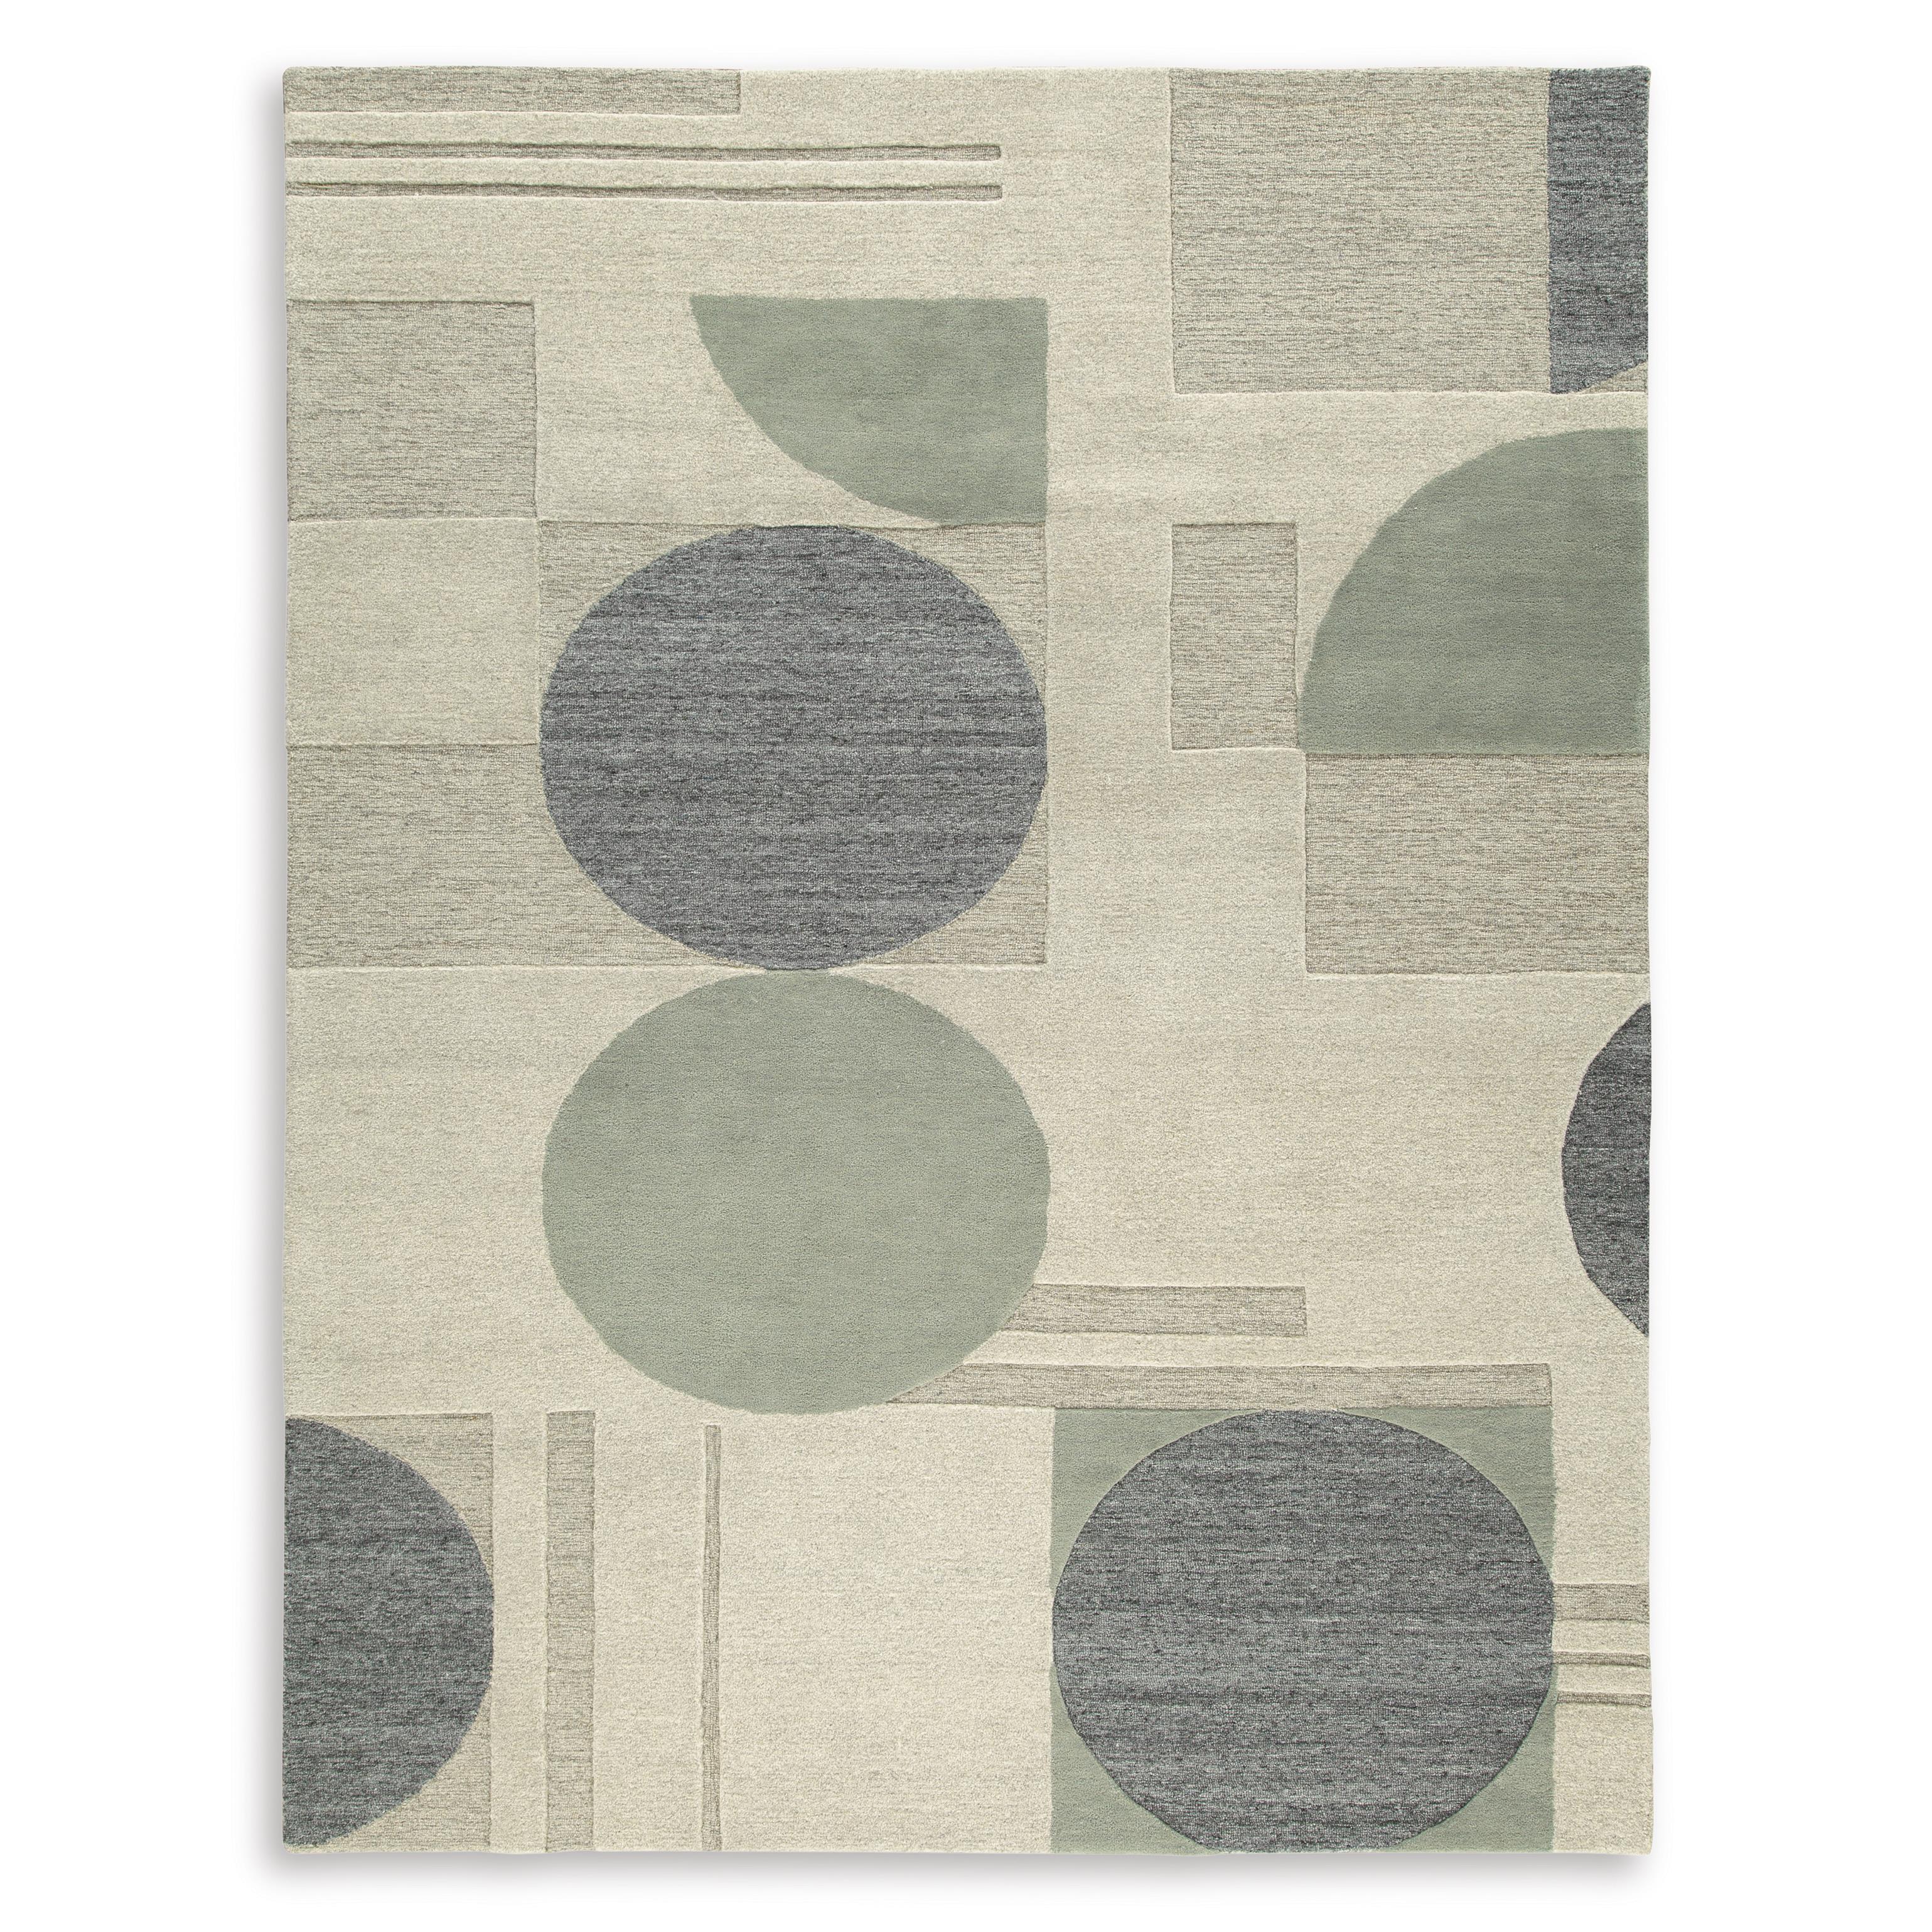
Signature Design by Ashley Dallane R406352 Medium Rug
Sale price$435.60
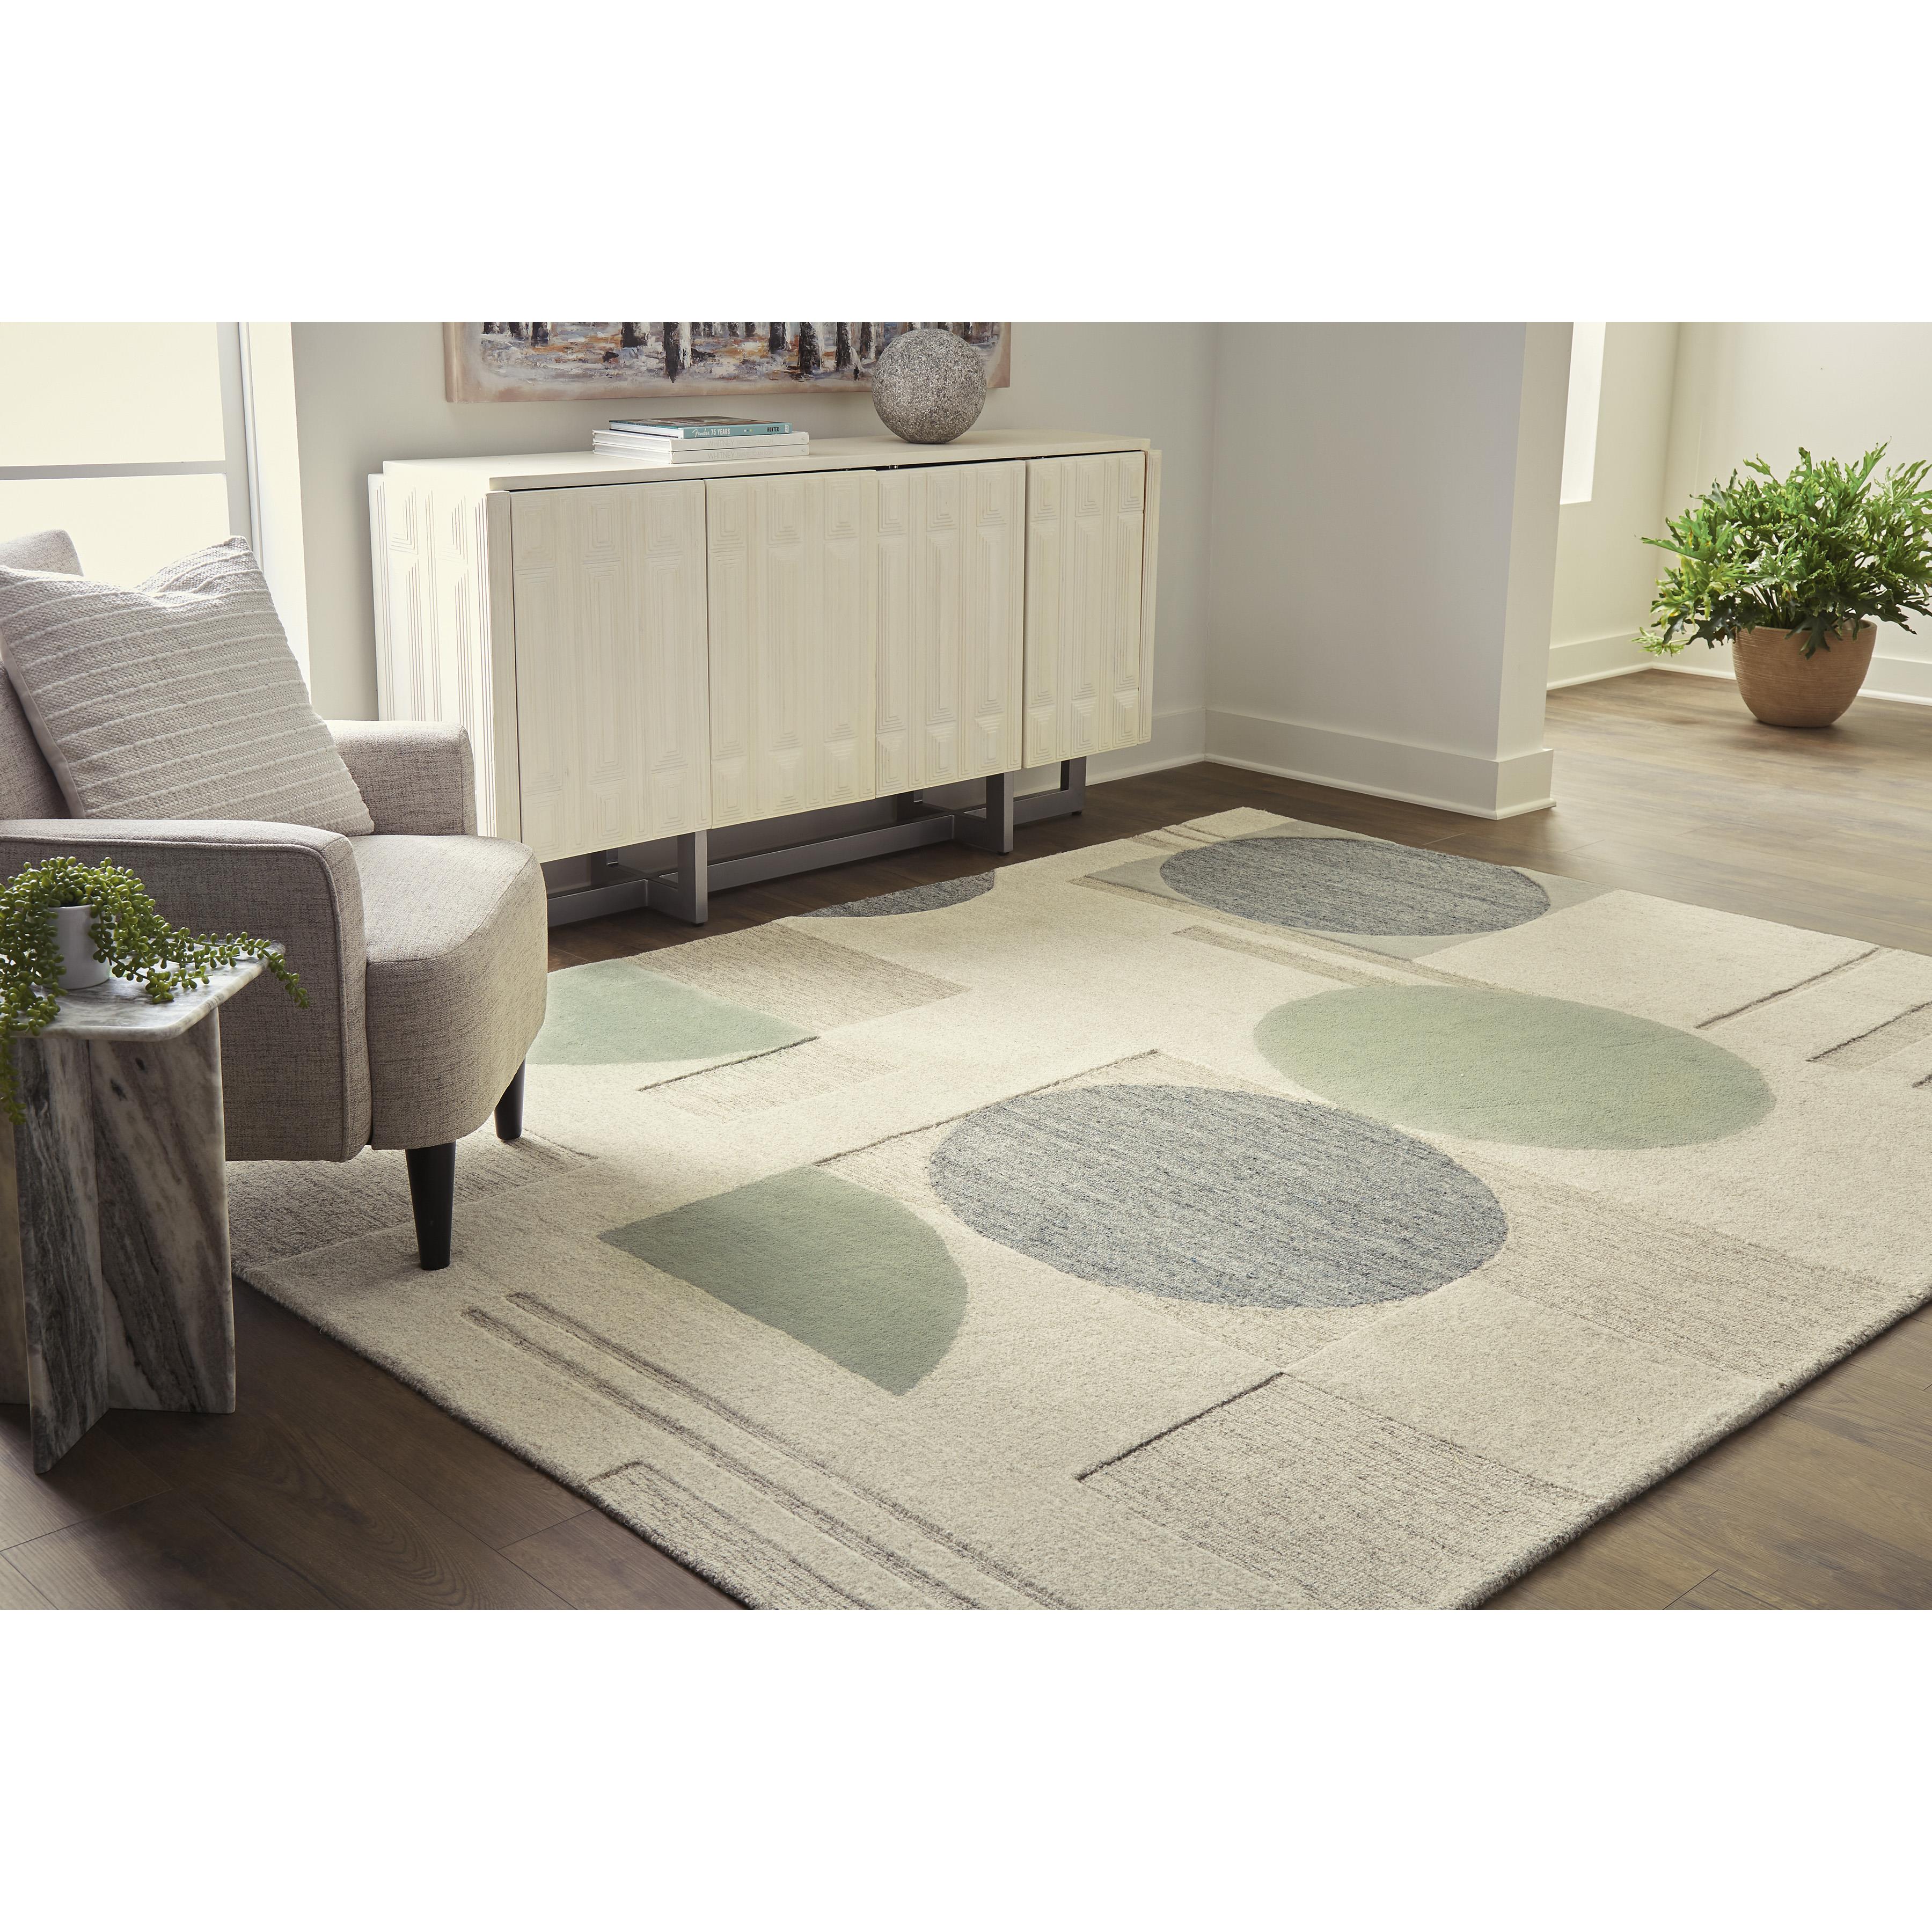
Signature Design by Ashley Dallane R406351 Large Rug
Sale price$886.86


Signature Design by Ashley Brynnfield R406372 Medium Rug
Sale price$306.00


Signature Design by Ashley Calkin R406392 Medium Rug
Sale price$306.00
Signature Design by Ashley Calkin R406391 Large Rug
Sale price$627.66


Signature Design by Ashley Barus R406402 Medium Rug
Sale price$306.00