Filters


Signature Design by Ashley Hendridge A8000486 Wall Art Set
Sale price$334.80

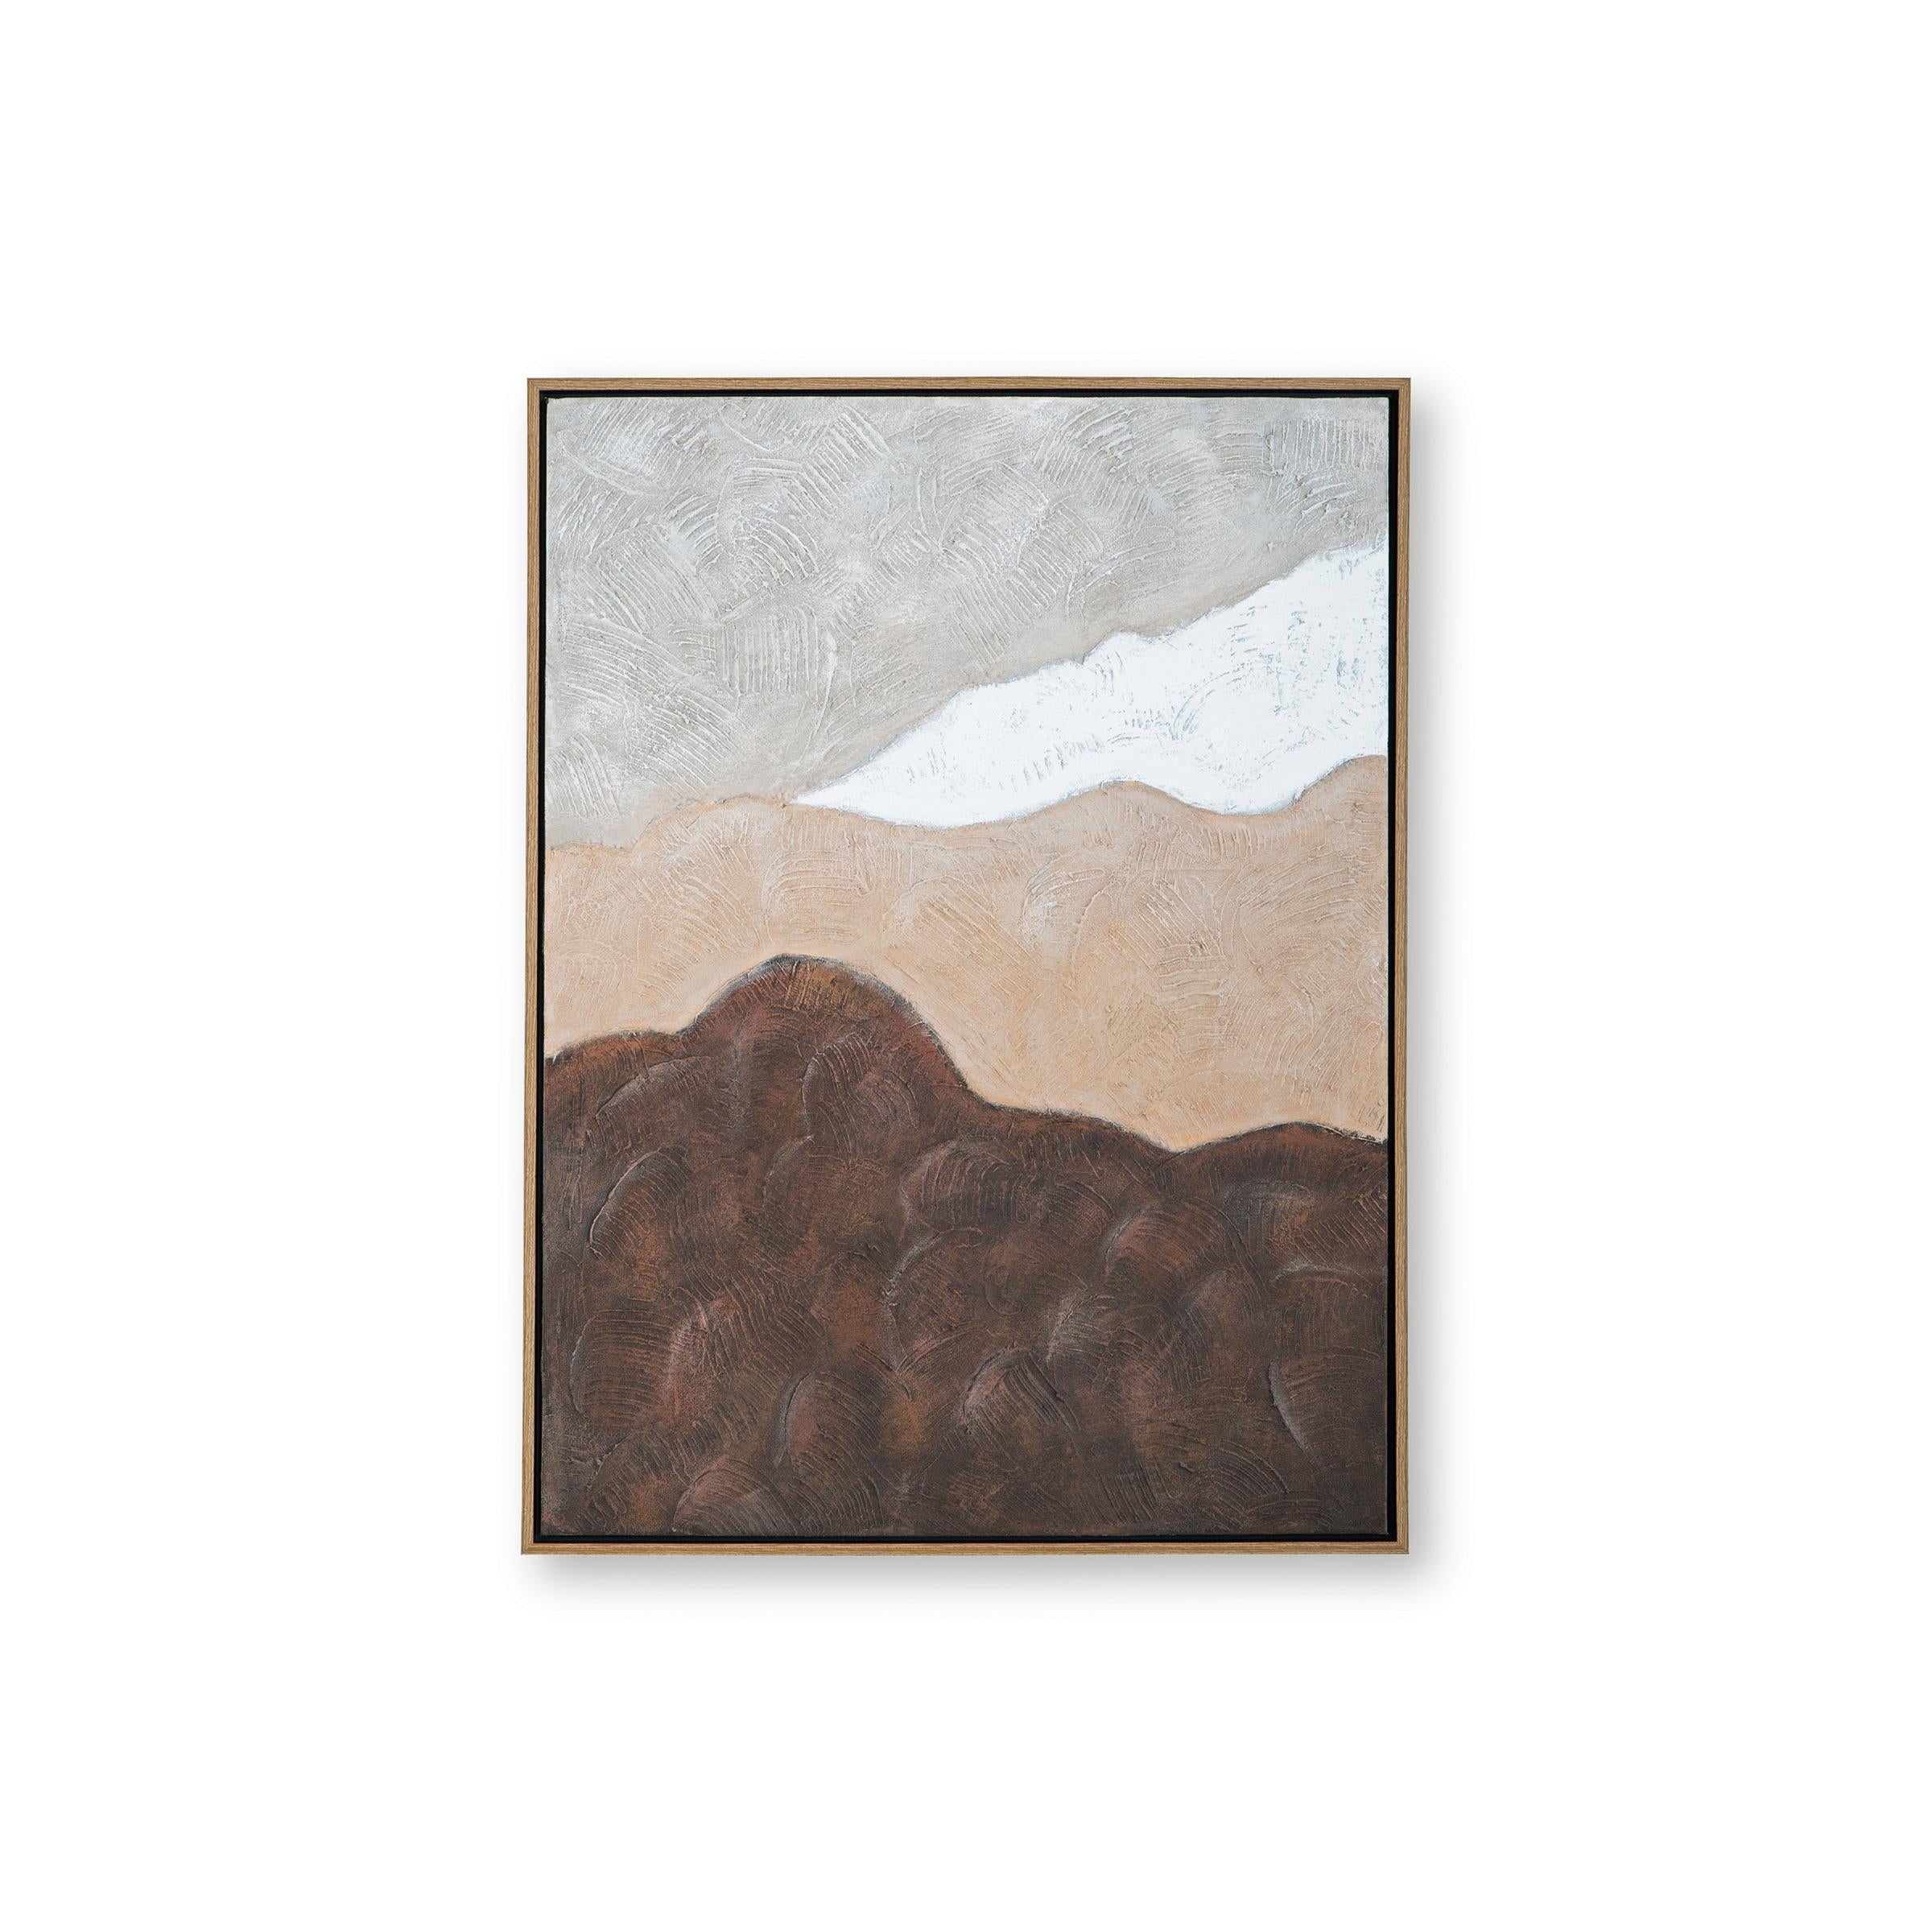
Signature Design by Ashley Landerton A8000488 Wall Art
Sale price$172.80


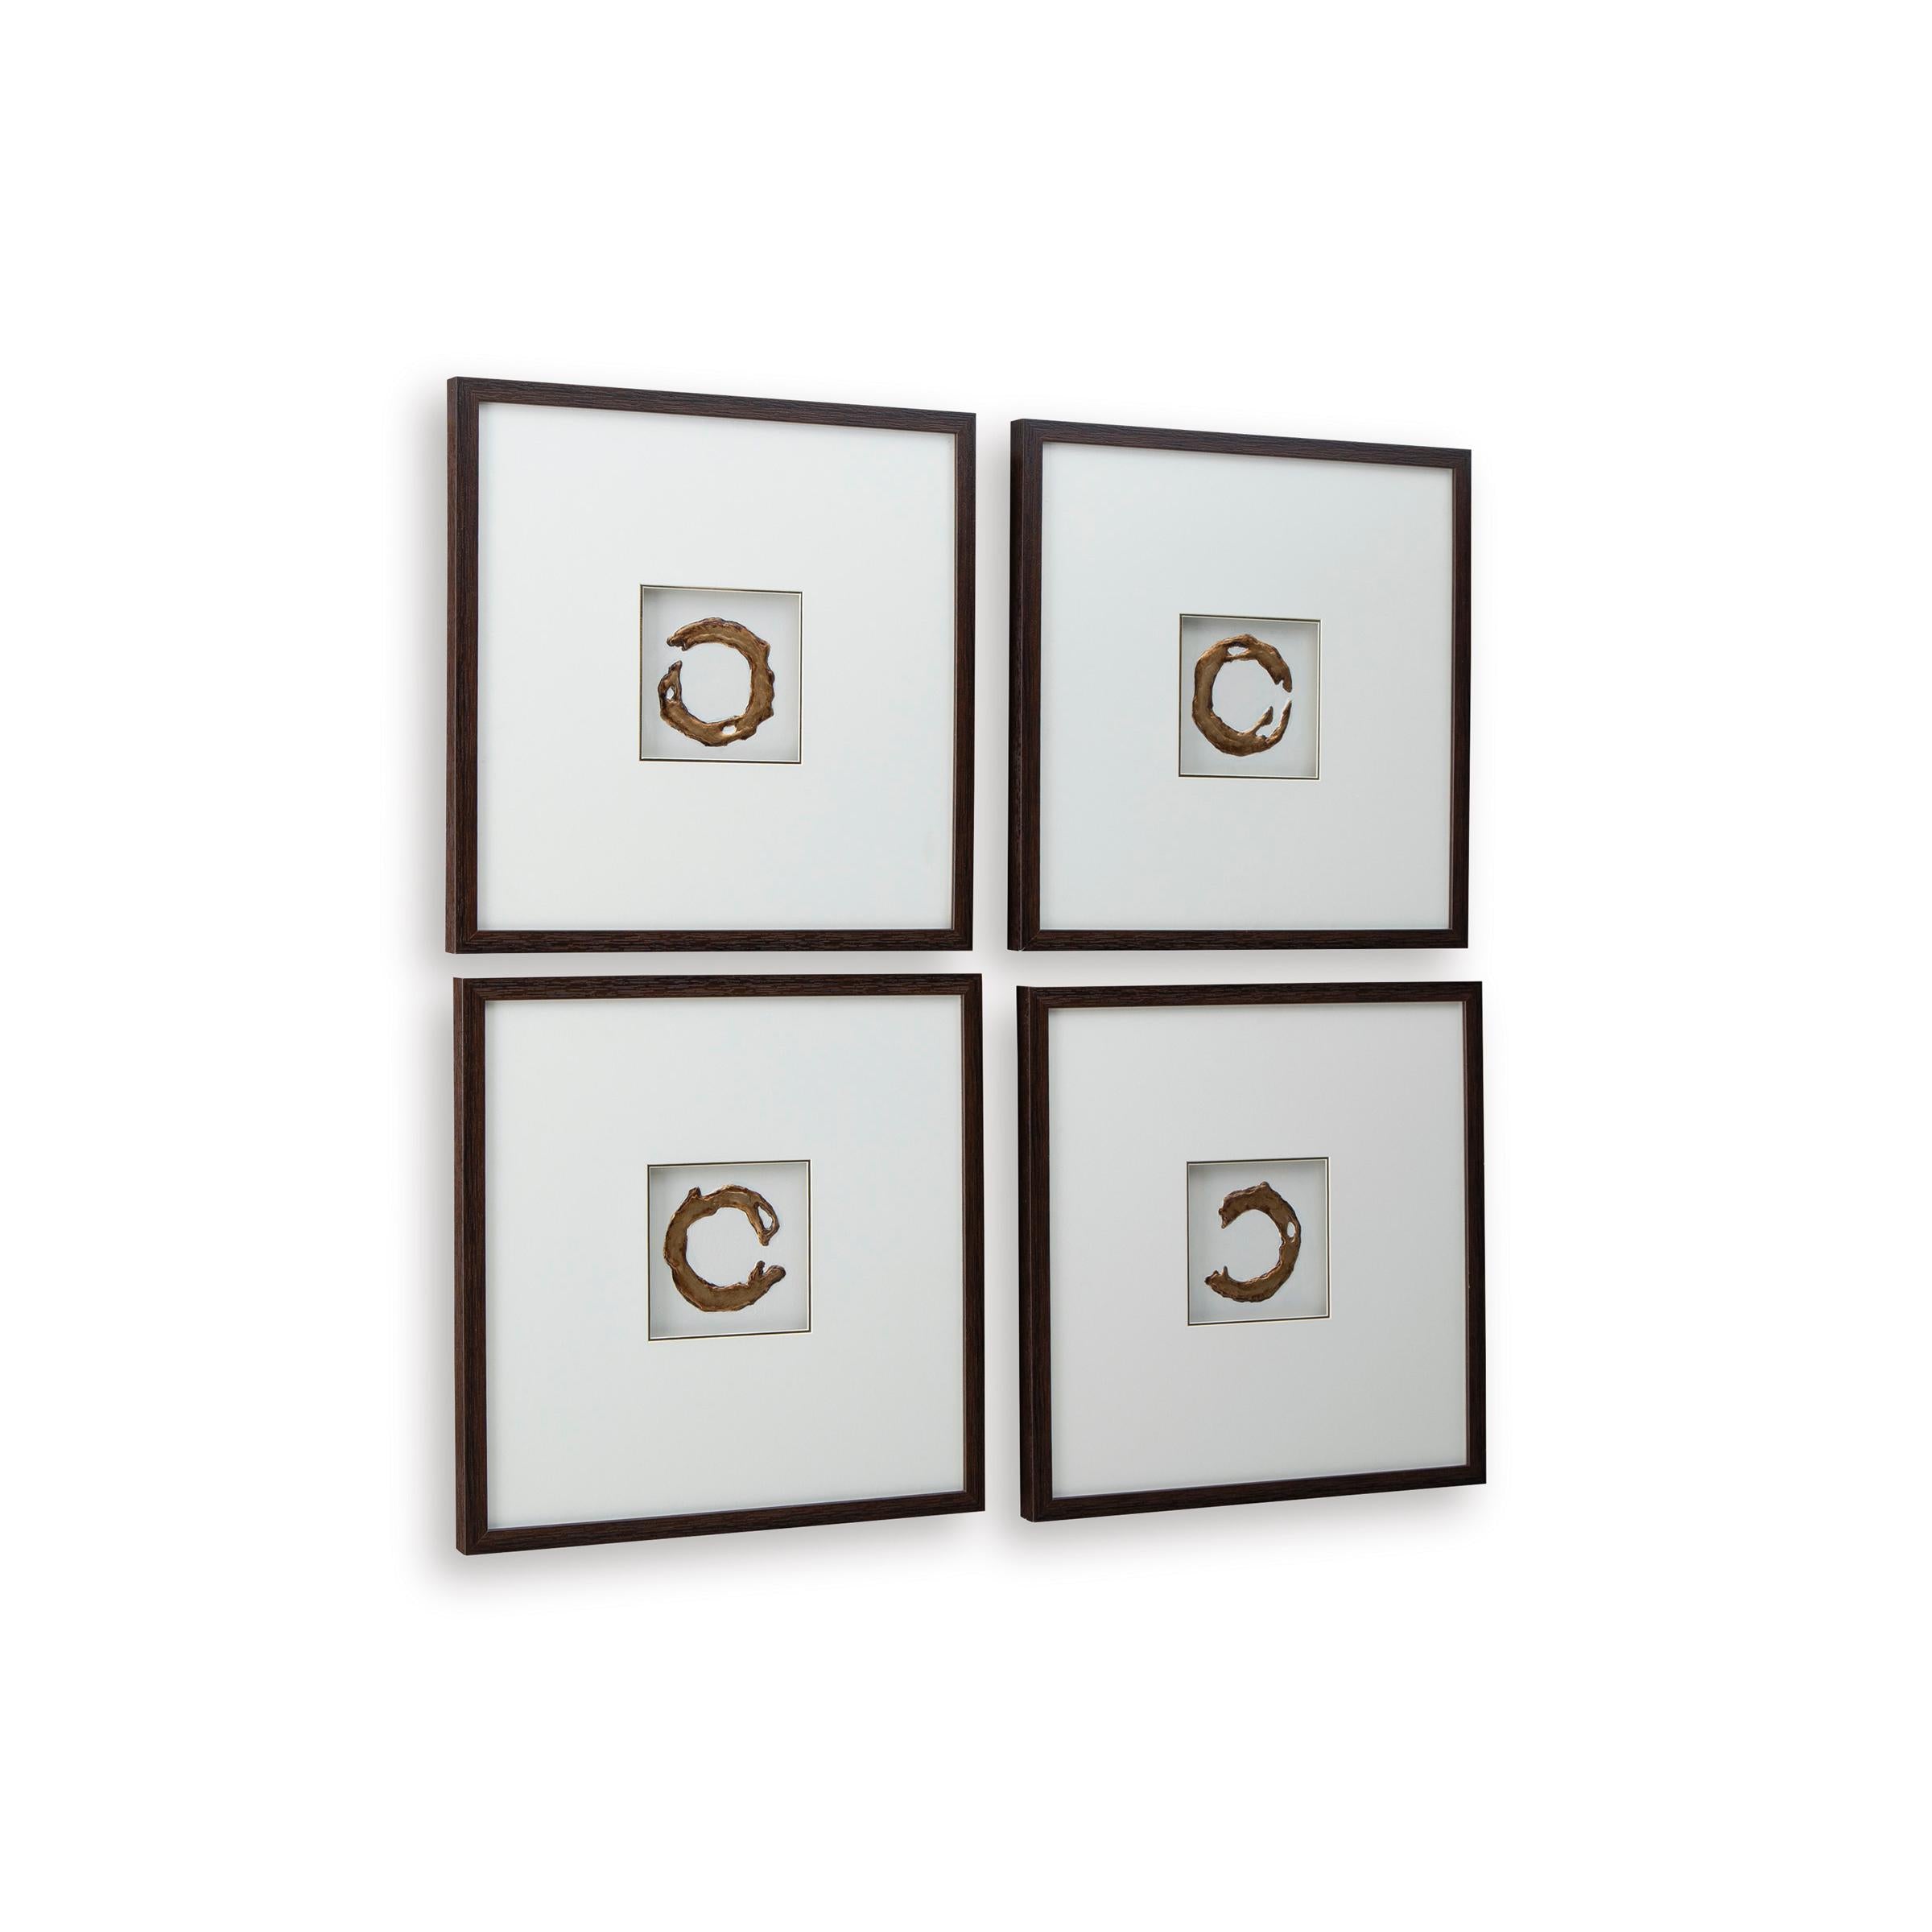
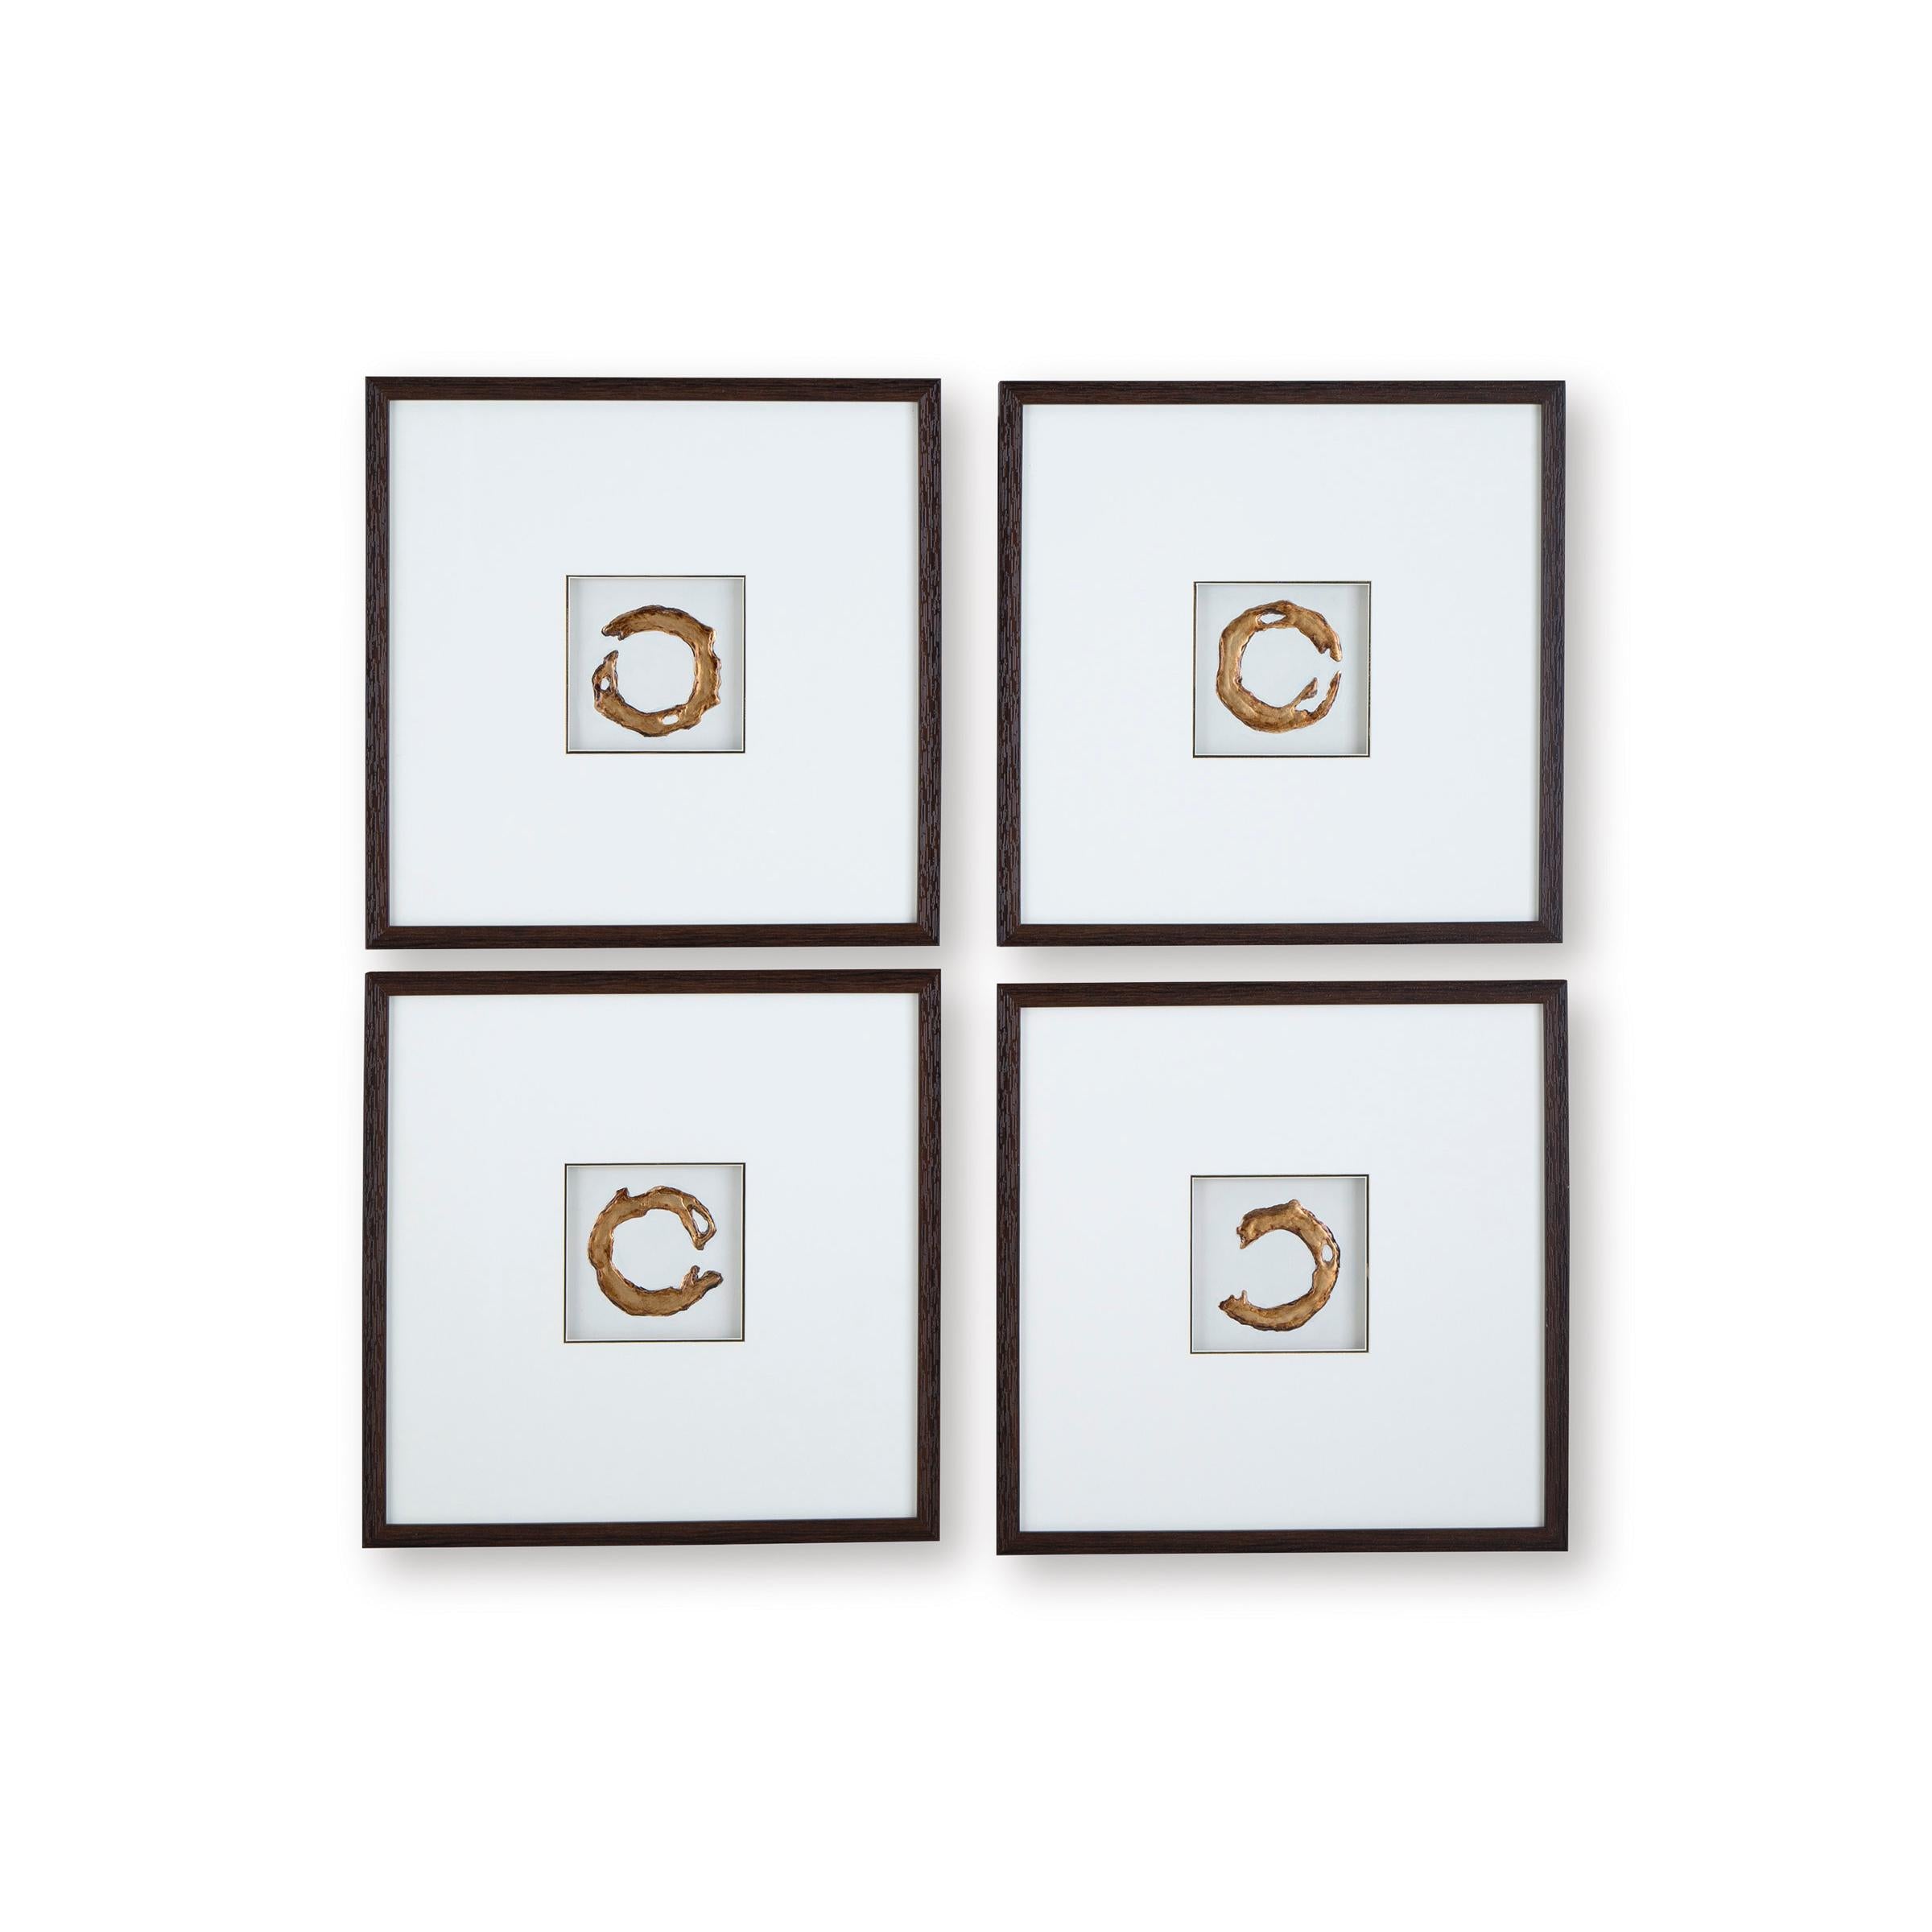
Signature Design by Ashley Jossletts A8000490 Wall Art Set
Sale price$352.80


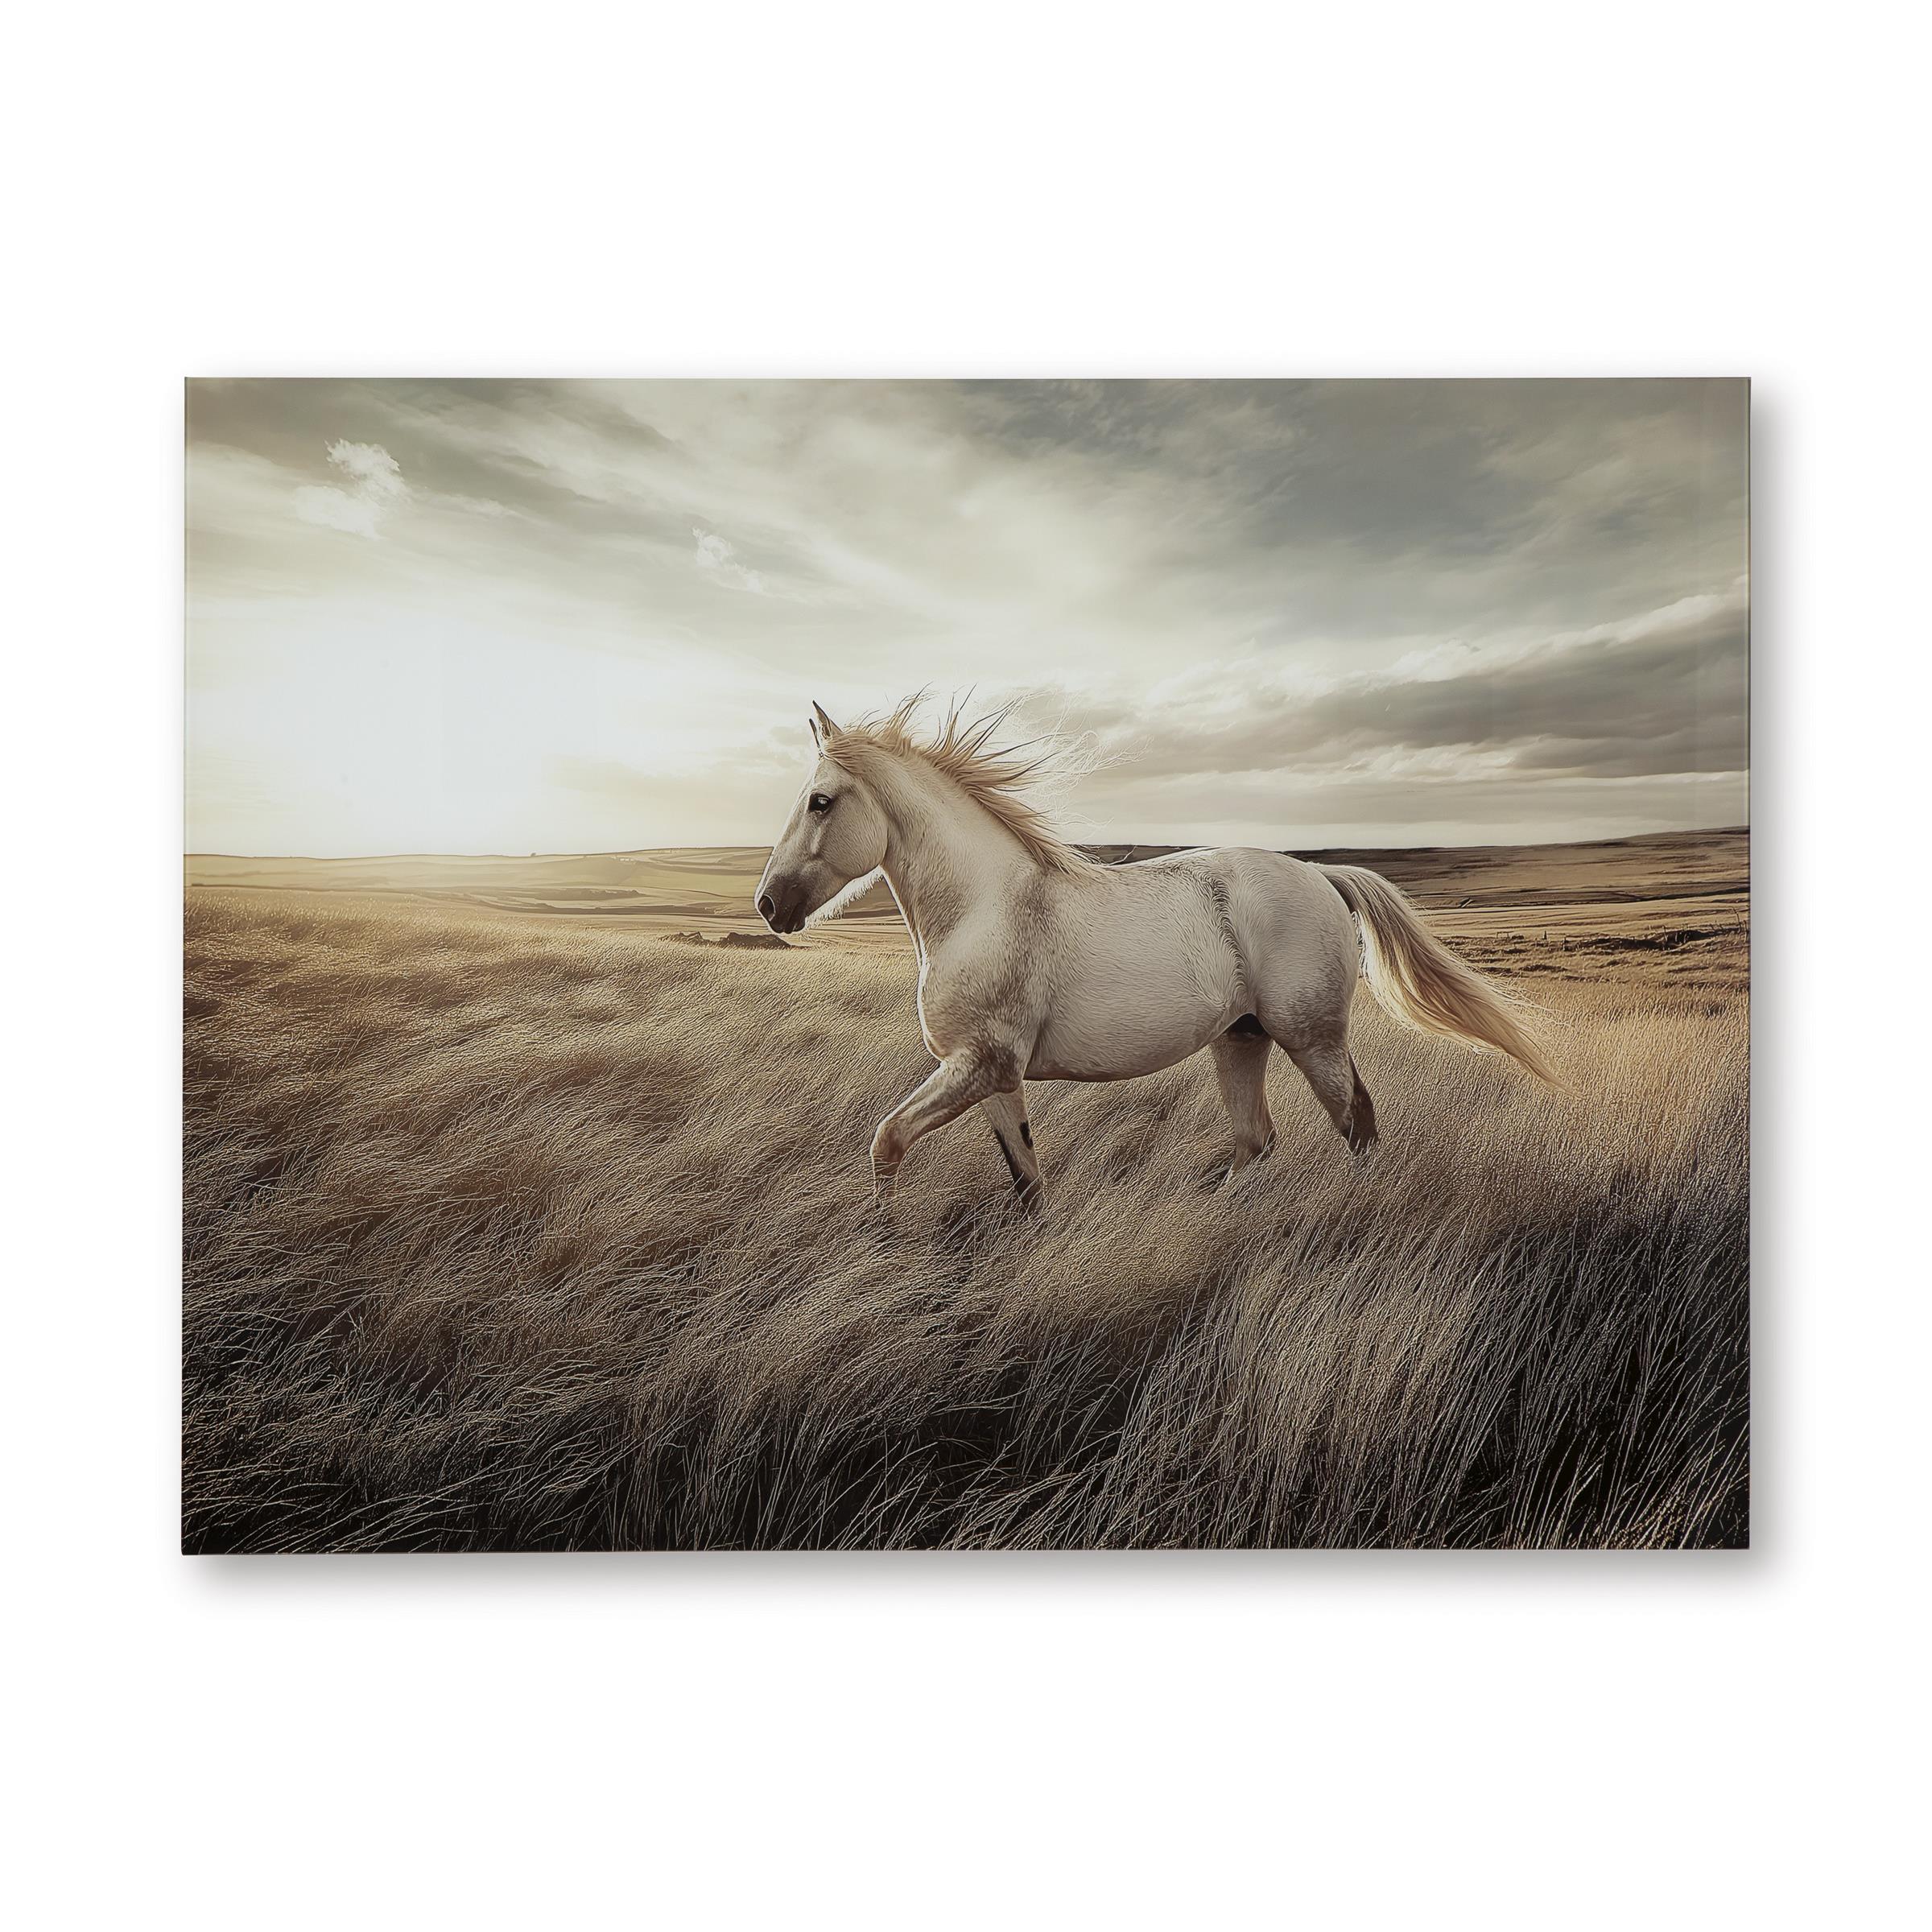
Signature Design by Ashley Kesleigh A8000495 Wall Art
Sale price$334.80
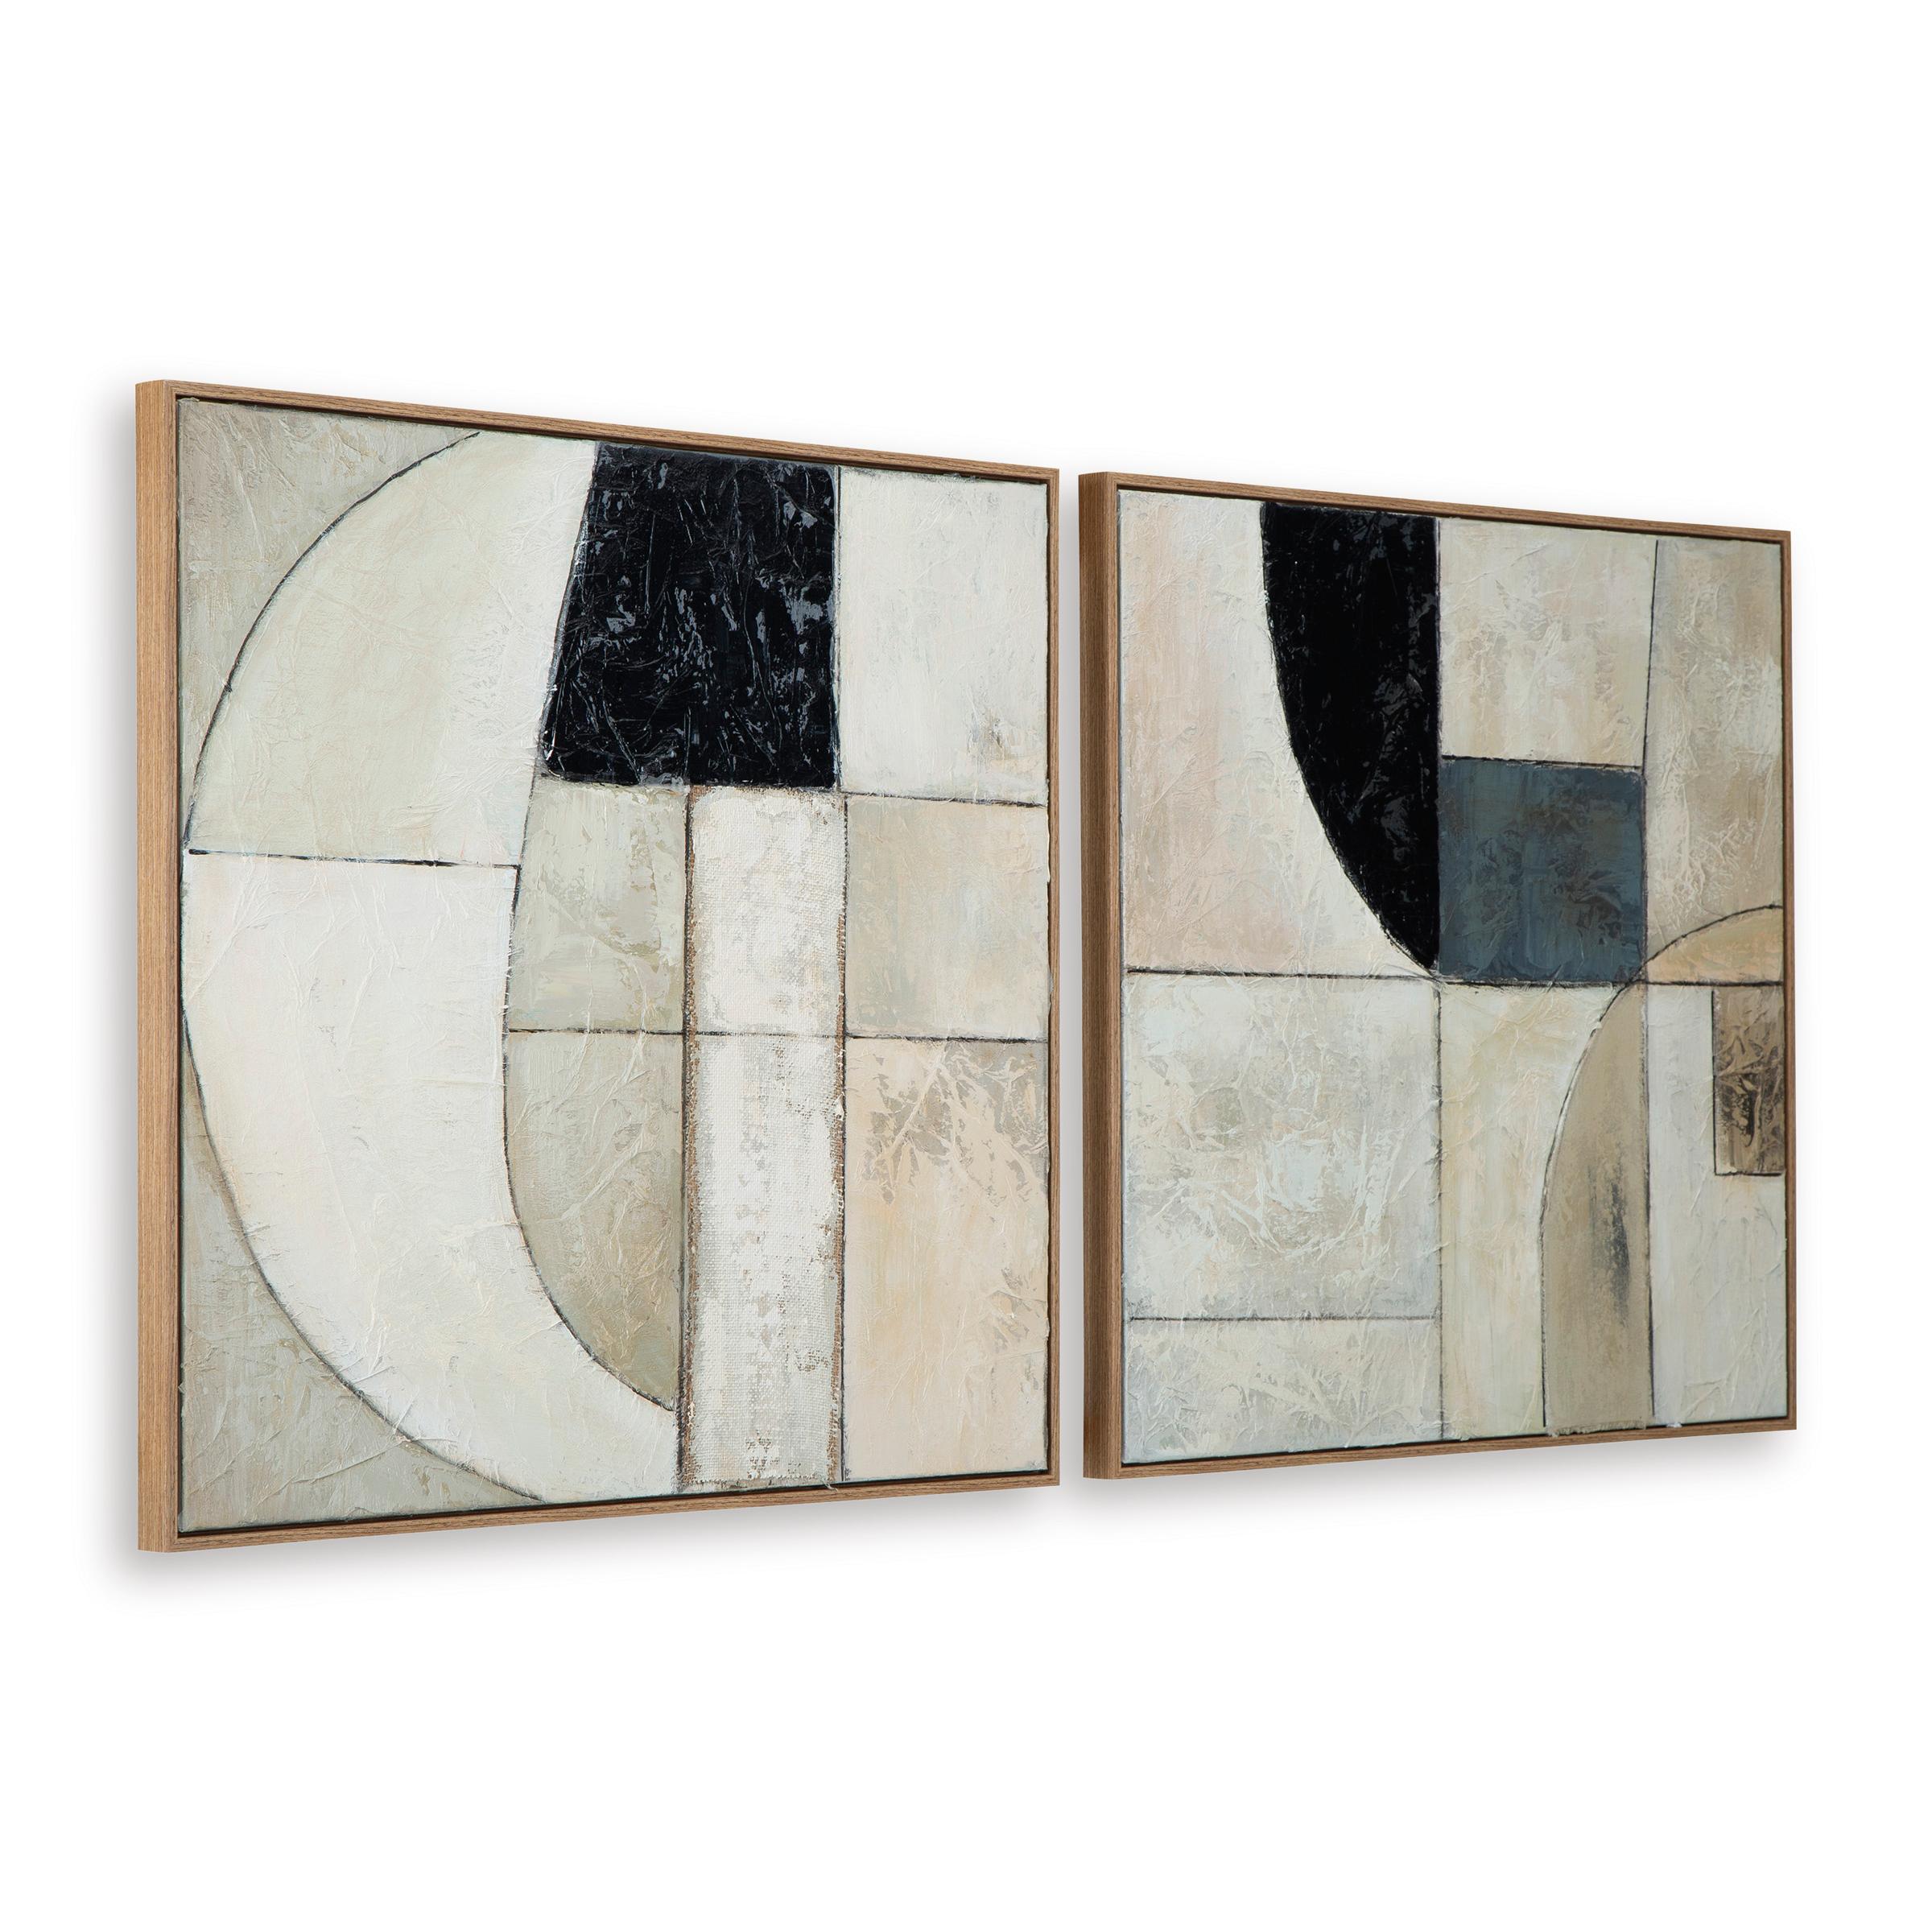
Signature Design by Ashley Dallbourne A8000491 Wall Art Set
Sale price$424.80

Signature Design by Ashley Errolville A8000489 Wall Art
Sale price$298.80


Signature Design by Ashley Wylander A8000497 Wall Art
Sale price$388.80

Signature Design by Ashley Bexlen A8000498 Wall Art Set
Sale price$388.80

Signature Design by Ashley Fanthorne A8000500 Wall Art
Sale price$352.80


Signature Design by Ashley Floymour A8000499 Wall Art
Sale price$460.80


Signature Design by Ashley Waldard A8000501 Wall Art
Sale price$388.80


Signature Design by Ashley Harelman A8000502 Wall Art
Sale price$316.80


Signature Design by Ashley Trulow A8000504 Wall Art
Sale price$298.80


Signature Design by Ashley Arlanford A8000505 Wall Art
Sale price$532.80


Signature Design by Ashley Waldett A8000503 Wall Art Set
Sale price$316.80


Signature Design by Ashley Honslow A8000506 Wall Art Set
Sale price$424.80


Signature Design by Ashley Teague A8010430 Wall Clock
Sale price$208.80


Signature Design by Ashley Arkthorne A8010429 Wall Clock
Sale price$244.80


Signature Design by Ashley Teague A8010432 Wall Clock
Sale price$208.80


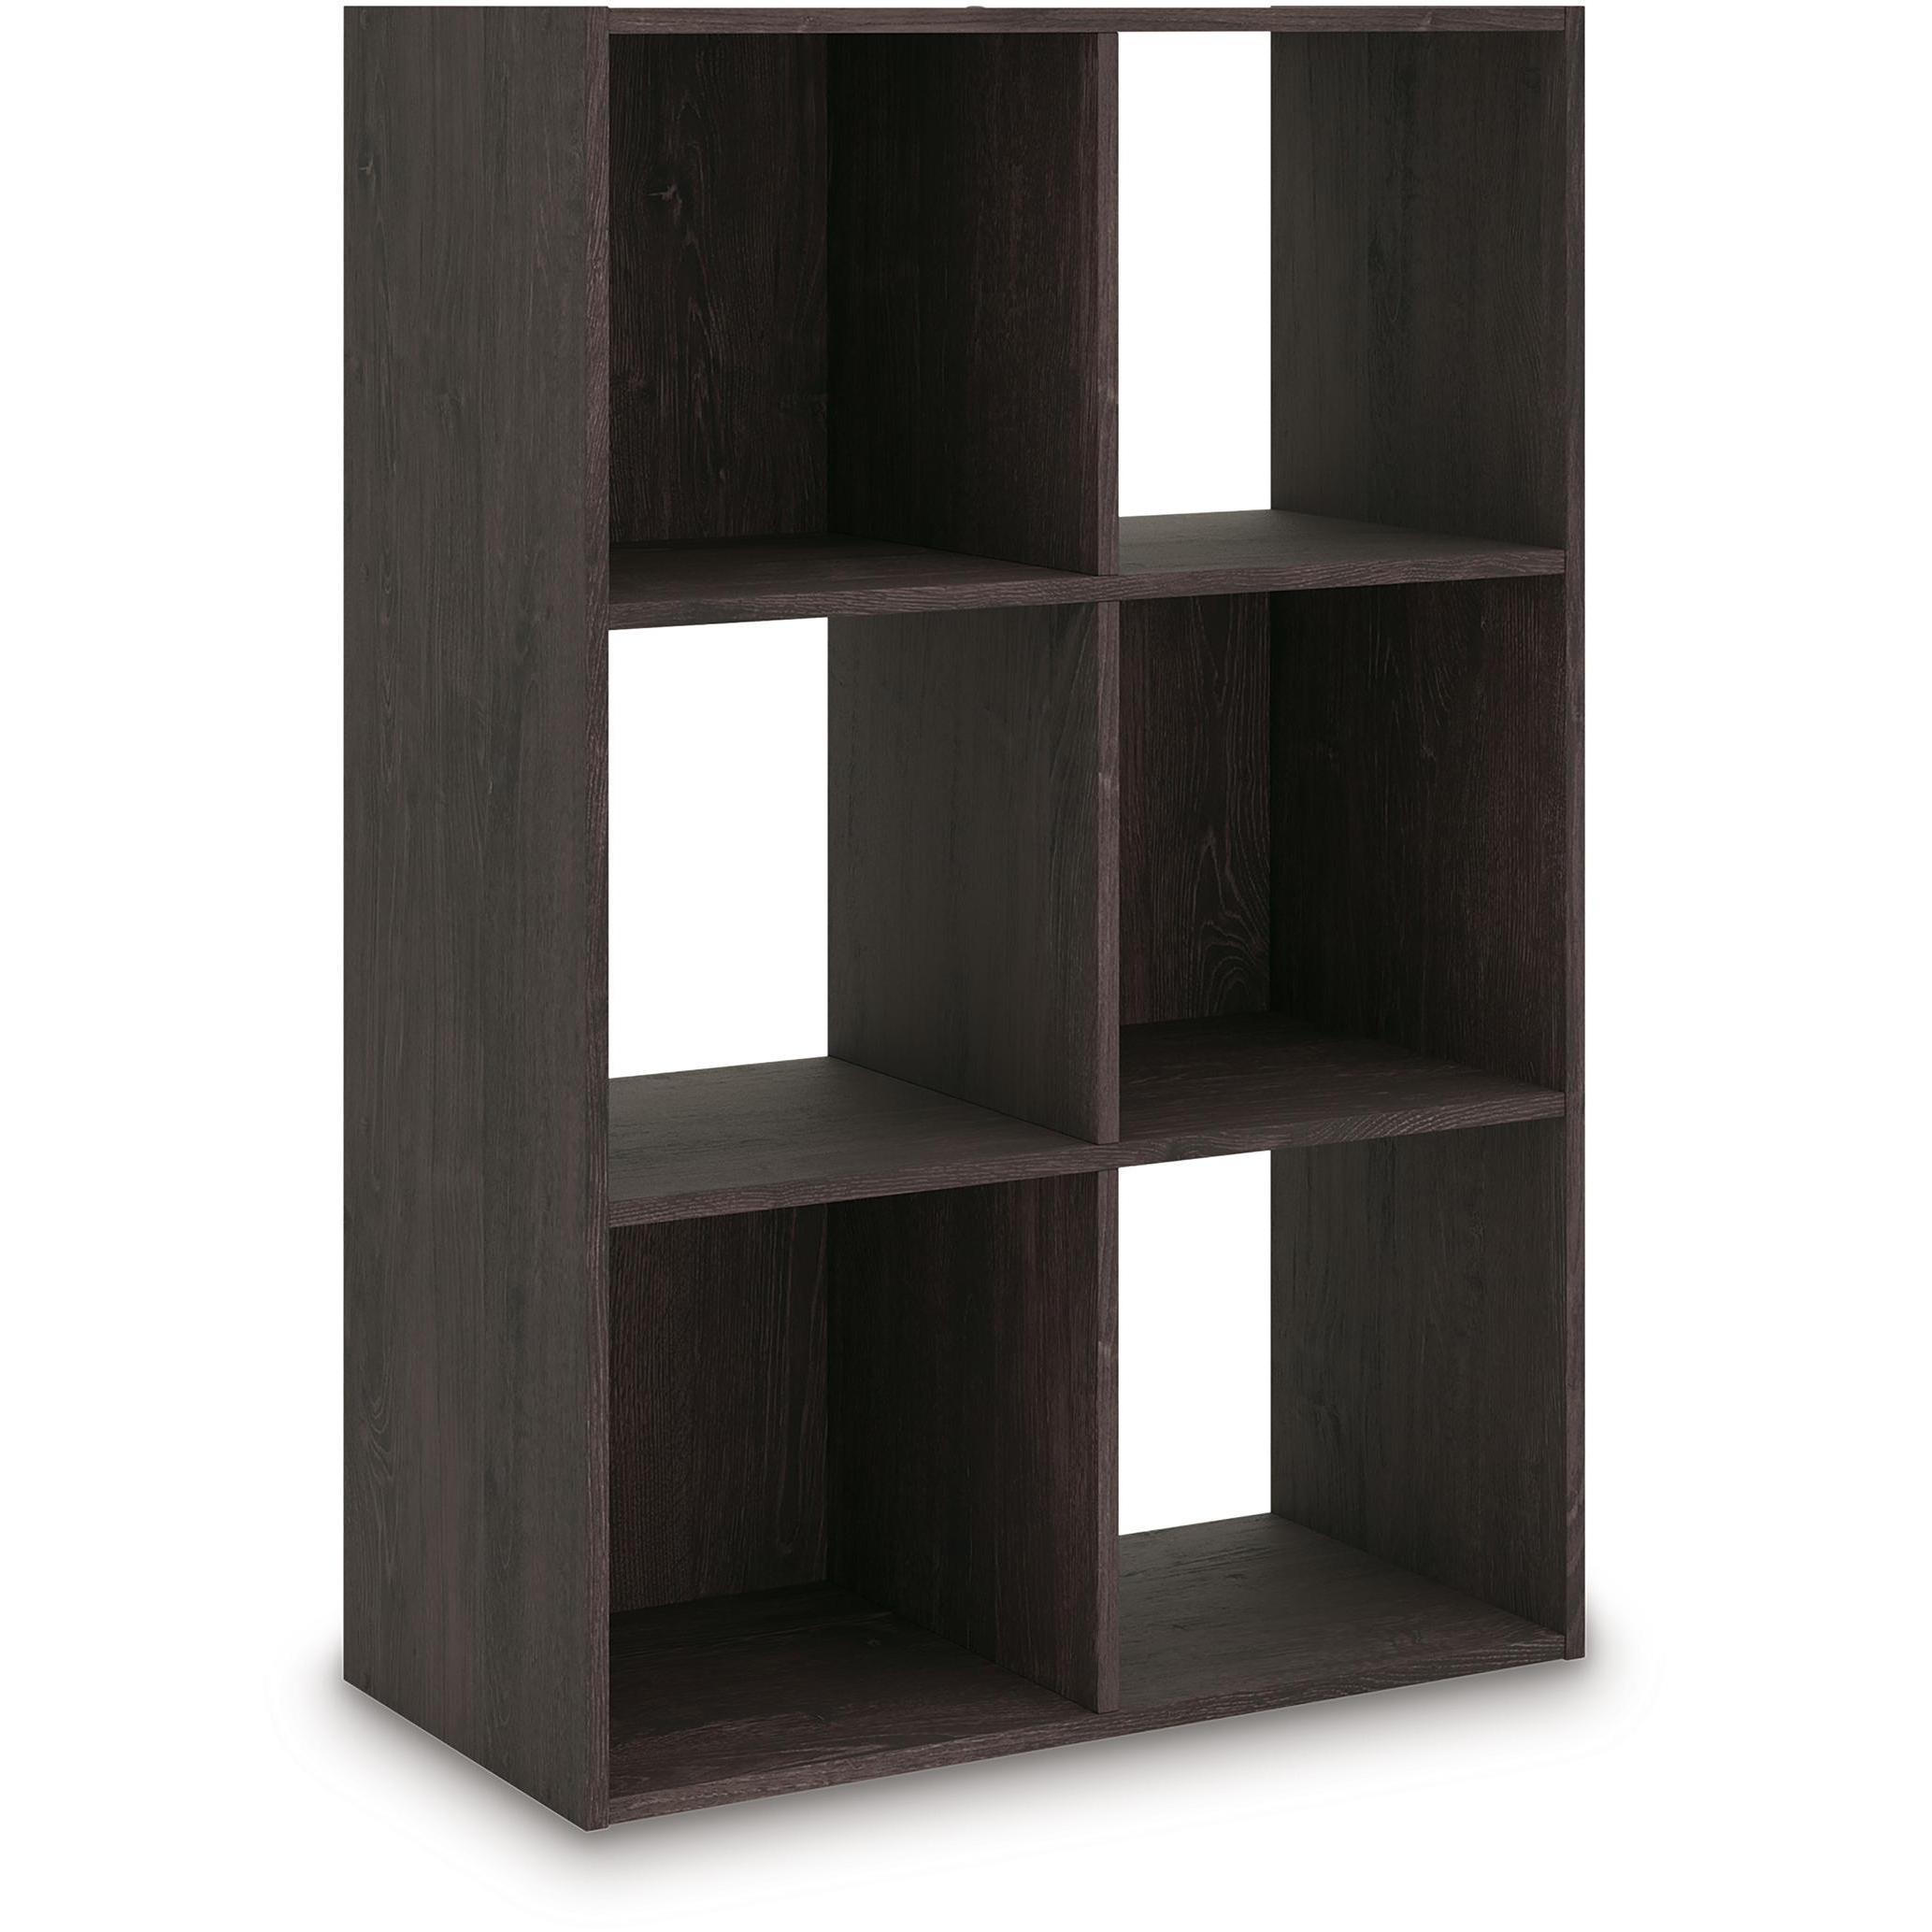
Signature Design by Ashley Glosmount EA1055-3X2 Six Cube Organizer
Sale price$111.78


Signature Design by Ashley Glosmount EA1055-3X3 Nine Cube Organizer
Sale price$151.38


Signature Design by Ashley Glosmount EA1055-2X2 Four Cube Organizer
Sale price$82.98


Signature Design by Ashley Shallifer EA1104-2X2 Four Cube Organizer
Sale price$82.98


Signature Design by Ashley Shallifer EA1104-3X2 Six Cube Organizer
Sale price$111.78


Signature Design by Ashley Shallifer EA1104-3X3 Nine Cube Organizer
Sale price$151.38


Signature Design by Ashley Glosmount EA1055-4X2 Eight Cube Organizer
Sale price$129.78


Signature Design by Ashley Shallifer EA1104-4X2 Eight Cube Organizer
Sale price$129.78


Signature Design by Ashley Piperton EA5514-2X2 Four Cube Organizer
Sale price$82.98

Signature Design by Ashley Piperton EA5514-3X2 Six Cube Organizer
Sale price$111.78


Signature Design by Ashley Piperton EA5514-3X3 Nine Cube Organizer
Sale price$151.38


Signature Design by Ashley Piperton EA5514-4X2 Eight Cube Organizer
Sale price$129.78


Signature Design by Ashley Chaddon A1001179 Throw
Sale price$230.40


Signature Design by Ashley Anawood A1001178 Throw
Sale price$158.40


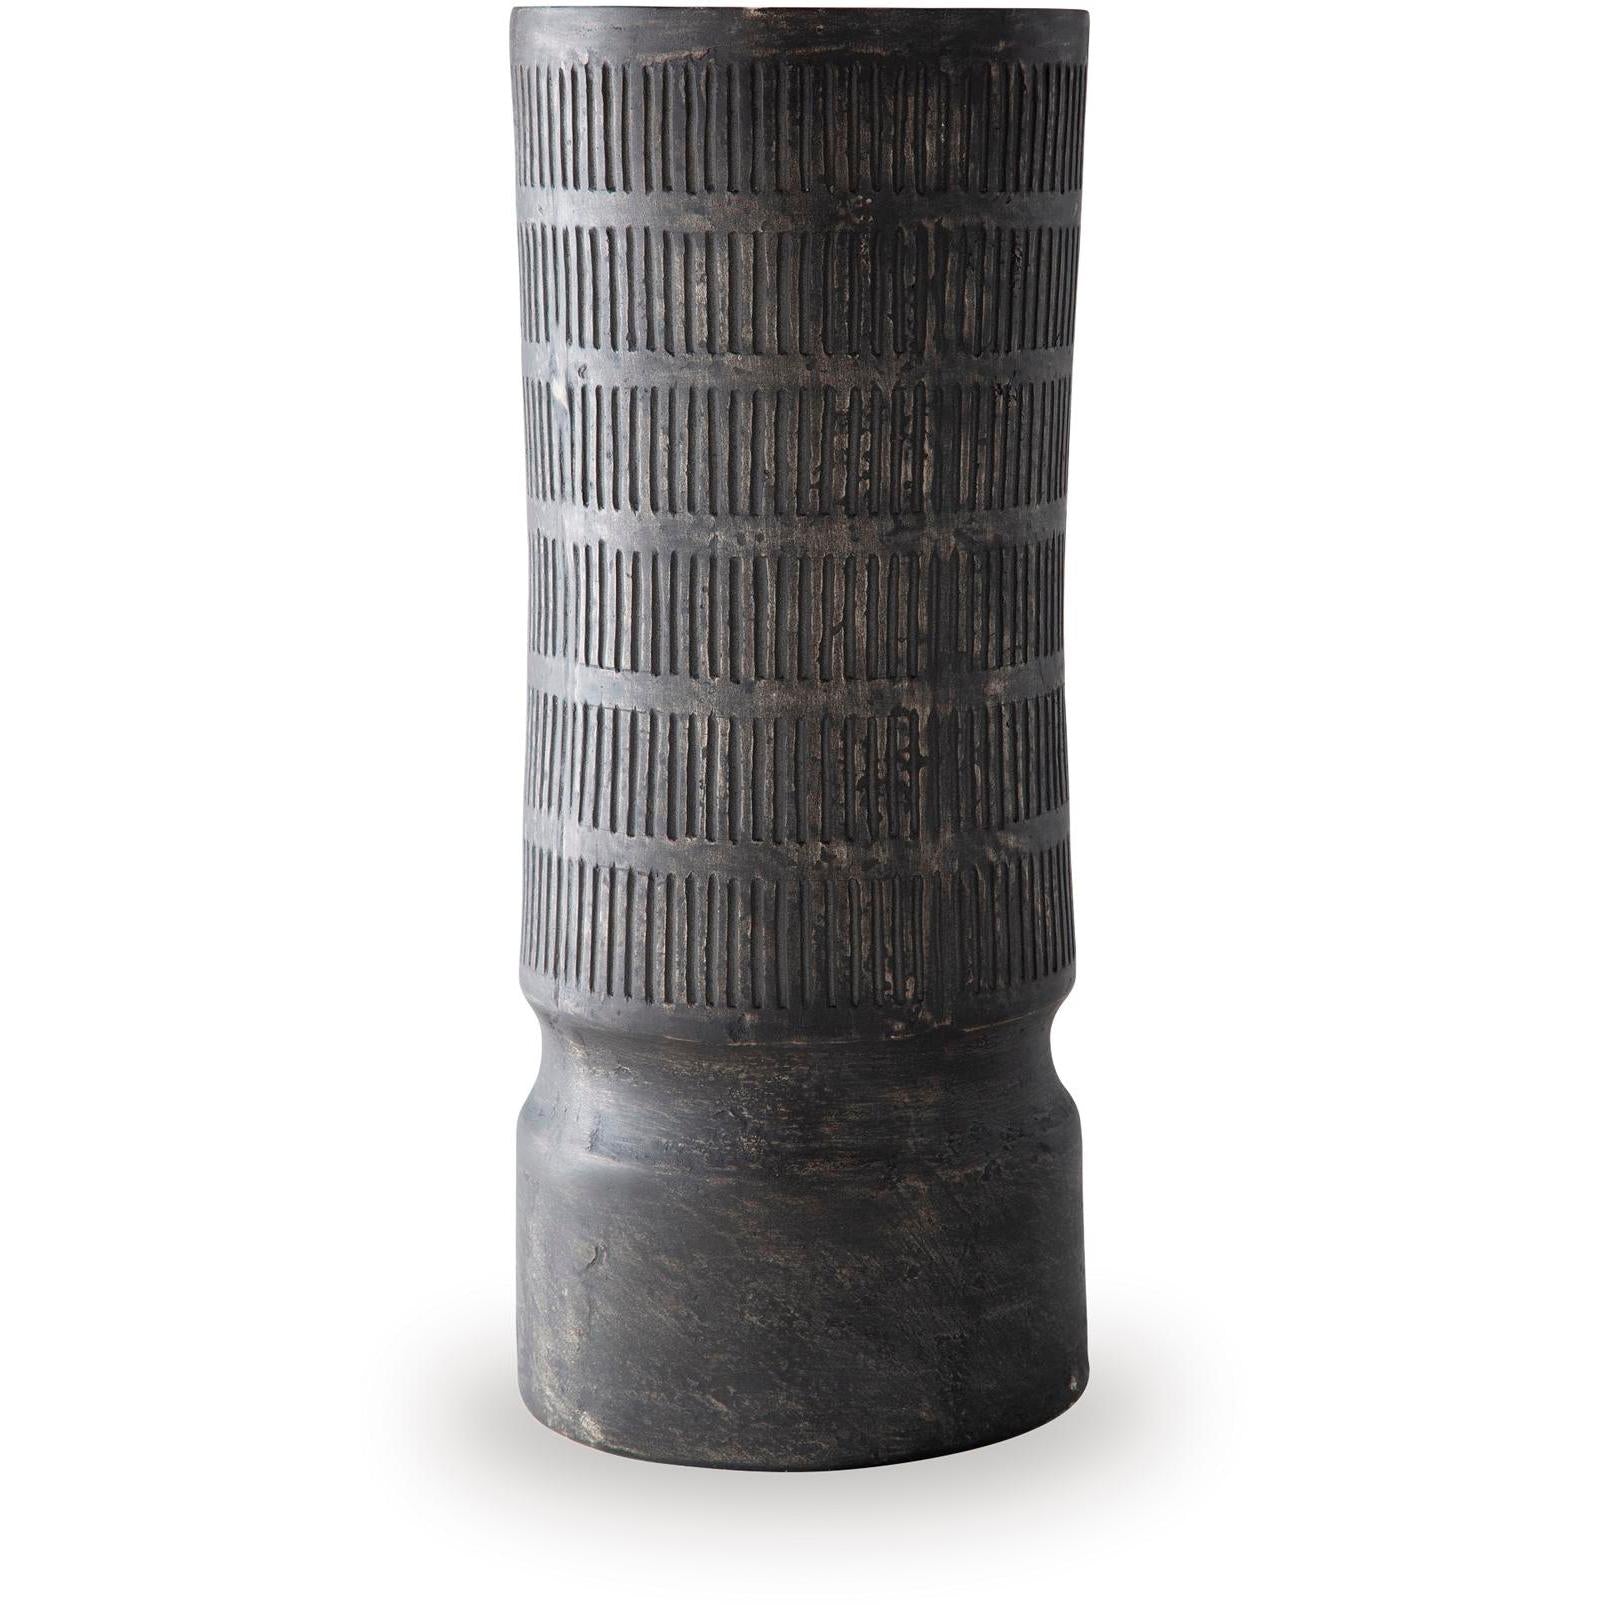
Signature Design by Ashley Beninworth A2000878 Vase
Sale price$117.00

Signature Design by Ashley Beninworth A2000879 Vase
Sale price$138.60


Signature Design by Ashley Justy A2000881 Vase
Sale price$181.80


Signature Design by Ashley Justy A2000882 Vase
Sale price$217.80


Signature Design by Ashley Justy A2000883 Bowl
Sale price$163.80


Signature Design by Ashley Fedorleigh A2000893 Vase
Sale price$163.80


Signature Design by Ashley Fedorleigh A2000894 Vase
Sale price$163.80


Signature Design by Ashley Aidman A2000895 Bowl
Sale price$199.80


Signature Design by Ashley Clayburg A2000896 Bowl
Sale price$235.80


Signature Design by Ashley Jedwick A2000906 Vase
Sale price$127.80


Signature Design by Ashley Jedwick A2000907 Vase
Sale price$181.80


Signature Design by Ashley Orban A2000886 Vase
Sale price$88.20


Signature Design by Ashley Tillmer A2000908 Vase
Sale price$145.80


Signature Design by Ashley Adalham A2000909 Jar
Sale price$145.80


Signature Design by Ashley Adalham A2000910 Jar
Sale price$163.80